Important things to consider when changing your garage door opener
An average garage door opener will last around 10 years. With proper maintenance, you can prolong this lifespan and use it even longer. However, eventually a unit you have been using will show signs of its true age. When this happens you need to replace the garage door opener. But, in some cases, a simple repair will do the trick and you will get the same functionality for the next couple of years. Today we will stay focused on the main tips and things to know when you need to replace a garage door opener.
The electric motor isn’t always the broken part to change
Most people believe that the first component that will fail in a garage door opener is the electric motor. This is a common myth. In general, all moving parts can fail and electric motor is actually one that can last the longest. If you notice weird sounds and your garage door won’t open or close properly you may replace the electric motor. This is an expensive alternative that doesn’t mean it will solve the problem. You will still encounter the same problem and you will still have to find the malfunction.
Instead, you need to check all moving parts of the system. In most cases, tension coils or springs are damaged or they are unable to withstand the needed pressure. The solution is to get nylon springs that will prolong the lifespan but also make sure the garage door opener is quieter while operating.
Here we must point out that springs and coils should be replaced by a professional. They are under tension and if you don’t know what you are doing a serious mistake can occur. This can damage other components of the system or even worse, you can get injured. A professional knows what he is doing so there is no risk at all.
Alignment of the torsion spring of the garage door opener
Many garage door openers use torsion springs. They usually can last as long as the rest of the unit but the misalignment might occur. When this happens the opener will be much slower and you can hear all kinds of sounds. Eventually, it wills top operating which can make you believe that the electric motor failed. There is a simple test all of you can use to check the alignment.
To check the alignment of the torsion spring allow for the opener to reach halfway and then stop it. It should stay in place and shouldn’t move. If it moves then the torsion spring isn’t properly balanced or aligned. You will need to correct this problem in order to regain the full functionality of the garage door opener and make sure it works properly for many more years.
Choose a suitable garage door opener power rating to modify
If you have single sided garage doors you need an opener with 1/3 HP. These models are made for the smallest and garage doors that are lightweight. You shouldn’t use it for bigger and heavier garage doors, obviously. If you have double sided garage doors you will need a unit with ½ HP. It is more powerful and can be used for heavier garage doors. If you have wooden or very heavy garage doors you will need the 3/4HP unit.
When you install a garage door opener with low power on heavy doors it will fail after a shorter period of time. It won’t be able to withstand the pressure and it will require form you to be replaced. This is an essential tip if you are looking to boost the lifespan of the entire system.
Understanding the drive system
There are three main options when it comes to drive mechanism. The first is belt drive which is the quietest, the most expensive and the most durable. You will need this mechanism if your bedroom is above the garage.
The second option is the screw drive mechanism. It is more affordable than the belt drive and also very durable. It is a bit louder and comes in most mid-range models.
The last option is chain drive which makes a lot of noise but the price is extremely affordable and can be used for all kinds of garage doors. Almost all entry-level models come with this drive type.
Installation
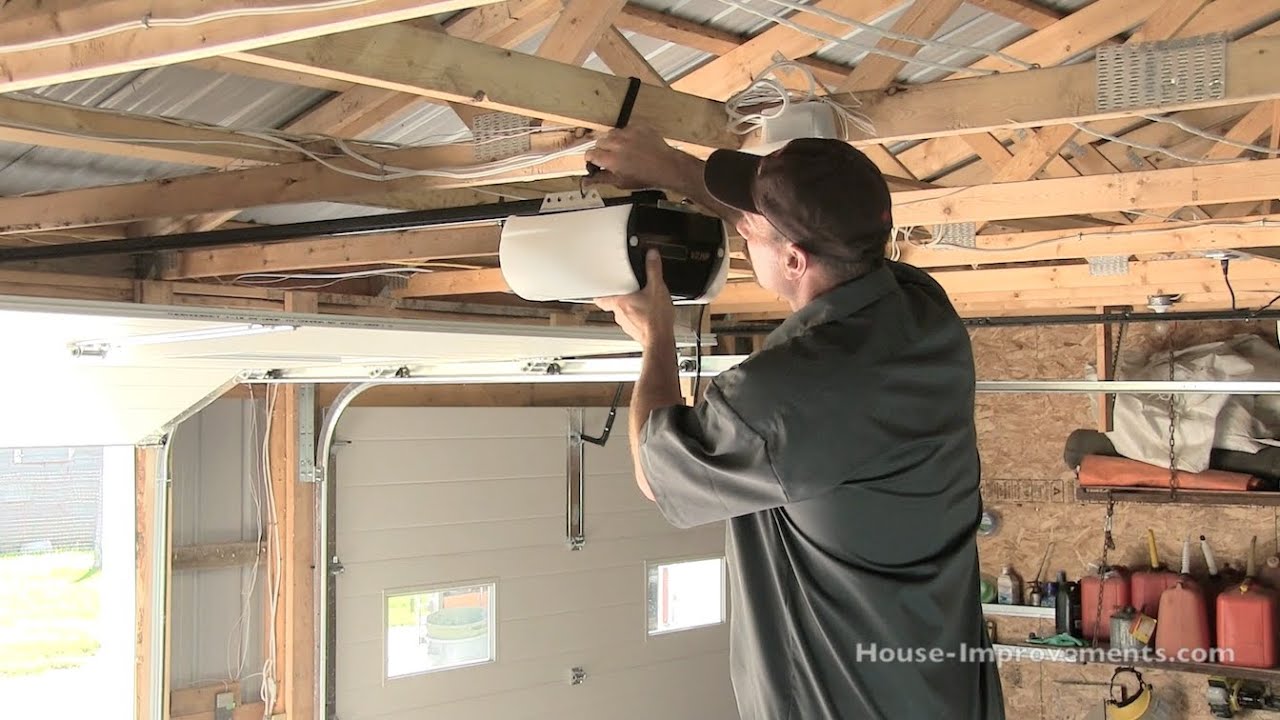
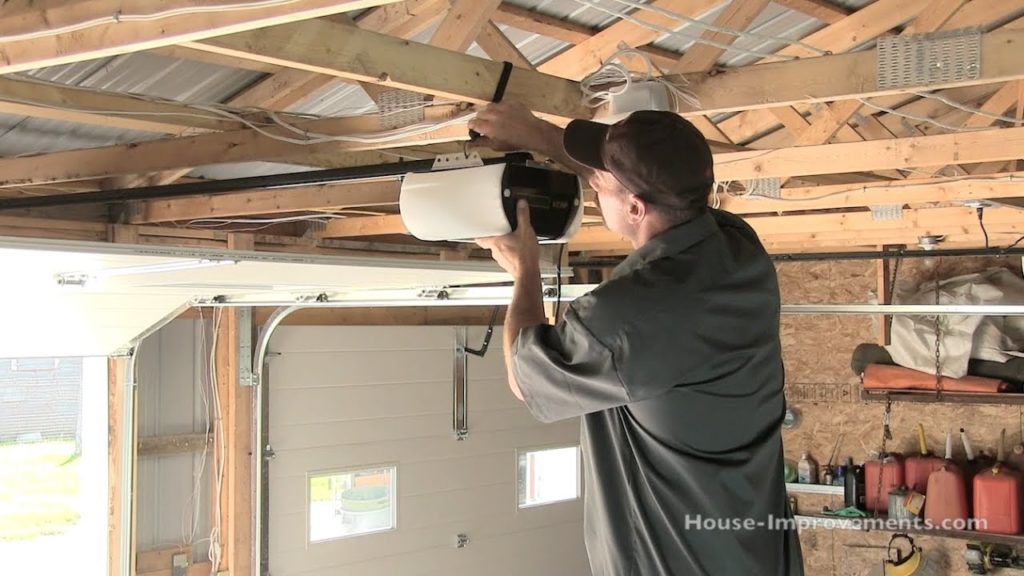
Below are the main steps you need to take when installing a new garage door opener. Yes, you will have to invest some time and to understand the overall process, but this is a relatively easy task that requires basic knowledge. All you have to do is to follow the steps below.
- The first step is to measure the distance between the ceiling and the garage door. Place the opener on the ladder and open the door. You can measure the precise distance.
- Now you can make a bracket that will be used for the securing the opener. Most models come with straps included in the package that are not very appealing. You can make a simple bracket using angle iron and hacksaw. In return, the system will be stronger and sturdier.
- Install the new wiring. Some of you will want to use old wiring in order to save time, but this is a mistake. By using old wiring you can cause severe malfunctions and damage the new unit. By using new wiring you will be positive that the overall system will last as long as possible.
- This step helps you adjust the opening force. It should be around 5 pounds for most garage doors. You can turn the adjustment screw for 1/8 and check the alignment. If the garage door close properly you are done. Make adjustments as long as you need to ensure proper closing and opening.
- Install the spring and the opener. This step will vary from model to model and may be completely different than we can present you with. In order to ensure there are no mistakes, we will tell you to look at the user manual of that particular model. This step is generally simple and can be completed within minutes.
Conclusion
Regardless of the reason why you have to replace a garage door opener, the same process is involved. First, you need to make an inspection and find the main issue. If the malfunction is severe you will have to replace the entire system. If not you will have to replace a single component only.

