Ceiling Illumination Woes? Learn How to Easily Remove LED Lights with These Simple Steps
Ceiling illumination adds a touch of elegance and sophistication to any home. It brightens up the space and creates a cozy ambiance. However, when it comes to changing or removing LED lights from the ceiling, it can be a challenging task. The process can be time-consuming, frustrating, and even hazardous if not done correctly. Therefore, it’s essential to know how to remove LED lights from the ceiling safely and efficiently. In this article, we’ll walk you through some simple steps to help you remove LED lights from your ceiling without damaging the fixture or injuring yourself. Whether you’re replacing the lights or just want to clean them, these easy-to-follow steps will make the process a breeze. So, if you’re tired of struggling with ceiling illumination woes, read on and learn how to remove LED lights from your ceiling like a pro!
LED lights have revolutionized the way we light up our homes, but they are not without their problems. One of the most common issues with LED lights used in ceiling illumination is their tendency to flicker or dim over time. This can be caused by a variety of factors, including poor quality bulbs, faulty wiring, or incompatible dimmer switches. The problem can be frustrating for homeowners, as it can lead to a lack of consistent lighting and a less comfortable living environment. Fortunately, there are some simple steps that can be taken to remove and replace LED lights, which can help to solve the problem and restore the desired level of illumination to the room.
Tools you will need

When it comes to removing LED lights from your ceiling, there are a few essential tools that you will need to make the process as easy and stress-free as possible. Firstly, you will need a sturdy ladder or step stool that can safely support your weight as you work on the ceiling. It’s important to choose a ladder with non-slip feet and a stable base to prevent any accidents or injuries. Additionally, you will need a screwdriver set that includes both Phillips and flathead screwdrivers to remove the screws that hold the LED lights in place. Having a pair of pliers on hand can also be helpful for gripping and twisting any stubborn screws that won’t budge. Another tool that can be incredibly useful when removing LED lights from your ceiling is a voltage detector. This device will help you determine whether the power to your lights has been turned off, ensuring that you can work safely and avoid any dangerous electrical shocks. Additionally, you may want to have a pair of gloves on hand to protect your hands from any sharp edges or debris that may be present during the removal process. By having all of these tools at your disposal, you can approach the task of removing LED lights from your ceiling with confidence and ease.
Removing LED lights from your ceiling might seem like a daunting task, but with the right tools, it can be a breeze. Firstly, you will need a ladder or step stool to reach the ceiling. Next, you will need a pair of gloves to protect your hands from any sharp edges or broken glass. Additionally, a screwdriver set will come in handy to remove any screws or clips holding the light fixture in place. It is also important to have a voltage tester to ensure that the power supply to the light is turned off before you start working on it. Finally, a clean towel or cloth will be useful to wipe away any dust or debris as you remove the light. With these simple tools, you can remove your LED lights safely and easily.
Turn off power

Ceiling illumination woes can be frustrating, especially when you need to remove LED lights. However, knowing how to safely and easily remove LED lights can save you from potential hazards. Before starting the removal process, it is crucial to turn off the power. This step ensures that there is no electricity flowing to the light fixture and reduces the risk of electrocution. Turning off the power is simple, but it can be tricky if you are not familiar with electrical systems. Therefore, it is recommended to switch off the power supply from the main circuit breaker. Once you have turned off the power, use a voltage tester to double-check that there is no electricity flowing to the light fixture. Turning off the power is the first and most important step when it comes to removing LED lights. Failure to switch off the power can result in serious injury or even death. Even if you think you have turned off the power, it is essential to use a voltage tester to ensure that there is no live electricity. Remember, safety should always come first when dealing with electrical systems. Once you have confirmed that there is no electricity flowing, you can proceed with the removal process. With the power switched off, you can safely remove the LED light fixture without worrying about any electrical shocks.
It is crucial to turn off the power before removing any light fixture to avoid electric shock or electrocution. Even if you are dealing with LED lights, there is still a risk of getting shocked if the power is not turned off. It is also important to note that some LED lights are connected to a dimmer switch, and failure to turn off the power could damage the LED lights or the dimmer switch. By turning off the power, you will ensure your safety and prevent any damage to the LED lights or other electrical components. Therefore, it is always better to be safe than sorry, and taking the time to turn off the power before removing any light fixture is a simple yet essential step in maintaining a safe and functional home.
Removing the LED light
If you’re looking to remove an LED light from your ceiling, there are a few simple steps you can follow to make the process easy and hassle-free. Firstly, ensure that the power supply to the light is turned off, either by switching off the circuit breaker or removing the fuse. This step is crucial to avoid any electrical hazards while removing the light. Once the power is off, you can use a ladder to reach the light and remove any screws or clips holding it in place. It’s important to be careful while doing this, as LED lights can be fragile and may break if not handled properly. Once you’ve removed the screws or clips, gently pull the light out of its socket and disconnect any wires or connectors. If you’re unsure about how to disconnect the wires, it’s best to consult an electrician or refer to the manufacturer’s instructions. With these simple steps, you can easily remove LED lights from your ceiling and replace them with new ones. While removing LED lights from your ceiling may seem daunting, it’s a relatively simple process that can be done with just a few tools and a little bit of caution. In addition to following the steps outlined above, it’s also important to ensure that you have the right tools for the job. This may include a ladder, screwdriver, wire cutters, and pliers, depending on the type of LED light you’re removing. Additionally, it’s important to wear protective gear, such as gloves and safety glasses, to avoid any injuries while removing the light. With the right tools and safety precautions in place, removing LED lights from your ceiling can be a quick and easy process that can help you address any illumination woes you may be experiencing.
If you’re struggling with your ceiling illumination and need to remove your LED lights, it’s a relatively simple process that can be done with just a few steps. First, turn off the power supply to the lights and use a ladder to access the ceiling. Next, locate the clips that are holding the LED light in place and gently detach them. Once the clips are removed, you should be able to pull the light out of the ceiling socket. If the light is difficult to remove, use a pair of pliers to gently wiggle it out. Be sure to handle the LED light carefully so as not to damage any of the delicate components. With a few simple steps, you can easily remove your LED lights and get your ceiling illumination back on track.
Installing new LED light
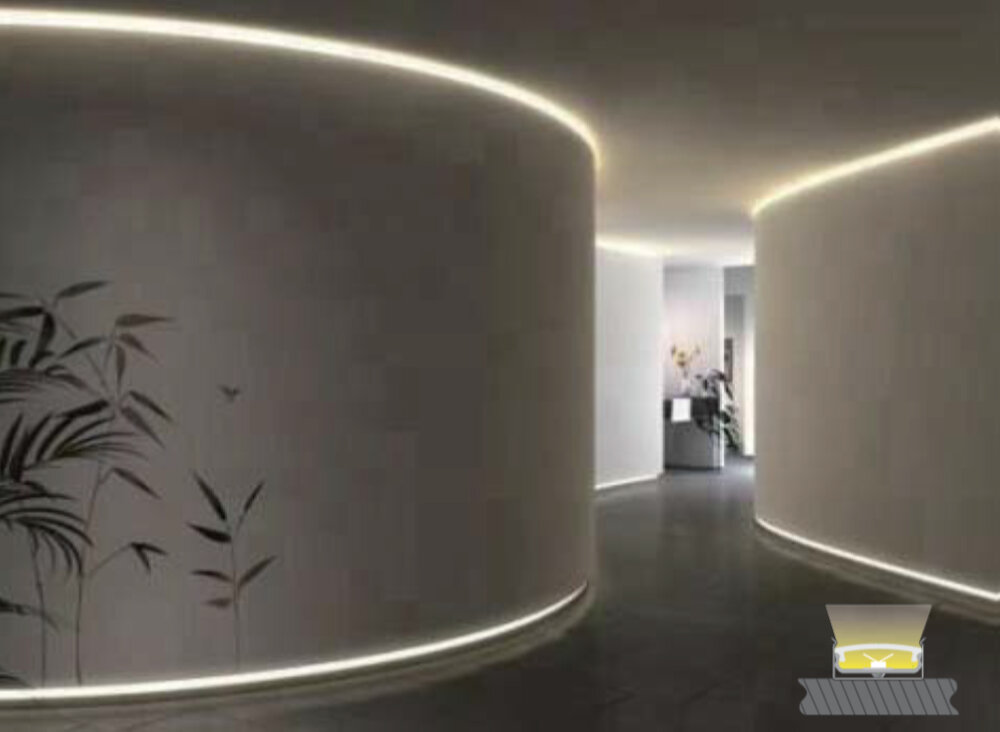
Installing new LED lights can be a great way to update your home’s lighting and improve energy efficiency. Here are a few simple steps to follow to install new LED lights in your ceiling. First, turn off the power to the existing light fixture at the circuit breaker. This is an important safety step that should not be skipped. Next, remove the old light fixture by unscrewing the mounting screws and disconnecting the wires. Be sure to keep track of which wire is connected to which screw so you can easily reconnect the new fixture. Once the old fixture is removed, you can begin installing the new LED light. Follow the manufacturer’s instructions for installation, making sure to securely mount the fixture to the ceiling. Connect the wires to the corresponding screws, being careful not to overtighten. Finally, turn the power back on at the circuit breaker and test the new light. If everything is working properly, you can enjoy the benefits of your new LED light, including improved energy efficiency and longer lifespan. With these simple steps, you can easily upgrade your ceiling illumination and enhance the look of your home.
If you are looking to replace your old LED lights with new ones in the same spot, there are a few tips that can help simplify the process. First, turn off the power supply to the lights and remove the old fixtures carefully. Take note of the wiring and connections before disconnecting them. Next, install the new fixtures in the same spot, following the manufacturer’s instructions carefully. Be sure to match the wiring and connections properly, and secure the fixtures firmly in place. Finally, turn on the power supply and test the new lights to ensure they are functioning correctly. By following these simple steps, you can easily replace your old LED lights with new ones and enjoy a fresh, updated look in your home.
Removing LED lights from your ceiling illumination may seem like a daunting task, but it can be done with ease by following a few simple steps. First, turn off the power source to the lights by flipping the circuit breaker or unplugging the lights. Next, remove the lens cover or trim ring by gently pulling it down and away from the ceiling. Then, locate the clips or screws that hold the LED light in place and remove them. Carefully pull the light down from the ceiling and disconnect the wires from the electrical box. Finally, dispose of the old LED light and install a new one if desired. By following these steps, you can easily remove LED lights from your ceiling illumination and update your home’s lighting with ease.
Before attempting to remove any light fixture, it is crucial to remember to turn off the power. Neglecting this step can result in serious injury or even death due to electrocution. It’s important to take the necessary precautions to ensure your safety when working with electricity. Additionally, turning off the power will prevent any potential damage to the light fixture or wiring, which can be costly to repair. So, before you start removing your LED lights, make sure to switch off the power source and take the necessary safety measures to avoid any mishaps.
Conclusion
In conclusion, dealing with ceiling illumination woes can be a daunting task, especially when it comes to removing LED lights. However, with the simple steps outlined above, anyone can easily remove LED lights from their ceiling without any hassle. Whether you are a DIY enthusiast or a beginner, these steps are straightforward and easy to follow, and they can save you both time and money while ensuring that your ceiling illumination is working efficiently. Therefore, do not let your ceiling illumination woes stress you out anymore. Follow these simple steps and enjoy a well-lit and beautiful home.

