DIY: Create a Black Light with LED Lights in 5 Easy Steps
Looking to add some groovy vibes to your next party or create a unique ambiance in your home? Look no further than creating your own black light with LED lights! Not only is this a fun and easy DIY project, but it also allows you to customize the size and intensity of your black light to fit your specific needs. In just five easy steps, you can transform any room into a neon paradise. With the use of LED lights, this project is not only energy-efficient but also safe for use around children and pets. So, let’s get started and see how to make your very own black light with LED lights!
A black light is a type of light that emits ultraviolet (UV) radiation, which is invisible to the human eye. The light is commonly used in various applications, including forensic investigations, counterfeit detection, and entertainment purposes. In forensic investigations, black lights are used to detect bodily fluids, trace evidence, and counterfeit money. In the entertainment industry, black lights are used in stage performances, nightclubs, and art shows to create unique visual effects. Additionally, black lights are used by reptile owners to simulate natural sunlight and promote healthy growth and development. Overall, black lights are versatile tools that have numerous practical and creative applications.
Creating a DIY black light is a fantastic idea for anyone looking to add a unique and creative touch to their space. Whether you’re planning a party, setting up a home theater, or just want to create a cool atmosphere, a black light can transform any room into a glowing wonderland. Not only is making your own black light a fun and creative project, but it’s also affordable and easy to do with just a few basic materials. By following the 5 simple steps outlined in this article, you can bring a little bit of magic and intrigue to your home and wow your friends and family with your DIY skills.
Materials Needed
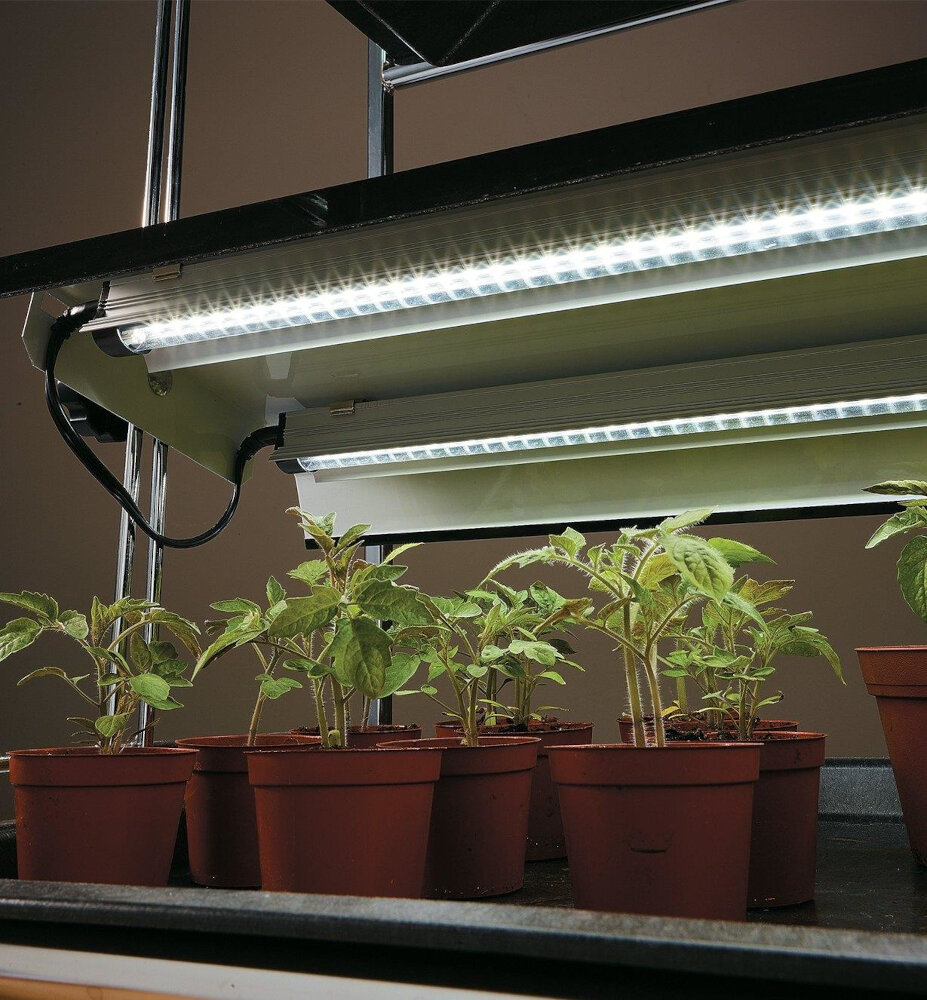
When it comes to making a black light with LED lights, there are only a few materials that you will need. The first and most important is a set of UV LED lights. These can be found online or at your local hardware store. You will also need a power source for the lights, such as a battery or power adapter. Additionally, you will need a container or fixture to hold the lights in place, such as a lampshade or plastic container. Other optional materials may include reflective tape or paint to increase the intensity of the light, as well as a switch or dimmer to control the brightness. It is important to note that while making a black light with LED lights is a relatively easy process, safety should always be a top priority. When working with electrical components, be sure to follow all safety precautions and instructions carefully. It is also important to use caution when working with UV light, as prolonged exposure can be harmful to your eyes and skin. With the right materials and safety precautions in place, however, creating your own black light with LED lights can be a fun and rewarding DIY project.
To create a black light with LED lights, you will need a few materials. Firstly, you will need a set of UV LED strip lights. These can be purchased from any hardware or electronics store. You will also need a power supply for the LED lights, which can be either a battery pack or a wall adapter. Additionally, you will need a switch to turn the lights on and off, some electrical tape, and a soldering iron with solder. Finally, you will need a few basic tools such as wire cutters and a screwdriver. With these materials, you will be able to create your own black light in just five easy steps.
In order to create a black light using LED lights, several materials are necessary. Firstly, LED lights of a specific wavelength are needed to produce the ultraviolet light that causes fluorescent materials to glow. Secondly, a power source such as a battery pack is necessary to provide electricity to the LED lights. Thirdly, a housing unit or casing is required to protect the LED lights and to direct the light in a specific direction. Fourthly, a switch or controller is essential to turn the black light on and off. Finally, fluorescent materials such as posters, clothing, or paint are necessary to showcase the black light’s effect. Without any of these materials, it would not be possible to create a functional black light using LED lights.
StepbyStep Instructions
Creating a black light with LED lights may seem like a daunting task, but with step-by-step instructions, it can be done easily. The first step is to gather all the necessary materials, including LED strips, a power supply, a switch, and a power jack. Once you have your materials, you can begin the process of building your black light. The second step is to attach the LED strips to a surface, such as a piece of cardboard or a plastic board. This will serve as the base for your black light. Once the LED strips are securely attached, you can begin wiring them to the power supply. This is where the switch and power jack come in handy. The third step is to connect the LED strips to the switch and power jack. This will allow you to turn the black light on and off as desired. The fourth step is to test the black light to ensure that it is working properly. To do this, simply turn the switch on and observe the LED strips. If they emit a bright light that illuminates the surrounding area with fluorescent colors, then you have successfully created a black light with LED lights. The final step is to use your new black light to create a fun and exciting atmosphere at parties, in bedrooms, or in any other space where you want to add a touch of neon color.
In order to create a black light with LED lights, the first step is to prepare the LED lights. This involves gathering all the necessary materials, such as a strip of LED lights, a power supply, and a soldering iron. Once you have everything you need, carefully cut the LED strip to the desired length and solder the power supply wires to the appropriate points on the LED strip. It is important to be precise and careful during this step to avoid damaging the LED lights. Once the wiring is complete, attach the LED lights to a suitable surface and your black light is ready to go!
After gathering all the necessary materials and tools in the first step, the second step in creating a black light with LED lights is to assemble the LED lights onto the board. The process involves attaching the LED lights onto the circuit board by soldering them in place. It is essential to ensure that the LED lights are positioned correctly and that their polarity is correctly aligned. The use of a soldering iron and a steady hand is crucial in this step to ensure that the connections are secure and that the LED lights light up as expected. When completed successfully, this step brings the project closer to completion, and one can move on to the next step with a sense of satisfaction and excitement.
After assembling the LED lights and their holders, it’s time to wire them up to the power source. Begin by cutting the wire to the desired length, ensuring that it’s long enough to reach the power source. Next, strip the ends of the wire using wire strippers to expose the copper wire underneath. Connect the wires to the LED lights one by one, ensuring that the positive and negative terminals match up correctly. Once all the wires are connected, it’s time to connect them to the power source. This can be done by either connecting them to a battery holder or a power adapter. Make sure to test the lights before mounting them in their final location to ensure they’re working correctly. With these easy steps, you’ll be able to create a black light that’s perfect for all your party needs.
Step 4 in creating your own black light with LED lights involves adding the crucial black light filter. This filter is what allows the UV light to pass through while blocking out the visible light spectrum, creating that iconic fluorescent glow. There are various types of black light filters, but the most commonly used ones are made from a special type of glass or plastic that absorbs the unwanted visible light, leaving only the UV light to shine through. It’s important to make sure you’re using a high-quality filter that’s designed specifically for black lights, as using the wrong type of filter could result in a weak or ineffective glow. Once you’ve added the filter, you’re one step closer to enjoying your very own DIY black light experience.
After assembling the black light with LED lights, it is essential to test its effectiveness. To do so, turn off all the lights in the room and switch on the black light. Check to see if the LED lights are emitting the required ultraviolet light that will cause the desired fluorescent effect. If the result is not as expected, try adjusting the distance between the LED lights and the object being illuminated. The closer the object is to the LED lights, the brighter the fluorescent effect will be. Testing the black light is a vital step in the DIY process since it will allow you to make any necessary adjustments before using it for a party, event, or other activities.
Tips for Success
Achieving success is a goal that many people aspire to, but it requires effort and dedication. One of the most important tips for success is to set clear and achievable goals. When you have a specific target in mind, it becomes easier to plan and take action towards achieving it. It is also important to break down your goals into smaller, manageable steps, and track your progress along the way. This will help you stay motivated and focused on your goals. Another key tip for success is to cultivate a positive mindset. This involves learning to overcome obstacles and setbacks, and seeing challenges as opportunities for growth and learning. It also means surrounding yourself with positive and supportive people who will encourage and motivate you, rather than dragging you down. Finally, success also requires taking action and being willing to step out of your comfort zone. This may mean trying new things, taking risks, and learning from your mistakes along the way. By following these tips, you can increase your chances of achieving your goals and living a successful and fulfilling life. In summary, success requires a combination of clear goals, a positive mindset, and a willingness to take action and embrace challenges. These tips can be applied to any area of life, whether you are pursuing a career, starting a business, or simply trying to improve your health and well-being. By staying focused, motivated, and open to new opportunities, you can create the life you want and achieve your full potential.
In addition to the five steps outlined in this DIY guide to creating a black light with LED lights, there are a few additional tips to keep in mind to ensure the success of your project. First, make sure to carefully follow the instructions for wiring and connecting the LED lights to avoid any electrical issues. Additionally, consider using a UV filter to protect your eyes from the potentially harmful effects of the black light. Finally, test your black light in a dark room before using it for any important events or projects to ensure that it is functioning properly and producing the desired effect. By taking these extra precautions, you can create a safe, effective, and successful black light using LED lights.
When creating a black light with LED lights, there are a few common mistakes that you should avoid. Firstly, ensure that you are using the correct type of LED lights that emit ultraviolet (UV) light. Using the wrong type of LED lights can result in a dull or weak black light effect. Secondly, make sure that the LED lights are arranged in a uniform and consistent manner, as any gaps or unevenness in the placement can cause hotspots or dead zones in the black light. Additionally, be cautious when handling the LED lights, as they are delicate and can be easily damaged. Lastly, always follow safety guidelines and precautions when working with electricity and lighting equipment to avoid accidents or injuries. By avoiding these common mistakes, you can successfully create a high-quality black light with LED lights.
Creating a DIY black light with LED lights is a fun and easy project that anyone can do. The first step is to gather all the necessary materials, which includes UV LED strips, a power source, a switch, and wires. Once you have everything you need, the next step is to cut the LED strips to the desired length and attach them to a surface. After that, you will need to connect the LED strips to the power source using wires and a switch. Once everything is connected, you can turn on the switch and enjoy the beautiful glow of your DIY black light. With just a few simple steps, you can create a unique and exciting addition to your home or party decor.
Having a black light can bring a wide range of benefits, especially to those who enjoy DIY projects or party planning. One of the most notable advantages is its ability to highlight certain materials that glow under UV light, such as white clothing, fluorescent paints, and neon-colored decorations. This creates a unique and dynamic atmosphere that can enhance the overall experience of any event or project. Additionally, black lights are often used for detecting counterfeit money, inspecting hotel rooms for cleanliness, and even in medical settings for diagnosing certain skin conditions. With the easy steps outlined in this article, anyone can create their own black light with LED lights and enjoy all the benefits that come with it.
Are you looking for a fun and easy DIY project to spice up your living space or next party? Look no further than creating your own black light with LED lights! In just 5 simple steps, you can have a unique and eye-catching piece that will leave your guests in awe. Not only is it a fun project to complete, but the results are sure to impress. Imagine the possibilities of showcasing your art or decor in a whole new light (literally!). So go ahead, give it a try and enjoy the glowing results of your hard work.
Conclusion
In conclusion, creating a black light with LED lights is a fun and easy DIY project that can be done in just five simple steps. With the right materials and a bit of patience, anyone can transform a regular LED light into a mesmerizing black light that can be used for a variety of purposes, such as party decorations or art projects. Not only is this project cost-effective, but it also allows for customization and personalization. So, why not try your hand at creating a black light with LED lights and see the magic that can be achieved with just a few simple steps?

