DIY Guide: Create Your Own LED Grow Light for a Thriving Indoor Garden
If you’re looking to grow plants indoors, whether for food or decoration, you’ll need the right kind of lighting. While natural sunlight is the best option, it’s not always possible to get enough of it, especially during the winter months. That’s where LED grow lights come in handy. They provide the necessary light spectrum for plants to grow and thrive, and they’re energy-efficient and long-lasting. However, buying a commercial LED grow light can be expensive, and you may not find one that fits your specific needs. That’s why creating your own DIY LED grow light can be a fun and rewarding project. With a DIY LED grow light, you can customize the spectrum and intensity of the light to suit your plants’ needs. You can also save money and reduce waste by using recycled materials and components you already have. Additionally, building your own LED grow light can be a learning experience, as you’ll get to understand the principles of electronics and lighting, and develop your problem-solving skills. In this guide, we’ll walk you through the steps of creating your own LED grow light, from choosing the right components to assembling and testing the circuit, so you can have a thriving indoor garden all year round.
Proper lighting is crucial for indoor plants as they rely on light for photosynthesis, which is essential for their growth and survival. Without adequate light, plants may become weak, leggy, or even die. The right amount and type of light can influence not only the growth rate but also the plant’s shape, color, and flowering. Using LED grow lights can provide the necessary light spectrum for indoor plants, mimicking natural sunlight as closely as possible. This is especially important for those who live in areas with limited sunlight or during the winter months when the sun is weaker. By investing in proper lighting, gardeners can ensure their indoor plants thrive and produce healthy yields.
The benefits of using LED grow lights for indoor gardening are numerous. First and foremost, LED lights are energy-efficient, using up to 80% less energy than traditional lighting. They also emit less heat, which means they can be placed closer to plants without damaging them. Additionally, LED lights can be customized to emit specific wavelengths of light, which can optimize plant growth and yield. Unlike traditional lighting, LED lights have a longer lifespan and require less maintenance, making them a cost-effective option in the long run. Finally, LED lights are eco-friendly, as they don’t contain harmful chemicals and can be recycled. Overall, using LED grow lights is a smart choice for any indoor gardener looking to save energy, optimize plant growth, and reduce their environmental impact.
Indoor gardening has become increasingly popular in recent years, and for good reason. However, the cost of purchasing commercial LED grow lights can be quite daunting for many gardeners. A more cost-effective approach is to create your own DIY LED grow light. Not only will this save you money, but it also allows for customization based on the needs of your plants. With the right materials and a little bit of know-how, you can create a thriving indoor garden with a DIY LED grow light.
Materials Needed
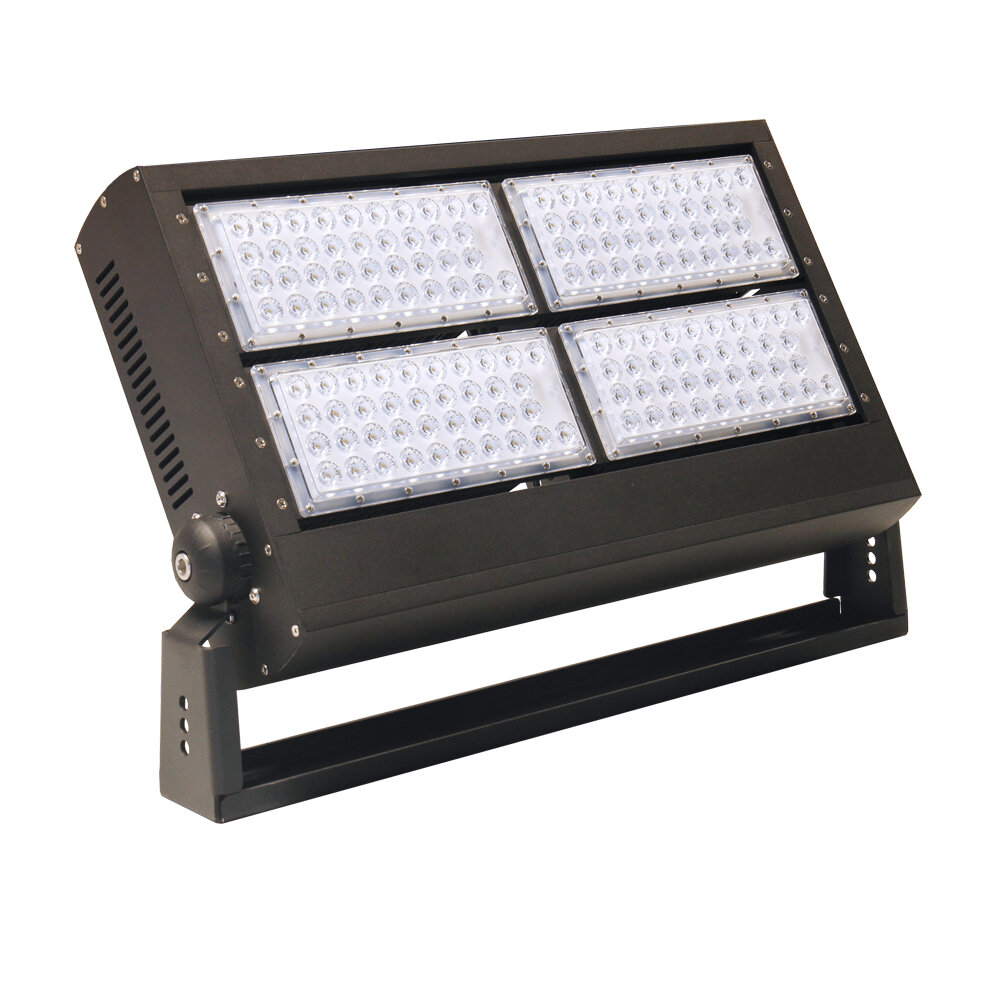
When it comes to creating an LED grow light for your indoor garden, there are a few essential materials that you will need to get started. First and foremost, you will need LED chips or strips. These are the primary source of light for your plants, and they come in a variety of colors and wavelengths to suit different plant growth stages. You can purchase LED chips or strips online or at your local hardware store. It’s important to choose high-quality LEDs that will provide enough light for your plants to thrive. In addition to LED chips or strips, you will also need a heat sink to dissipate the heat generated by the LEDs. This is important to prevent the LEDs from overheating and burning out prematurely. You can purchase a heat sink online or at your local hardware store. Other materials you will need include a driver, which regulates the power supply to the LEDs, and a power cord to connect the driver to a power source. You may also need some basic tools such as a soldering iron, wire cutters, and pliers to assemble your LED grow light. With these materials in hand, you can create a powerful and efficient LED grow light that will help your indoor garden thrive.
To create your own LED grow light, you will need a variety of materials to ensure that your indoor garden thrives. Firstly, you will need LED strip lights, preferably the full spectrum type, which will provide your plants with the necessary light to grow. Along with the LED lights, you will also need a power supply to ensure that the lights have enough energy to run efficiently. Other materials required include a soldering iron and solder, a drill, heat shrink tubing, and a heat gun. To ensure that the LED lights are securely mounted, you will also need aluminum channels and mounting brackets. Finally, to complete the DIY project, you will need wire strippers and electrical tape to ensure that your connections are secure and safe. With these materials in hand, you can create your own LED grow light and enjoy the benefits of a thriving indoor garden.
If you’re looking to create your own LED grow light for your indoor garden, it’s essential to know where to purchase the necessary materials. Fortunately, most of the components required for this project can be found online, and some of them can even be acquired at local hardware stores. For instance, you can purchase LED strips, aluminum channels, a power supply, and a heat sink on Amazon, eBay, or AliExpress. Additionally, you can get the soldering iron, wire cutters, and other tools required for the project from your local hardware store or an online retailer like Home Depot or Lowes. By including links to the sources where you can purchase the materials, you can save yourself time and effort searching for the parts and ensure that you have everything you need to make your LED grow light a success.
Steps to Build Your Own LED Grow Light
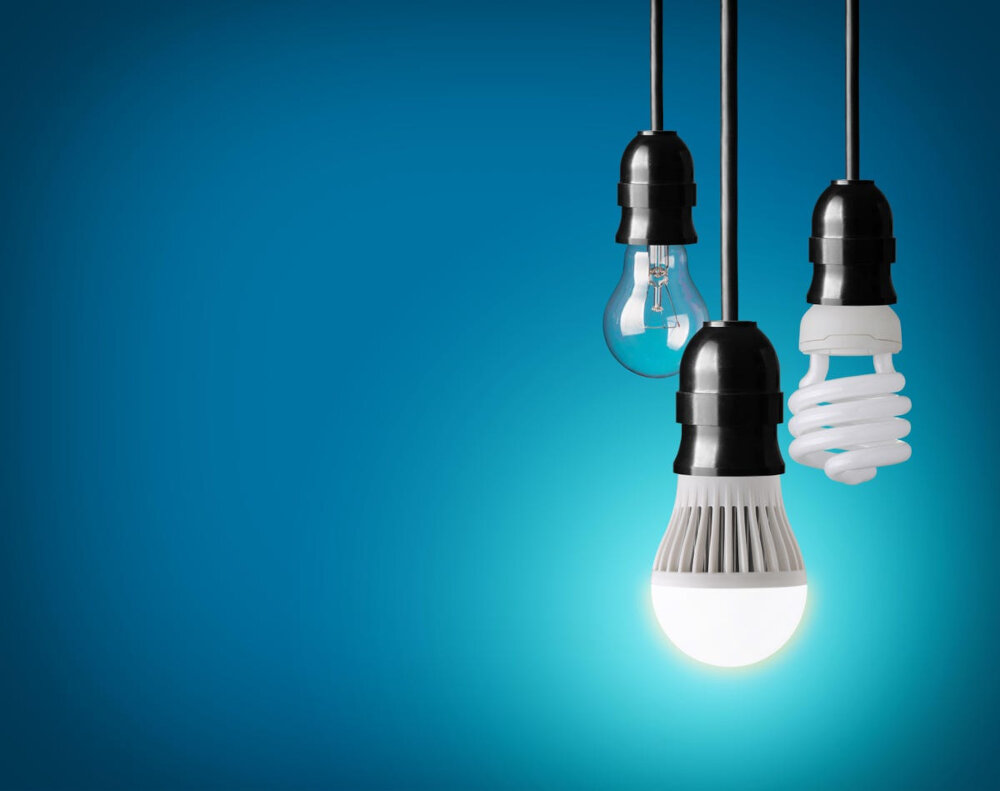
Building your own LED grow light can be a fun and rewarding DIY project for any indoor gardening enthusiast. The first step is to gather the necessary materials such as LED chips, heat sinks, a power supply, and wiring. It is important to choose high-quality components that are appropriate for the size of your grow space and the plants you will be growing. Once all the materials are gathered, the next step is to assemble the LED chips onto the heat sinks and connect them to the power supply. This can be done using soldering or a specialized LED driver. Proper wiring and electrical safety measures should be observed throughout the process. After assembling the LED chips and power supply, it is recommended to test the light to ensure it is functioning properly before mounting it in your grow space. In addition to the construction of the LED grow light, it is important to consider factors such as color spectrum and intensity when designing your light. Different wavelengths of light can have varying effects on plant growth and development, so it is important to choose LED chips with the appropriate color spectrum for your plants. Additionally, the intensity of the light should be adjusted according to the size and stage of growth of your plants. Some DIY LED grow light builders choose to incorporate features such as dimming controls or timers to adjust the light intensity and duration. By carefully considering these factors and putting in the effort to construct a high-quality LED grow light, indoor gardeners can create a thriving and efficient growing environment for their plants.
Building your own LED grow light can be a fun and rewarding project that allows you to customize your indoor garden lighting to suit your specific needs. To get started, gather the necessary materials, including LED chips, heat sinks, a power supply, and a circuit board. Then, carefully follow the step-by-step instructions to assemble the components and connect the wires. Be sure to test the voltage and current levels to ensure that everything is functioning properly before mounting the finished product in your indoor garden. With your new LED grow light, you’ll be able to provide your plants with the optimal growing conditions they need to thrive year-round.
When creating your own LED grow light for an indoor garden, including pictures or diagrams can greatly aid in the process. Whether you’re a seasoned DIY enthusiast or a beginner, a visual representation of the steps can help ensure that you’re following the instructions correctly. Additionally, diagrams can provide a clearer understanding of the electrical connections required for the grow light. By including pictures or diagrams, you’ll be able to troubleshoot any issues that may arise during the creation process, ensuring that your indoor garden thrives under the custom-made LED grow light.
Testing and Troubleshooting
Testing and troubleshooting are essential steps in the process of creating your LED grow light. After assembling your light, it is important to test the electrical connections to ensure that they are functioning properly. You can do this by using a multimeter to measure the voltage and current at each connection point. Make sure that all connections are secure and that there are no loose wires or exposed conductors. Once you have verified that the electrical connections are sound, you can move on to testing the light output. You can do this by measuring the lux or PAR values at different distances from the light source. This will give you an idea of the intensity of the light and how well it will meet the needs of your plants. Troubleshooting is another important aspect of creating your own LED grow light. If you encounter any problems during the testing process, you should take the time to investigate the issue and find a solution. This may involve checking the wiring, replacing faulty components, or adjusting the light spectrum to better suit your plants’ needs. It is important to be patient and persistent when troubleshooting, as it may take some time to identify the root cause of the problem. By taking the time to test and troubleshoot your LED grow light, you will be able to ensure that it is functioning properly and providing the optimal conditions for your indoor garden to thrive.
To test the functionality of an LED grow light, there are several steps you can take. First, make sure the light is plugged in and turned on. Then, use a light meter to measure the intensity of the light output. You can also visually inspect the plants to see if they are growing properly and have healthy leaves. Additionally, you can monitor the temperature and humidity levels in the grow area to ensure that they are at appropriate levels for plant growth. Finally, you can track the growth of your plants over time to see if they are thriving under the LED grow light. By taking these steps, you can ensure that your DIY LED grow light is functioning properly and helping your indoor garden to thrive.
During the construction process of a DIY LED grow light, there are a few common issues that may arise, such as incorrect wiring, insufficient power supply, and overheating. Incorrect wiring can result in the light not turning on or functioning properly, while an insufficient power supply can cause the light to dim or flicker. Overheating can be a serious issue as it can damage the LEDs and reduce their lifespan. To troubleshoot these issues, it is important to carefully follow the instructions and double-check all wiring connections. Using a suitable power supply and ensuring adequate ventilation can also prevent overheating. Additionally, seeking advice from a professional or experienced DIYer can help to resolve any problems and ensure a successful construction process.
Benefits of Using Your Own LED Grow Light
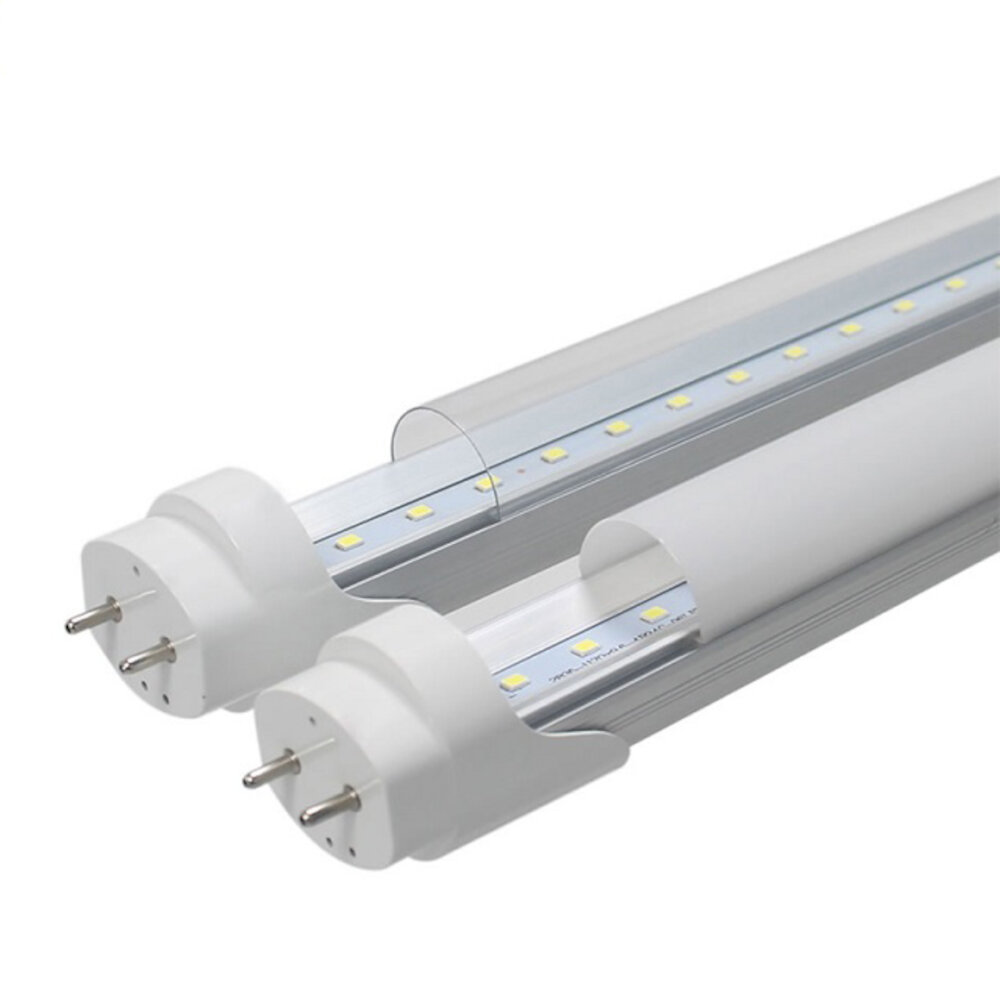
Using your own LED grow light for indoor gardening has several benefits that make it a popular choice among gardening enthusiasts. Firstly, LED grow lights are energy-efficient and cost-effective, using up to 80% less energy than traditional light sources. This means that you save money on your electricity bill while also reducing your carbon footprint. Additionally, LED grow lights emit very little heat, which means that you don’t have to worry about your plants overheating or getting damaged. This makes LED grow lights ideal for use in small spaces or in areas where the temperature is not easily regulated. Another benefit of using your own LED grow light is the ability to customize the light spectrum to meet the specific needs of your plants. Different plants require different wavelengths of light to grow and thrive, and with LED grow lights, you can adjust the spectrum to suit your plant’s needs. This means that you can optimize the growth and yield of your plants, resulting in healthier, more robust plants that produce more fruit or flowers. Additionally, LED grow lights are long-lasting, with a lifespan of up to 50,000 hours, which means that you won’t have to replace them as often as other types of grow lights, saving you money in the long run. Overall, using your own LED grow light is a smart choice for anyone who wants to grow healthy, thriving plants indoors.
Creating your own LED grow light is an excellent way to save money while also providing you with customization options for your indoor garden. By building your own LED light, you can tailor the spectrum of light to the specific needs of your plants, which can lead to healthier growth and higher yields. Additionally, purchasing individual components and assembling them yourself can be much cheaper than buying a pre-made grow light. This DIY approach also allows you to experiment with different LED configurations and layouts until you find the perfect setup for your garden. Overall, creating your own LED grow light provides a cost-effective, customizable, and rewarding solution for indoor gardeners looking to optimize their plant growth.
LED grow lights are becoming increasingly popular among indoor gardeners due to their numerous benefits. One of the most significant advantages of using LED grow lights is their energy efficiency. Unlike traditional lighting systems, LED grow lights consume less power, making them cost-effective and environmentally friendly. Additionally, LED grow lights emit wavelengths that are optimal for plant growth, which promotes photosynthesis and accelerates the growth process. These lights also produce less heat than other lighting systems, reducing the risk of plant damage from overheating. The use of LED grow lights in indoor gardening is an excellent way to save energy, improve plant growth, and reduce maintenance costs.
LED grow lights have become increasingly popular for indoor gardening due to their numerous benefits. Firstly, they are energy-efficient, consuming less power than traditional light sources, resulting in lower electricity bills. Secondly, they generate less heat, which not only saves on cooling costs but also prevents damage to plants. Thirdly, they provide a full spectrum of light that promotes healthy plant growth, resulting in higher yields and better quality produce. Fourthly, they have a longer lifespan compared to other light sources, reducing the need for frequent replacements. Lastly, LED grow lights are customizable, allowing growers to adjust the light spectrum and intensity to suit the specific needs of their plants. Overall, using LED grow lights for indoor gardening is a cost-effective and efficient way to create a thriving indoor garden.
Are you tired of spending a fortune on pre-made LED grow lights for your indoor garden? Look no further than creating your own! Not only is it a cost-effective solution, but it also allows you to customize the light spectrum and intensity to suit your specific plant needs. With a little bit of research and effort, you can have a thriving indoor garden in no time. Don’t let the idea of DIY intimidate you – this guide will walk you through the process step-by-step. So why not give it a try? Your plants (and wallet) will thank you.
Conclusion
In conclusion, creating your own LED grow light is a fun and cost-effective way to ensure a thriving indoor garden. With the right materials and a little bit of DIY know-how, you can customize your light to meet the specific needs of your plants and achieve optimal growth and yields. LED technology has come a long way in recent years, making it an excellent choice for indoor gardening. By following the steps outlined in this guide, you can create a high-quality grow light that will provide your plants with the light they need to flourish. So, roll up your sleeves, gather your materials, and get ready to enjoy the fruits of your labor with a beautiful, healthy indoor garden.

