DIY Guide: Easily Replace an LED Ceiling Light in 5 Simple Steps
Are you tired of the old, outdated ceiling light in your home? Do you want to upgrade to a more energy-efficient and modern LED light? Look no further! This DIY guide will walk you through the process of replacing your old ceiling light with a brand new LED light in just 5 simple steps. LED lights are a great choice for any home because they are energy-efficient, long-lasting, and environmentally friendly. Not only do they save you money on your electricity bill, but they also emit a brighter and more natural light than traditional bulbs. By following this easy guide, you can replace your old light with a sleek, modern LED light and enjoy the benefits of improved lighting and cost savings for years to come.
Replacing an LED ceiling light is essential for several reasons. Firstly, an outdated or faulty LED light can lead to poor lighting conditions and decrease the overall aesthetic appeal of a room. Secondly, an LED light that is not working properly can consume more electricity than necessary, leading to higher electricity bills. Replacing an LED ceiling light also provides an opportunity to upgrade to a more energy-efficient and technologically advanced lighting system. Additionally, a new LED light can enhance the ambiance of a space and create a more comfortable living or working environment. By following a simple DIY guide, anyone can replace an LED ceiling light and enjoy the benefits of improved lighting and energy efficiency.
Replacing an LED ceiling light might seem like a daunting task at first, but with the right tools and some basic knowledge, it can be easily accomplished by anyone. The difficulty level of the task can vary depending on the type of light fixture, the height of the ceiling, and the complexity of the wiring. However, with careful planning and attention to detail, even a beginner can successfully replace an LED ceiling light in just a few simple steps. It is important to follow the instructions carefully and take all necessary safety precautions to ensure a smooth and successful installation. With patience and persistence, anyone can upgrade their home lighting with a brand new LED ceiling light.
Before starting the process of replacing an LED ceiling light, it’s essential to gather all the necessary tools and materials. Firstly, you will need a new LED light fixture, a ladder or step stool, wire strippers, a voltage tester, a screwdriver set, wire connectors, and electrical tape. Make sure to wear safety gloves and glasses to protect your eyes and hands while working with electricity. You may also need a partner to help hold the light fixture while you connect the wires. Ensure that you have all the required tools and materials before beginning the process to avoid any delays or complications.
Step 1: Turn off the power supply
Replacing an LED ceiling light can be an easy task to accomplish with the right tools and knowledge. However, safety should always be the top priority when dealing with electrical projects. The first step in this DIY guide is to turn off the power supply. This is crucial to avoid any risk of electrocution or injury while working on the light fixture. To turn off the power supply, locate the main electrical panel in your home. It is typically found in a utility room or basement. Flip the switch that corresponds to the room where the light fixture is located. It is recommended to use a voltage tester to double-check that the power is indeed off. This tool will indicate if there is any electrical current still flowing through the wires. Remember to never assume that the power is off without verifying it first. Taking this precaution will ensure a safe and successful installation process.
Turning off the power supply is a crucial step in replacing an LED ceiling light. It is imperative to ensure safety and prevent electrocution. The first step to do before starting any electrical work is to shut off the power supply from the main circuit breaker. Moreover, it is essential to verify that the power supply is off by using a voltage tester. This precautionary measure ensures that there is no electricity running through the wires, which could potentially cause harm. Additionally, turning off the power supply also protects the light fixture from any power surges or voltage fluctuations that can damage the LED light or cause it to malfunction. Therefore, it is essential to turn off the power supply before replacing the LED ceiling light to ensure safety and protect the fixture from damage.
Before you begin replacing your LED ceiling light, it is essential to turn off the power supply to avoid any electrical mishaps. Here’s a step-by-step guide on how to turn off the power supply. Firstly, locate the electrical panel in your home. It is usually situated in the basement or a utility room. Secondly, identify the breaker switch that controls the power supply to the room where you will be working. Thirdly, switch off the breaker switch and double-check that the power is off by testing the light switch. Lastly, use a voltage tester to ensure that the circuit is completely dead before starting the installation process. Remember to exercise caution when dealing with electricity to ensure your safety.
When it comes to replacing an LED ceiling light, safety should always be the top priority. Before starting the process, make sure to turn off the power supply to the light fixture at the circuit breaker. This will prevent any potential electrical accidents while working on the light. Additionally, it is recommended to wear protective gloves and eyewear to avoid any injury from broken glass or loose wiring. Remember to handle the light fixture with care and never force any parts during installation. By following these safety precautions, you can ensure a successful and safe DIY LED ceiling light replacement.
Step 2: Remove the Old LED Ceiling Light

In order to replace an LED ceiling light, the second step is to remove the old light fixture. This may seem like a daunting task, but with the right tools and techniques, it can be done easily. First, turn off the power to the old light fixture by flipping the switch on the circuit breaker box. Then, remove any screws or bolts that are holding the fixture in place. If the fixture is attached to the ceiling with adhesive, use a putty knife or scraper to gently pry it off. Be sure to wear gloves and eye protection while removing the old fixture to avoid injury. Once the old fixture is removed, inspect the wiring and junction box to make sure everything is in good condition. If there are any frayed wires, loose connections, or other damage, it is important to repair or replace them before installing the new fixture. This will ensure that your new LED ceiling light works properly and safely. After inspecting the wiring, you can move on to the next step of installing the new fixture.
To remove an old LED ceiling light, you must first turn off the power source to avoid any electrical hazards. Next, carefully remove the cover or diffuser from the fixture by unscrewing it or gently pulling it off. Once the cover is removed, you should be able to access the screws that hold the fixture to the ceiling. Use a screwdriver to loosen and remove these screws. Hold onto the fixture as you remove the screws to avoid dropping it. Once the screws are removed, gently pull the fixture away from the ceiling, being careful not to damage the electrical wires. Finally, disconnect the wires by twisting the wire connectors counterclockwise and pulling the wires apart. You can now safely dispose of the old LED ceiling light.
To remove an old LED ceiling light, first, turn off the power supply to the light fixture. Locate the screws or bolts that hold the fixture in place, and use a screwdriver or pliers to remove them. If the fixture is stuck in place, gently wiggle it back and forth to loosen it. Once the fixture is free, carefully disconnect the wires using wire cutters. Be sure to note which wire is positive and which is negative, so you can connect the new fixture correctly. Finally, remove the mounting bracket from the ceiling by unscrewing it, and dispose of the old fixture properly. With these simple steps, you can easily remove your old LED ceiling light and replace it with a new one.
When replacing an LED ceiling light, it is important to take safety precautions to avoid any accidents or injuries. Firstly, make sure that the power supply to the light is turned off at the circuit breaker to prevent any electric shocks. Secondly, use a sturdy ladder or step stool to reach the ceiling and have someone assist you if necessary. Lastly, wear appropriate safety gear such as gloves and eye protection to protect yourself from any debris or sharp edges. By taking these safety precautions, you can ensure a safe and successful replacement of your LED ceiling light.
Step 3: Install the Mounting Bracket
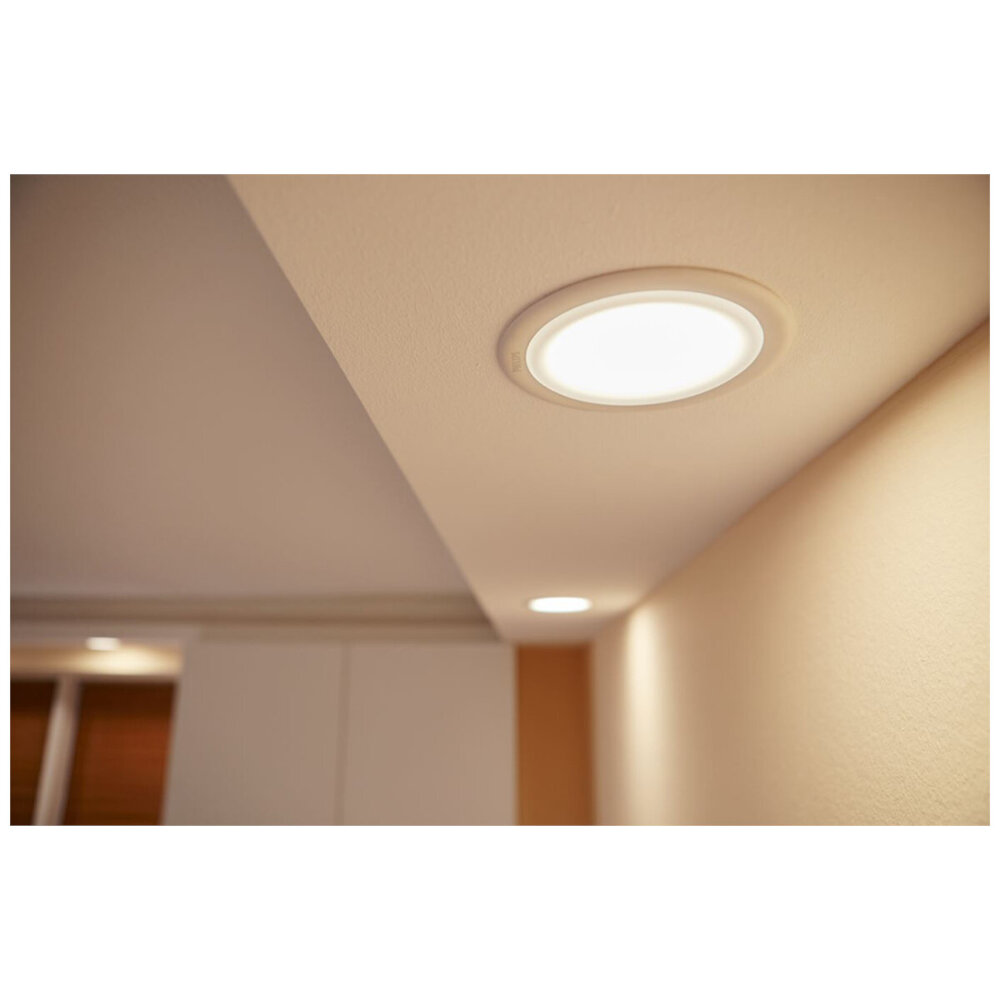
The third step of replacing an LED ceiling light involves installing the mounting bracket. The mounting bracket is an essential component that ensures the LED light fixture is securely attached to the ceiling. Before installing the mounting bracket, ensure that the power is turned off to avoid electrocution. Once you have disconnected the power, remove the old fixture and inspect the wiring to ensure there are no damages. Next, attach the mounting bracket to the junction box on the ceiling. The bracket should be level and centered over the junction box. Ensure that the screw holes on the bracket are aligned with those on the junction box. Use screws and a screwdriver to secure the bracket to the box. Once the bracket is securely attached, you can proceed to connect the wiring. Ensure that the wires are properly connected and secured with wire connectors. Finally, attach the LED light fixture to the mounting bracket by aligning the screw holes and securing it with screws.
The importance of installing the mounting bracket when replacing an LED ceiling light cannot be overstated. This small yet crucial component provides a secure and stable base for the fixture, ensuring that it doesn’t wobble or fall from the ceiling. Without the mounting bracket, the weight of the fixture would rest solely on the electrical box, which may not be strong enough to support it. This could result in a hazardous situation, with the light falling and potentially causing injury or damage. Therefore, taking the time to properly install the mounting bracket is essential to ensure the safety and longevity of your new LED ceiling light.
Installing the mounting bracket is the first step when replacing an LED ceiling light. Begin by turning off the power supply to the light switch, then remove the old fixture and disconnect the wires. Next, attach the mounting bracket to the electrical box in the ceiling using screws and a screwdriver. Make sure that the bracket is level and secure. Once the bracket is in place, connect the wires from the new fixture to the wires in the electrical box, using wire nuts to securely connect each wire. Finally, attach the new LED light fixture to the mounting bracket using screws, and turn the power back on to test the new light.
Before starting the process of replacing an LED ceiling light, it is essential to take appropriate safety measures. First and foremost, it is necessary to turn off the power supply to the fixture to avoid any electrical hazards. Secondly, wear appropriate protective gear such as gloves and safety glasses to avoid any physical injuries. Lastly, make sure to use a sturdy and stable ladder to reach the height of the ceiling. By taking these safety precautions, you can ensure a safe and successful replacement of your LED ceiling light.
Step 4: Connect the Wires
In step 4 of the DIY guide to easily replace an LED ceiling light in 5 simple steps, it’s time to connect the wires. Before you begin, ensure that the power to the light fixture is turned off. To connect the wires, strip the ends of the wires on both the ceiling and the new LED light fixture. Then, twist the wires together and secure them with wire nuts. Make sure that the wires are connected correctly, with the black wire connected to the black wire, the white wire connected to the white wire, and the green or bare wire connected to the ground wire. Once the wires are securely connected, tuck them up into the junction box and attach the LED light fixture to the ceiling bracket. Connecting the wires is a crucial step in replacing an LED ceiling light, as incorrect connections can lead to electrical hazards, such as short circuits, fires, or electrocution. It’s important to follow the instructions carefully and ensure that the wires are connected correctly. If you’re unsure about the wiring, consult a licensed electrician or a knowledgeable DIYer. Once the wires are connected, you can turn the power back on and test the light to ensure that it’s working properly. Congratulations, you’ve successfully replaced your old ceiling light with a new energy-efficient LED light fixture!
Connecting wires correctly is crucial when replacing an LED ceiling light. It ensures the electrical circuit is complete and the light functions safely and efficiently. Incorrect wiring can lead to short circuits, electrical shock, and even fires. Therefore, it is essential to follow the manufacturer’s instructions carefully, use the correct tools, and identify the wires correctly. Taking the time to connect the wires correctly can save time and money in the long run and provide peace of mind knowing that the LED ceiling light is installed correctly and functioning safely.
Connecting the wires for your new LED ceiling light is a critical step in the installation process. First, turn off the power supply to the light fixture at the circuit breaker. Next, remove the old light fixture and disconnect its wires. Then, connect the black wire from the ceiling to the black wire from the LED light fixture, and connect the white wire from the ceiling to the white wire from the LED light fixture. Finally, connect the green or bare copper wire from the ceiling to the green or bare copper wire from the LED light fixture. Make sure all wire connections are secure and use wire nuts to cover the exposed wires. Once you’ve connected the wires, turn the power supply back on and test the light to ensure it’s working properly.
When replacing an LED ceiling light, it’s important to take safety precautions to avoid any accidents or injuries. Firstly, ensure that the power supply to the light is turned off at the circuit breaker to prevent any electrocution. Secondly, use a sturdy and stable ladder to reach the light fixture and avoid standing on chairs or stools. Thirdly, wear rubber-soled shoes to prevent slipping and falling while working on the ceiling. Finally, if you are unsure about your ability to safely replace the light fixture, it is always recommended to seek professional help. By taking these safety measures, you can ensure that the process of replacing your LED ceiling light is done safely and with peace of mind.
Step 5: Attach the New LED Ceiling Light
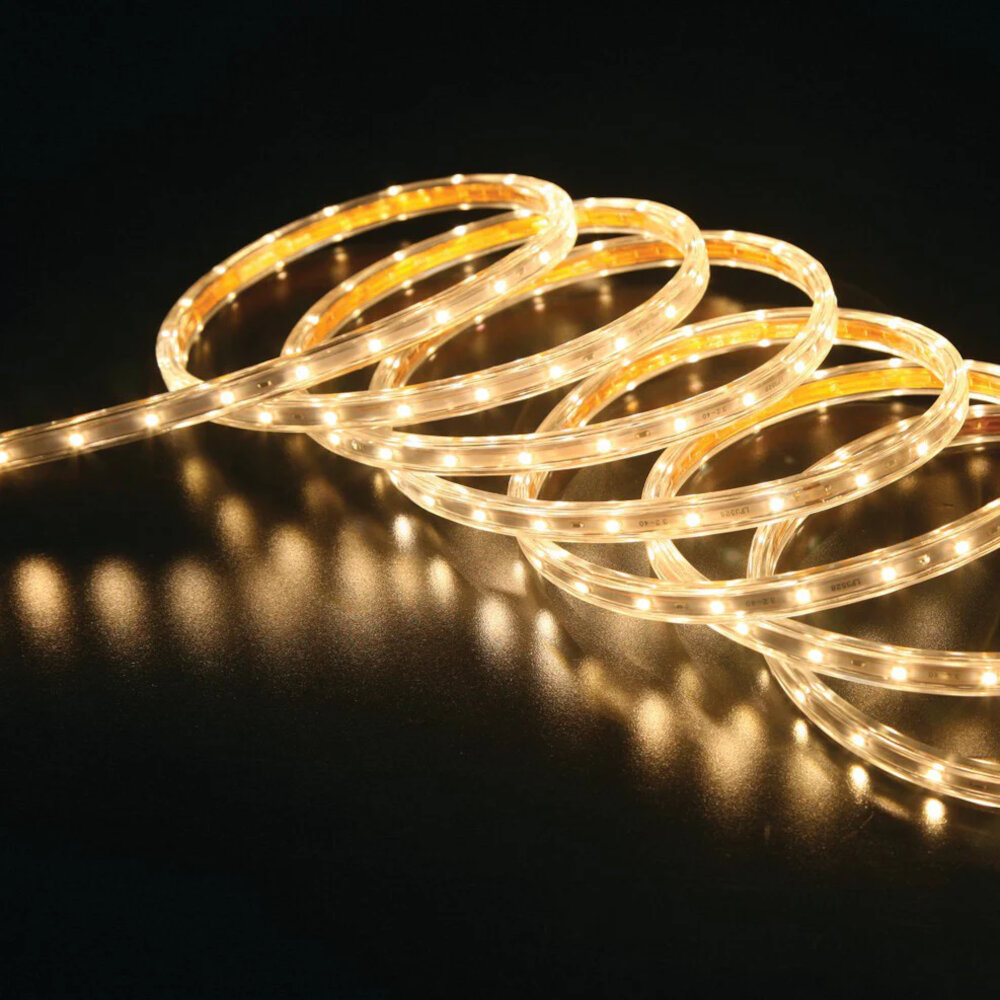
In step 5 of the DIY guide on how to replace an LED ceiling light, it’s time to attach the new fixture. This step is crucial in making sure that the new LED light is secured in place and functions properly. Begin by carefully aligning the mounting bracket of the new LED fixture with the electrical box on the ceiling. Once aligned, secure the bracket in place using screws or other fasteners provided with the light. After securing the mounting bracket, it’s time to connect the wires. Begin by connecting the ground wire from the electrical box to the ground wire on the new LED fixture. Next, connect the neutral wire from the electrical box to the neutral wire on the LED fixture. Finally, connect the hot wire from the electrical box to the hot wire on the LED fixture. Make sure that all wires are tightly connected and covered with wire nuts or electrical tape. Once all connections are secure, carefully tuck the wires into the electrical box and attach the cover plate to the fixture. Congratulations! You have successfully replaced your old ceiling light with a new LED fixture.
Attaching a new LED ceiling light can seem like a daunting task, but it’s actually quite simple. Firstly, you’ll need to turn off the power at the circuit breaker to ensure that you don’t get electrocuted. Next, remove the old light fixture by unscrewing the mounting bracket and disconnecting the wires. Then, attach the mounting bracket to the ceiling and connect the wires from the new LED light fixture. Finally, screw the LED light fixture onto the mounting bracket and turn the power back on to test it out. With these five simple steps, you’ll have a new LED ceiling light installed in no time!
Replacing an LED ceiling light can be a simple DIY project that can be done in just a few easy steps. First, turn off the power supply to the existing light fixture. Next, remove the old light fixture by unscrewing the screws that hold it in place. Then, attach the mounting bracket to the ceiling and connect the wires from the new LED light fixture to the corresponding wires in the ceiling. Finally, attach the new LED light fixture to the mounting bracket and turn on the power supply to test the new light. With these five simple steps, you can easily replace an old ceiling light with a new LED fixture and enjoy brighter, more energy-efficient lighting in your home.
When replacing an LED ceiling light, it is important to take safety precautions to prevent any accidents or injuries. Firstly, make sure to turn off the power supply to the light fixture by switching off the circuit breaker or removing the fuse. It is also recommended to use a non-contact voltage tester to ensure that there is no electrical current running through the wires. Additionally, wear protective gear such as gloves and safety goggles to prevent any harm to your hands or eyes. Always ensure that your ladder or step stool is sturdy and secure before climbing up to the ceiling. By taking these safety measures, you can easily and safely replace your LED ceiling light without any mishaps.
Replacing an LED ceiling light is a task that cannot be ignored. Not only can it drastically improve the lighting quality and ambiance of a room, but it can also save you money on your energy bill. LED lights use significantly less energy than traditional incandescent bulbs, which can result in lower electricity costs over time. Additionally, old and outdated light fixtures can be a safety hazard. Loose connections or faulty wiring can lead to electrical shocks or even fires. By replacing your old fixture with a new LED ceiling light, you can ensure that your home is both energy-efficient and safe. With just a few simple steps, you can upgrade your lighting and enjoy the benefits for years to come.
Replacing an LED ceiling light might sound complicated, but it is a simple task that can be done with ease. The first step is to switch off the power supply to the room. Then, remove the existing LED panel by unscrewing it from the ceiling, being careful not to damage the wires or connectors. Next, connect the wires from the new LED panel to the existing electrical box and secure the new panel in place. Once that is done, switch on the power supply and test the new LED panel to ensure it is working correctly. Finally, dispose of the old panel in an environmentally friendly manner. These five simple steps will help you replace your old LED ceiling light with a new one in no time.
In addition to the five simple steps outlined in this DIY guide for replacing an LED ceiling light, there are a few tips and reminders to keep in mind. First, make sure to turn off the power to the light fixture before starting any work. This will prevent any electrical accidents or shocks. Second, it’s important to carefully read the instructions that come with your new LED light to ensure proper installation. Third, always use the right tools for the job, including a ladder or step stool if necessary. Finally, take your time and don’t rush the process to avoid mistakes or damage to the light fixture. By following these additional tips and reminders, you can easily and safely replace your LED ceiling light in no time.
Conclusion

In conclusion, replacing an LED ceiling light may seem daunting at first, but with the right tools and knowledge, it can be done easily in just five simple steps. This DIY guide provides a clear and concise process that anyone can follow to upgrade their lighting fixtures. By taking the time to replace outdated lights with energy-efficient LEDs, you can not only improve the look and functionality of your space but also save money on your energy bills in the long run. So why wait? Take on this easy DIY project and enjoy the benefits of a brighter, more cost-effective lighting solution today.


