DIY Guide: How to Easily Replace a Circular LED Light in 5 Simple Steps

If you’re looking to replace a circular LED light but don’t want to pay a handyman to do it, then you’re in the right place. With just a few simple tools and some basic knowledge, you can easily replace a circular LED light yourself. Not only will this save you money, but it will also give you the satisfaction of knowing that you took care of the task on your own. Replacing a circular LED light may seem daunting at first, but it’s actually quite simple. Whether you’re looking to replace a light in your home or office, this DIY guide will walk you through the process in just five simple steps. By the end of this guide, you’ll have a brand new circular LED light installed and shining brightly. So, let’s get started!
Replacing a circular LED light is essential to maintain the quality and longevity of your lighting system. A malfunctioning LED light can create an unpleasant environment and negatively impact the aesthetic appeal of your space. Moreover, a faulty LED light can consume more energy, leading to higher electricity bills, and even pose a safety hazard. Therefore, it’s crucial to replace a circular LED light as soon as possible. This simple and cost-effective DIY guide provides five easy steps to replace your circular LED light, ensuring efficient and safe lighting for your home or office. Don’t wait until your LED light stops working altogether – follow this guide today and enjoy the benefits of a well-lit and safe space!
Replacing a circular LED light may seem like a daunting task, but with these five simple steps, it can be done easily and efficiently. First, turn off the power to the light by flipping the circuit breaker or turning off the light switch. Next, locate the screws that hold the light in place and remove them, being careful not to drop them. Then, gently pull the light down and disconnect the wires. After that, connect the wires to the new light and secure the light in place with screws. Finally, turn the power back on and test the light to ensure it is working properly. With these steps, anyone can replace a circular LED light without the need for professional assistance.
Step 1: Turn Off the Power
When it comes to replacing a circular LED light, the first and most important step is to turn off the power. This means that you should switch off the power supply to the light, either at the circuit breaker or the main switchboard. It is essential to take this precautionary measure to avoid electrical shock and prevent any damage to the light or wiring. Turning off the power is simple and easy, but it is crucial to follow this step carefully to ensure your safety. Before you begin replacing the circular LED light, make sure that you have all the necessary tools and equipment close at hand. These may include a ladder, screwdrivers, a voltage tester, and a new LED light. Once you have everything ready, you can proceed with turning off the power. Remember to test the circuit with a voltage tester to ensure that there is no electricity running to the light. This step may seem like common sense, but it is crucial to take it seriously to avoid any potential harm. With the power off, you can now proceed with the rest of the replacement process with ease and confidence.
Failing to turn off the power before attempting to replace a circular LED light can lead to serious hazards. The electrical current running through the wires of the light fixture can cause electrocution or electrical shock if the circuit is still active. Additionally, attempting to remove the old light bulb or fixture while the power is still on can cause damage to the wiring, leading to short circuits and potential fires. Therefore, it is crucial to ensure that the power is turned off before starting any electrical work to avoid any potential accidents and ensure a safe and successful replacement process.
Before replacing a circular LED light, it is important to turn off the power to ensure safety. The first step is to locate the electrical panel and switch off the corresponding circuit breaker that controls the light fixture. If the panel is not labeled, it may be necessary to test each breaker to find the right one. Once the correct breaker is identified, switch it off and confirm that the light is no longer functioning. It is also recommended to use a voltage tester to ensure that there is no electrical current flowing to the fixture before attempting to replace the light. Taking these precautions will reduce the risk of electrocution and ensure a successful and safe replacement.
Step 2: Remove the Old Light
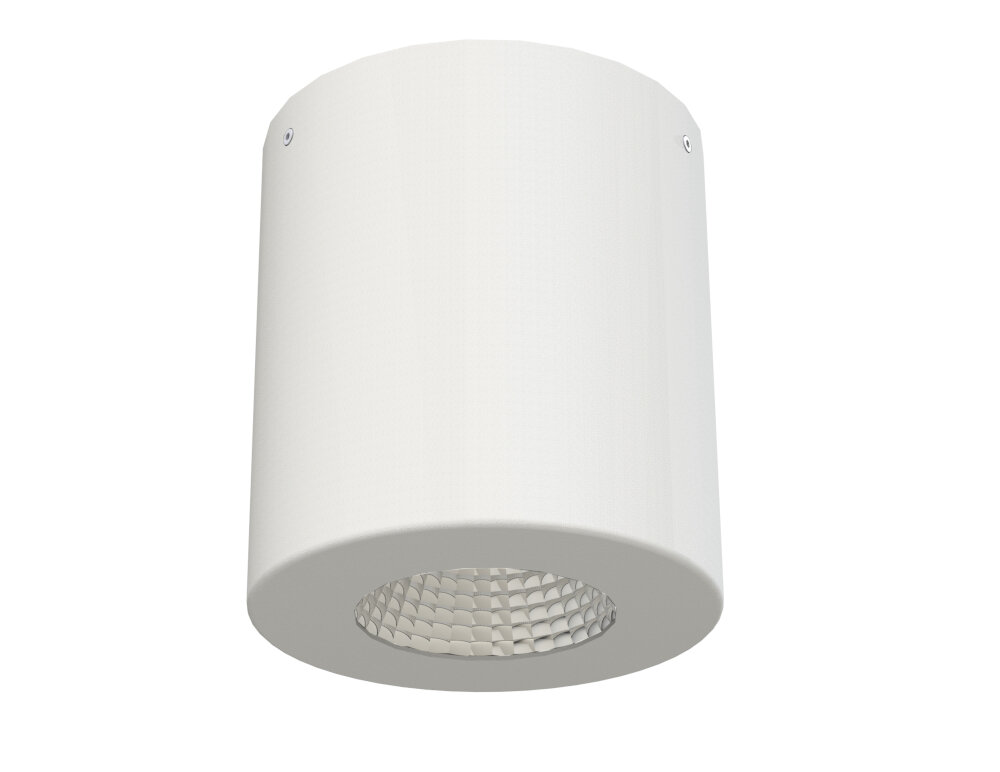
Step 2: Remove the Old Light is a crucial part of the DIY guide on how to easily replace a circular LED light in 5 simple steps. Once you have all the necessary tools ready, the first step you need to take is to switch off the power supply of the old light. This step is extremely important as working with electricity can be dangerous and can cause serious injury if not handled properly. Once the power supply is turned off, you can begin to remove the old light by unscrewing the screws that are holding the light fixture in place. Be extra careful when doing this step and make sure to support the old light as you remove it to prevent it from falling off and breaking. After successfully unscrewing the screws, gently pull the old light fixture down and slowly disconnect the wiring that is connected to it. Be sure to remember which wire goes where as you will need to reconnect them later on. If you are unsure about the wiring, take a photo or make a diagram for future reference. Once the old light fixture is completely disconnected, you can now remove it from the ceiling. Properly disposing of the old light fixture is important as well, make sure to recycle it if possible. With Step 2 completed, you are now ready to move on to the next step of the DIY guide on how to replace a circular LED light.
Circular LED lights come in various types, each with its unique features and advantages. The first type is the standard circular LED light that has a simple design, emits bright light, and is easy to install. The second type is the dimmable circular LED light that allows users to adjust the brightness level according to their preference. The third type is the color-changing circular LED light that can be set to different colors and shades, adding a fun and vibrant touch to any room. Lastly, the smart circular LED light is a high-tech option that can be controlled remotely via a smartphone app, allowing users to turn the light on/off, dim the brightness, and change the color from anywhere. With so many options to choose from, it’s essential to consider your lighting needs and preferences before selecting the right circular LED light for your home or workspace.
Removing an old light fixture is an essential step in the process of replacing it with a new one. The instructions for removing the old light depend on its type. For a circular LED light, you will need to first switch off the power supply to the light. Next, gently twist the light cover counterclockwise to remove it. Once the cover is removed, you will see the LED light panel attached to the fixture. Use a screwdriver to remove the screws that hold the panel in place, and carefully detach the wires connecting the panel to the fixture. Gently remove the panel from the fixture and discard it carefully. Ensure the wires are safely tucked away before proceeding to the next step.
Step 3: Install the New Light

After successfully removing the old circular LED light, it is time to install the new one. Carefully unwrap the new LED light and attach it to the mounting bracket. Ensure that the screws and wires are tightly secured and in place. Next, connect the wires from the new LED light to the corresponding wires in the ceiling. Make sure you match the colors of the wires and tighten the wire connectors. It is important to ensure that the wires are properly connected to avoid electrical shock or damage to the LED light. Finally, test the light by turning on the power and checking if it functions properly. If everything seems to be working fine, you can now proceed to replace the cover and secure it with the screws. One important thing to remember is to read the manufacturer’s instructions carefully before installing the new LED light. This will ensure that you follow the proper installation steps and avoid any mistakes that could cause damage to the LED light. It is also important to ensure that the power supply is turned off before installing the new LED light to avoid electrical shock. If you are not confident in performing the installation yourself, it is best to seek the help of a professional electrician. Remember, safety should always be a top priority when dealing with electrical installations. With these simple steps, you can now enjoy a new and bright LED light in your home or office.
Selecting the right replacement light is essential for various reasons. Firstly, it ensures that the new light fits perfectly into the existing socket, providing seamless lighting. Secondly, choosing the correct replacement light guarantees that the brightness and color temperature of the new light match the old one, creating a uniform and consistent look. Additionally, selecting the right replacement light ensures the safety and longevity of your lighting system. A mismatched bulb could potentially damage the fixture or even cause a fire hazard. Therefore, it is crucial to take the time to select the appropriate replacement light to ensure optimal performance and safety.
Installing a new light can be a daunting task, but with these simple instructions, you’ll be able to do it in no time. First, turn off the power to the light fixture by flipping the circuit breaker or removing the fuse. Next, remove the old light by unscrewing it from the ceiling or wall mount. Once the old light is removed, connect the wiring of the new light to the wiring of the electrical box using wire nuts. Carefully tuck the wires back into the electrical box and secure the new light into place by screwing it into the ceiling or wall mount. Finally, turn the power back on and test the light to ensure it’s functioning properly. With these easy steps, you’ll have a new light installed in your home in no time!
Step 4: Turn the Power Back On
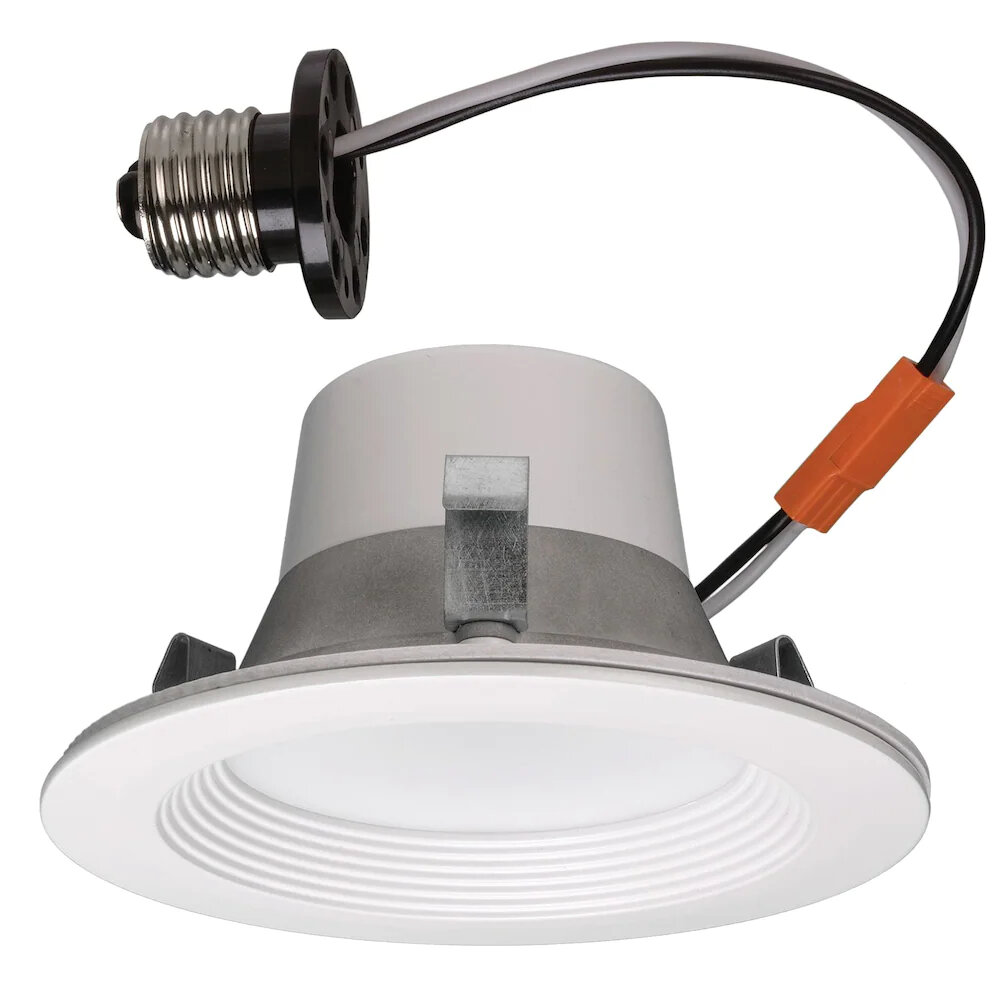
After successfully replacing the circular LED light, the next step is to turn the power back on. This step is crucial as it ensures that the newly installed light is functional and safe to use. Before turning the power back on, it is important to check that all the connections are secure and tight. Any loose connections can cause the light to malfunction or pose a safety hazard. Once all the connections are secure, turn the power back on and test the light. Ensure that the light is functioning correctly and emitting the appropriate brightness. If the light is not functioning as expected, double-check the connections and seek professional help if necessary. Turning the power back on also means that the area where the work was carried out is now electrified. It is important to exercise caution and ensure that the work area is safe to use. Any tools or equipment used during the replacement process should be removed from the area to prevent any accidents. Additionally, it is essential to keep the work area dry and avoid any contact with water. If the work area is in a bathroom or any other damp location, ensure that the light fixture is properly rated for wet conditions. By following these precautions, you can ensure that the newly installed circular LED light is safe to use and operates as expected.
Before turning the power back on, it is crucial to check the light to ensure that it is properly installed and functioning correctly. Ignoring this crucial step could result in a hazardous situation, especially if there are any electrical issues with the light. Checking the light before turning on the power will help prevent any potential electrical shocks, fires, or other accidents from occurring. Moreover, it will ensure that the light is properly connected and will provide adequate illumination. Therefore, it is highly recommended to double-check the light before powering it on to ensure your safety and the proper functioning of the light.
Before turning the power back on, ensure that the new circular LED light is properly installed and secured in place. Once you have confirmed that the light is securely in place, locate the circuit breaker panel and flip the switch that corresponds to the room where the light is located. If you are uncertain which switch to flip, consult the circuit map on the inside of the panel door. Once the switch has been turned back on, test the new LED light by flipping the light switch. If everything is working correctly, the light should turn on without any issues. If the light does not turn on, turn the switch off and check the wiring to ensure that everything is correctly connected.
Step 5: Dispose of the Old Light

When it comes to disposing of the old light, it’s essential to take safety precautions. First, turn off the power supply to the light and let it cool down before touching it. Next, wear protective gloves and eyewear to prevent any injuries that may occur during the removal process. Carefully unscrew the light fixture from the ceiling, taking care not to damage any wires or components. Once it is removed, wrap it in a plastic bag or newspaper to prevent any shards or debris from falling out, and dispose of it according to your local regulations. It’s important to note that LED lights are not hazardous waste and can be disposed of in regular trash. However, it’s always best to check with your local authority for guidelines on the proper disposal of electronic waste. Additionally, if the old light was still in good condition, consider donating it to a charity or non-profit organization that could use it. Proper disposal of the old light not only helps protect the environment but also ensures your safety during the replacement process.
Proper disposal of old lights is crucial due to their hazardous nature. These lights contain toxic substances such as mercury, which can be harmful to the environment and human health. Disposing of the old light in a landfill can lead to the release of these toxins into the soil and water, which can harm plants and animals. Additionally, improper disposal can lead to the production of greenhouse gases that contribute to global warming. Therefore, it is essential to dispose of old lights safely by recycling them, which helps reduce the amount of waste in landfills and minimizes the negative impact on the environment. This responsible action not only helps preserve the environment but also promotes sustainability for future generations.
Once you have successfully replaced your old circular LED light with a new one, it’s time to dispose of the old one properly. The first step is to turn off the power source to the old light fixture. Next, carefully unscrew or unclip the old light from the fixture and remove it. Place the old light in a plastic bag or wrap it in newspaper to prevent any broken glass from causing harm. Check with your local waste management facility or recycling center for specific instructions on how to dispose of the light safely and responsibly. It’s essential to follow the proper disposal guidelines to protect the environment and prevent any hazardous materials from ending up in landfills.
If you are planning to replace your circular LED light, there are five simple steps that you need to follow. First, make sure that you turn off the power supply to the light fixture. Second, remove the old circular LED light from the fixture by twisting it counterclockwise. Third, clean the fixture thoroughly before installing the new LED light. Fourth, insert the new LED light into the fixture by twisting it clockwise. Finally, turn on the power supply and test the new light to ensure that it is working properly. By following these steps, you can easily replace your circular LED light without any hassle.
Safety precautions are an integral part of any DIY project, and replacing a circular LED light is no exception. It is essential to take all necessary measures to prevent accidents and ensure the safety of both you and others around you. By following the proper safety guidelines, you can avoid potential hazards such as electric shocks, burns, or falls. Before starting the project, make sure to turn off the power supply, wear protective gear such as gloves and goggles, and use the right tools for the job. Remember, taking safety precautions is not only crucial for your well-being but also helps to ensure a successful and hassle-free project.
In conclusion, replacing a circular LED light is a simple and straightforward process that can be completed with just a few tools and steps. However, it is important to always prioritize safety by turning off the power and using appropriate protective gear. It is also recommended to carefully select the replacement LED light to ensure compatibility with your fixture and desired brightness. Lastly, taking the time to properly dispose of the old light bulb and packaging materials is not only responsible but also helps to keep our environment clean. By following these final tips and recommendations, you can successfully replace your circular LED light and enjoy a bright and energy-efficient lighting solution in your home or office.
Conclusion

In conclusion, replacing a circular LED light may seem like a daunting task for some, but it can be done easily with just a few simple steps. By following this DIY guide, you can save time and money by avoiding the need for a professional electrician. Remember to always turn off the power before beginning any electrical work and to handle the light with care. With this knowledge and a little bit of patience, you can confidently replace your circular LED light and enjoy a bright and well-lit space.

