DIY LED Light Color Guide: StepbyStep Instructions for Creating Your Own Custom Lighting
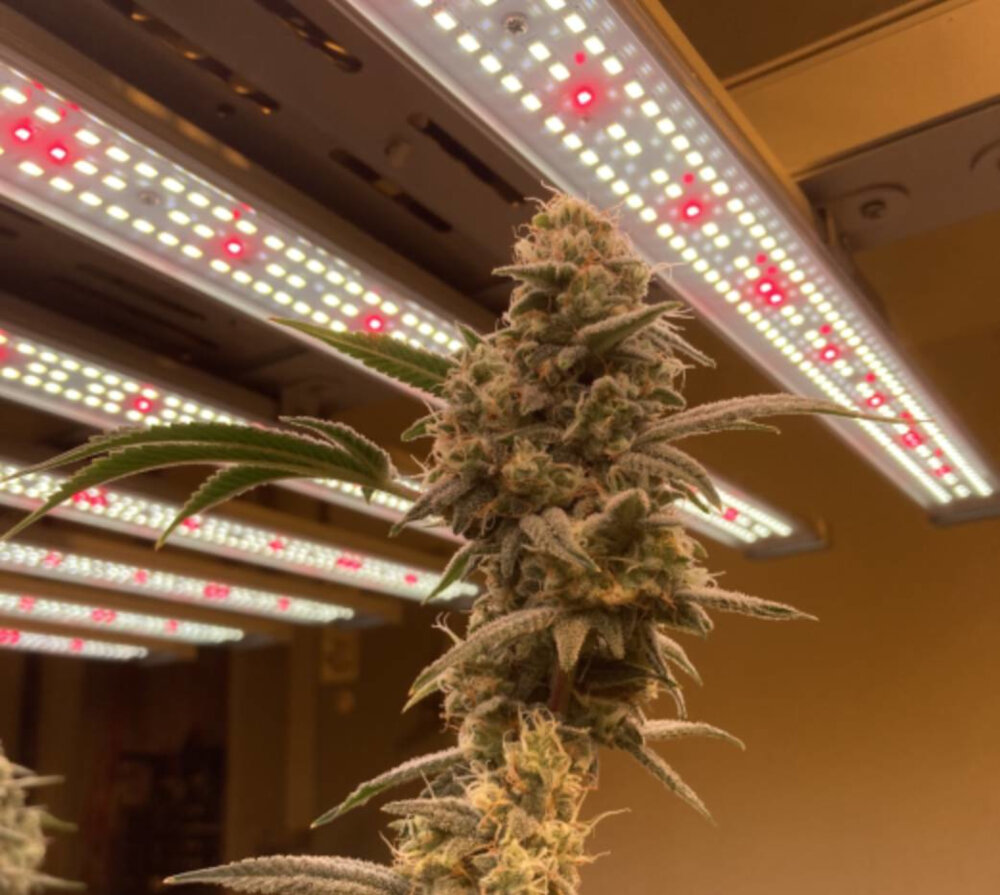
When it comes to lighting, the right color can make all the difference. Whether you’re trying to set the mood in your living room or illuminate a workspace, custom LED lighting can provide the perfect solution. Not only is it energy-efficient and long-lasting, but it also allows you to create the exact ambiance you’re looking for. However, the thought of crafting your own LED lights may seem intimidating. Fear not! With our DIY LED Light Color Guide, you’ll have step-by-step instructions for creating your own custom lighting that will light up your life. LED lights have come a long way in recent years, and it’s now easier than ever to create your own. By following our guide, you’ll learn how to choose the right materials, assemble your lights, and program them to produce the perfect color. Whether you’re a seasoned DIY pro or just getting started, our guide is designed to be accessible to anyone. With clear instructions and helpful tips, you’ll be able to create custom LED lights that are perfect for any occasion. So why settle for boring, generic lighting when you can create your own unique masterpiece?
The importance of LED lights cannot be overstated. LED lights are energy-efficient, durable, and long-lasting, making them a popular choice for lighting in homes, offices, and public spaces. Additionally, LED lights can be customized with different colors to create unique lighting effects that can enhance the ambiance of any space. By choosing different colors, you can create a relaxing, serene atmosphere with soft blues and greens or a bold, energetic vibe with bright reds and yellows. The ability to customize LED lights with different colors allows you to express your creativity and personalize your lighting to suit your needs and preferences. With the help of this DIY LED Light Color Guide, you can learn how to create your own custom lighting and unleash your creativity.
Materials Needed
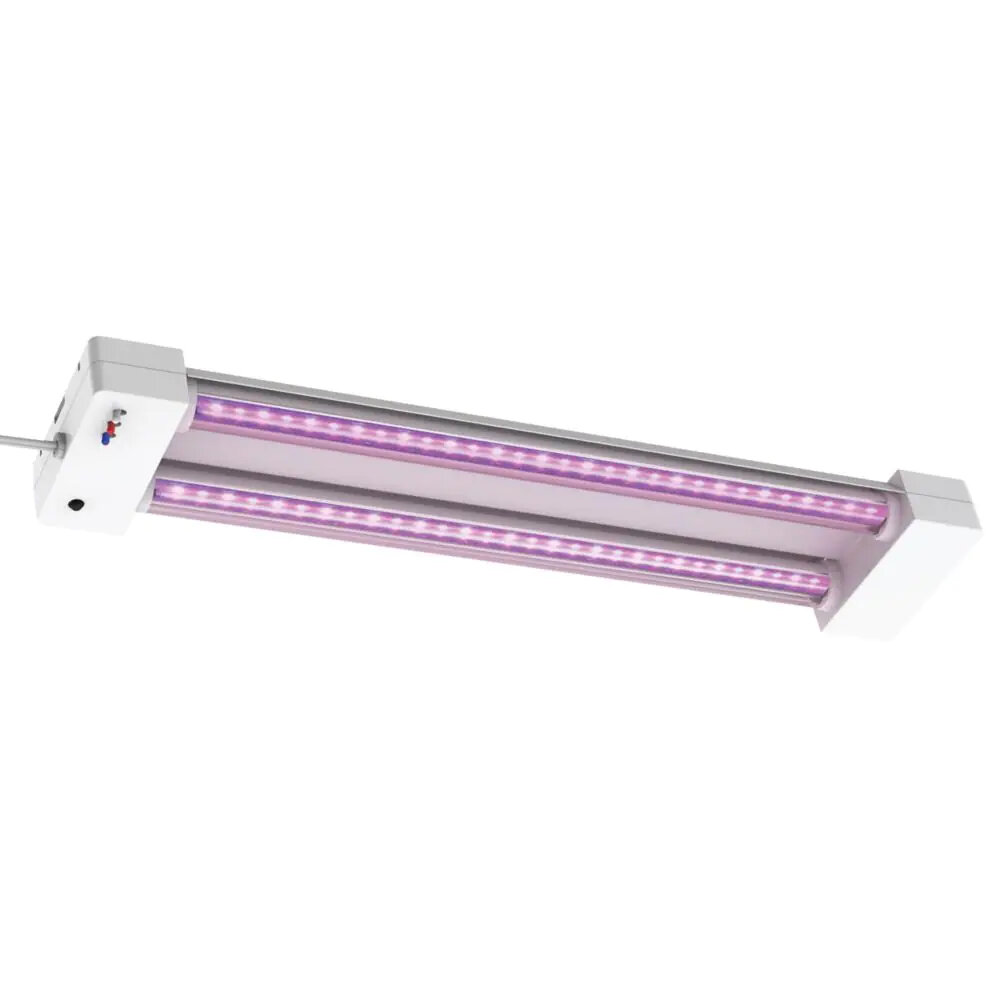
In order to start creating your own custom LED light color guide, there are several materials that you will need. Firstly, you will need a LED strip. This can be purchased online or at your local hardware store. Make sure to choose a strip that is the appropriate length for your project. You will also need a power supply for the LED strip. This is usually sold separately and should match the voltage of your LED strip. Additionally, you will need a soldering iron and soldering wire to connect the LED strip to the power supply. It is important to have a steady hand and good technique when using a soldering iron, so make sure to practice before beginning your project. Finally, you will need a controller to adjust the color and brightness of your LED lights. This can be a physical controller or a smartphone app, depending on your preference. Once you have gathered all of the necessary materials, you can begin your DIY LED light color guide project. Start by measuring and cutting the LED strip to the desired length. Then, use the soldering iron to connect the LED strip to the power supply. Make sure to follow the manufacturer’s instructions carefully and avoid overheating the components. Once everything is connected, test the lights to make sure they are functioning properly. Finally, install the controller and adjust the color and brightness settings to your liking. With a little bit of patience and creativity, you can create a stunning and unique lighting setup for your home or office.
To create your own custom LED lighting, you will need a variety of materials, including LED light strips, a power source, a controller, and connectors. LED light strips are the backbone of the project, providing the illumination that will transform your space into a work of art. The power source is essential to keep the LEDs running smoothly, and the controller allows you to change the color and brightness of the lights to suit your mood or environment. Finally, connectors are necessary to link everything together, ensuring that your project is safe and functional. By gathering these materials and following our step-by-step guide, you can create a stunning LED lighting display that will impress your friends and family.
StepbyStep Instructions
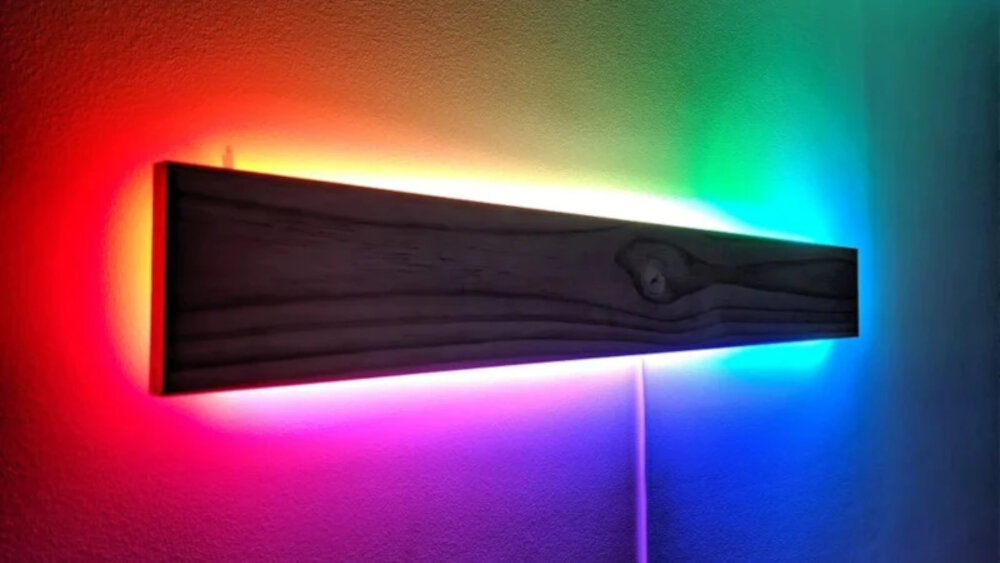
Step-by-step instructions are an essential component of any successful DIY project, especially when it comes to creating your own custom LED lighting. With a well-written guide in hand, you can be confident that you’ll be able to navigate the process with ease, no matter your level of experience. Step-by-step instructions for creating your own custom LED lighting should be clear, concise, and easy to follow. They should include detailed information about the materials you’ll need, the tools required, and the steps you’ll need to take to complete the project. It’s essential to ensure that each step is clearly explained, and any potential pitfalls or issues are addressed in advance. Step-by-step instructions are essential for creating a custom LED light color guide. They enable you to take control of your lighting design and create a unique, personalized look that perfectly suits your space and style. When creating your guide, it’s essential to consider the materials you’ll be using, the level of complexity in your design, and your overall level of expertise. With the right step-by-step instructions, you can create a beautiful, functional lighting system that enhances the beauty and functionality of your space. Whether you’re a seasoned DIY enthusiast or a first-time hobbyist, step-by-step instructions are the key to success when it comes to creating your own custom LED lighting.
Planning and designing your custom LED lights is the crucial first step to creating a personalized and unique lighting solution for your home or business. This stage involves identifying your lighting needs, determining the appropriate LED type, and selecting the right color temperature and brightness level. It also involves creating a lighting plan that takes into account the location, size, and purpose of your space. By carefully considering these factors and creating a detailed plan, you can ensure that your custom LED lights will be both functional and visually appealing. Additionally, planning and designing your custom LED lights can help you avoid common mistakes and ensure that your lighting project stays within budget and on schedule.
The second step in creating your DIY LED light color guide is to prepare your LED light strips. This involves measuring the length of the area where you want to install the lights and cutting the strips accordingly. You will also need to clean the surface where the strips will be installed in order to ensure proper adhesion. It’s important to note that LED light strips can be trimmed to fit any length, but it’s crucial to cut them at the designated cut points to avoid damaging the circuit board. Additionally, before installing the light strips, make sure to test them to ensure they are functioning properly and in the desired color. Taking the time to properly prepare your LED light strips will help ensure a smooth and successful installation.
After preparing the LED light strips and the controller, the next step is to connect them. This is a crucial step in the process of creating your own custom lighting as it determines whether the LED lights will work or not. Firstly, identify the end of the LED light strip that needs to be connected to the controller. This is usually indicated by an arrow sign on the strip. Then, insert the connector on the end of the strip into the appropriate slot on the controller. Make sure the pins on the connector line up with the slots on the controller before pressing it in firmly. Once connected, power on the controller to test the LED lights. If done correctly, the LED light strips should light up and you’re one step closer to creating your own customized lighting.
Step 4: Setting Up Your Power Source is a crucial part of the DIY LED Light Color Guide. Before beginning, ensure that you have a power source that is compatible with your LED strip lights. Depending on the length and intensity of your lights, you may need a power source that provides more wattage. Additionally, you should consider whether you want your lights to be controlled by a remote or a wall switch. Once you have determined your power source needs, connect it to your LED strip lights according to the manufacturer’s instructions. It is vital to ensure that all connections are secure and that the power source is protected from the elements if used outdoors. A properly set up power source will ensure that your LED lights function correctly and provide the desired ambiance to your space.
Step 5 of this DIY LED Light Color Guide is all about programming your controller to produce a wide range of different colors. This is where you can get creative and really make your lighting set-up your own. With the right programming, you can create a variety of moods and atmospheres, from bright and energetic to calm and relaxing. You’ll need to experiment with the various color options available to you and find the combinations that work best for your space. Once you’ve programmed your controller, you’ll be amazed at the range of colors you can produce, and the impact they can have on your environment.
Step 6 in the DIY LED Light Color Guide involves installing your custom LED lights. This is the final step in the process, and it is crucial to complete it correctly to ensure that your new lights work properly. To begin, you will need to connect the wires from your LED lights to the power supply. You should then test the lights to make sure they are working correctly before mounting them in their final location. Once you are satisfied that the lights are working correctly, you can mount them in place using screws or adhesive. Finally, you can connect the power supply to your mains power and enjoy your new custom LED lights. With this simple guide, anyone can create their own custom LED lighting to add a unique touch to their home or workspace.
Tips and Tricks
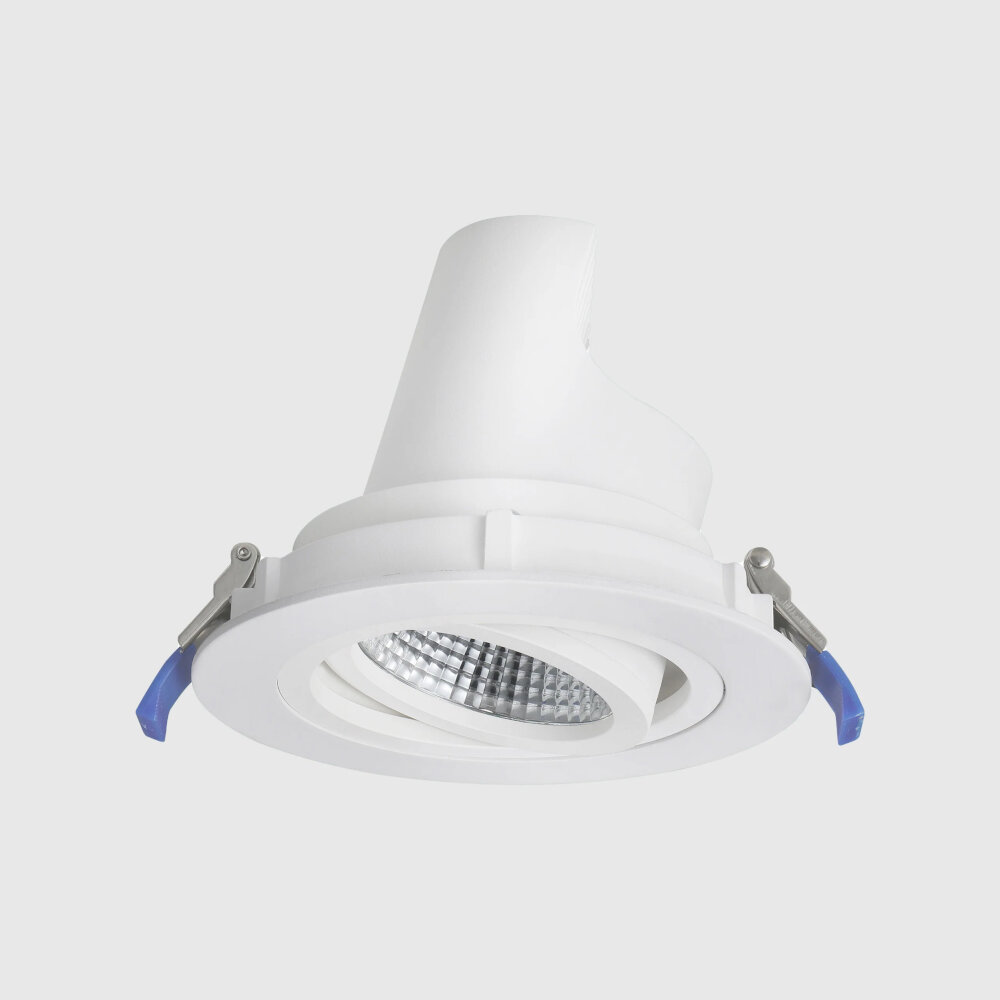
When it comes to creating your own custom LED lighting, there are a few tips and tricks to keep in mind. First and foremost, it’s important to plan out your design ahead of time. This means considering the size and shape of your space, as well as the desired mood and ambiance you want to create with your lighting. Once you have a plan in place, you can start selecting your LED lights and accessories. Be sure to choose high-quality products from reputable manufacturers to ensure the best results. Additionally, consider using a mix of colors and brightness levels to create depth and interest in your lighting design. Another important tip is to pay attention to the placement of your LED lights. For example, if you’re creating accent lighting for a specific area, be sure to position your lights in a way that highlights that space without overpowering it. Similarly, if you’re using LED lights for task lighting, such as in a home office or workshop, make sure they’re positioned in a way that provides adequate illumination without causing glare or eye strain. Finally, don’t be afraid to experiment with different colors and effects. LED lighting offers a wide range of possibilities, so take advantage of that flexibility to create a custom lighting design that truly reflects your unique style and personality.
When working on a DIY project like creating your own LED light color guide, it’s common to run into issues along the way. To troubleshoot any problems that arise, it’s important to first identify the source of the issue. This may involve checking your tools and materials, reviewing your instructions, or consulting with experts in the field. Once you’ve identified the problem, try to come up with possible solutions and test them out. Don’t be afraid to experiment and try different approaches until you find one that works. It’s also important to stay organized throughout the process, keeping track of any changes you make and documenting any issues you encounter. By following these tips, you can overcome any challenges that arise and successfully complete your DIY LED light color guide project.
Experimenting with different color combinations is a fun and creative way to customize your LED lighting. Start by selecting a primary color that you want to feature, then add complementary or contrasting colors to create depth and interest. Consider using shades and tints of the same hue to create a monochromatic color scheme or try a bold, contrasting combination like red and green or blue and orange. Don’t be afraid to mix warm and cool colors or to incorporate metallic or neon accents to make your lighting truly unique. Remember, the possibilities are endless, so have fun and let your creativity shine!
Customizing LED lights offers a myriad of benefits, including energy efficiency, cost-effectiveness, and flexibility in creating the desired lighting effects. By following this DIY LED Light Color Guide, readers can have a step-by-step instruction to achieve their desired lighting effects. The guide provides readers with a comprehensive approach to selecting LED lights, wiring, and programming to create custom lighting that suits their needs. With this guide, readers will learn how to create lighting that can improve their mood, energy, and productivity. Whether it’s for home or commercial use, the DIY LED Light Color Guide provides readers with the tools to create custom lighting that can transform any space.
Conclusion
In conclusion, creating your own custom LED lighting can be a fun and rewarding DIY project. By following the step-by-step instructions in this guide, you can experiment with different colors and create a unique atmosphere in any room of your home. From warm and cozy to cool and energizing, the possibilities are endless. With a little creativity and patience, you can transform your space into a personalized oasis of light and color. So, don’t be afraid to get creative and try new things – your DIY LED lights might just become your new favorite home decor item!

