Effortlessly Connect 2 LED Light Strips: A StepbyStep Guide
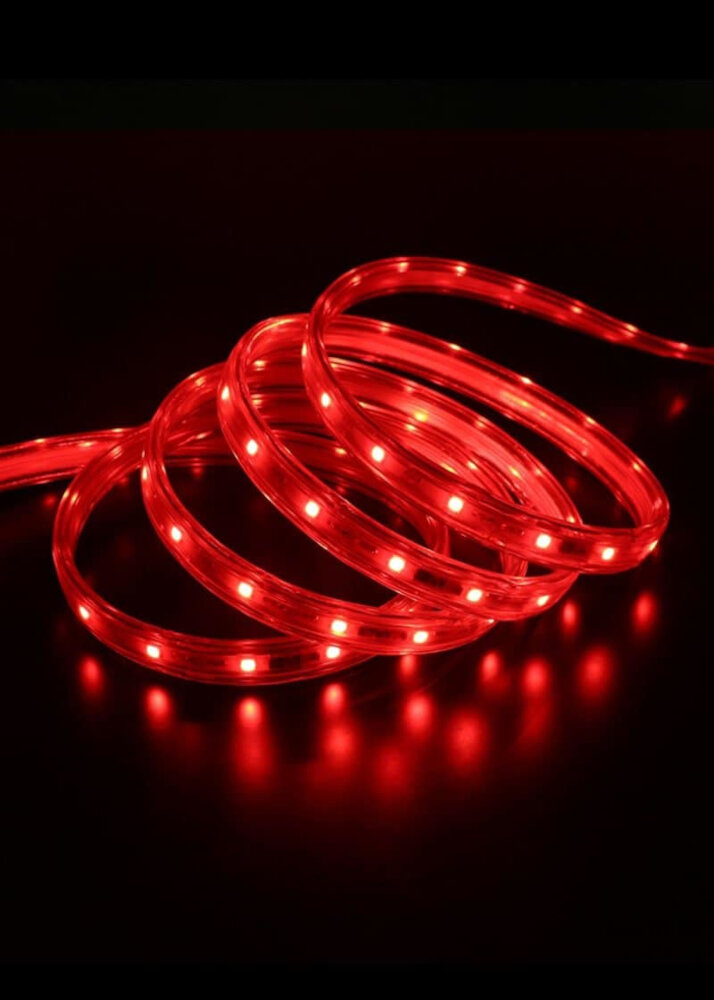
LED light strips have become a popular lighting solution for many households and businesses due to their flexibility, energy efficiency, and low maintenance requirements. However, connecting two LED light strips can seem like a daunting task for many people, especially those without a background in electrical engineering. Fortunately, with the right tools and guidance, connecting two LED light strips can be a straightforward and effortless process. In this step-by-step guide, we’ll walk you through the process of connecting two LED light strips, whether you’re looking to create a longer strip or simply want to control them together. We’ll cover everything from the tools you’ll need to the specific steps involved in the process. Whether you’re a DIY enthusiast or looking to save money on hiring an electrician, this guide will equip you with the knowledge and confidence to effortlessly connect two LED light strips. So let’s get started!
LED light strips are a flexible and versatile lighting solution that can add ambiance and illumination to virtually any space. These strips consist of multiple small LED lights that are connected together to form a long, narrow strip. LED light strips are available in a wide range of colors and brightness levels, allowing users to create custom lighting effects that suit their personal preferences. They are also energy-efficient and long-lasting, making them a cost-effective lighting solution for both residential and commercial applications. With the ability to be easily installed and connected, LED light strips are an excellent choice for anyone looking to enhance the lighting in their home or workspace.
Connecting LED light strips can greatly enhance the ambiance and aesthetics of any space. With the ability to customize and control the colors and brightness, LED light strips can add a unique touch to any room, whether it’s a warm and cozy vibe or a more energetic and vibrant atmosphere. Being able to effortlessly connect two LED light strips ensures that you can extend the lighting throughout a larger area without any interruptions or gaps. This step-by-step guide will walk you through the process of connecting LED light strips, making it easy to create the perfect lighting design for your home or workspace. By following these simple steps, you can enjoy the benefits of a well-lit and visually appealing space that fits your individual style and mood.
Tools and Materials
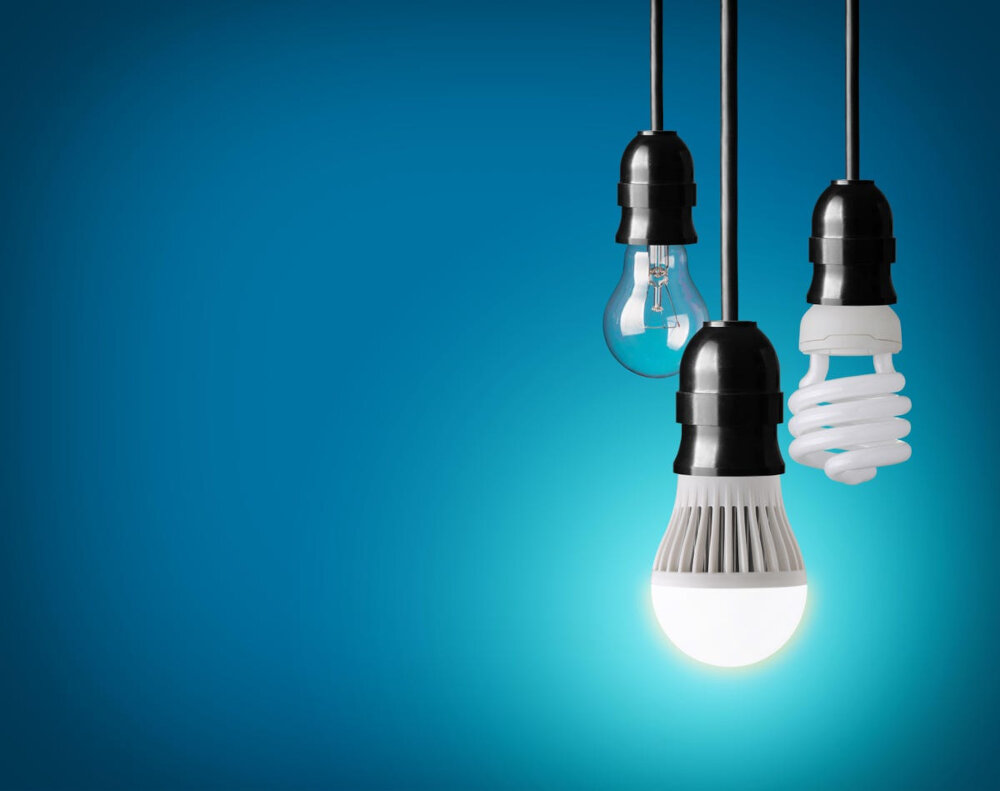
When it comes to connecting two LED light strips, using the right tools and materials can make a significant difference in achieving a successful outcome. For starters, you will need a soldering iron, soldering wire, heat shrink tubing, wire cutters, and strippers. A soldering iron is a tool that heats up to melt solder wire, which is used to join the wires from each LED strip. Heat shrink tubing is then used to insulate and protect the soldered wires from any potential damage. Wire cutters and strippers will help you cut and strip the wires to the correct length and expose the necessary wire for soldering. In addition to the tools, you will also need the proper materials, which include two LED light strips, wire, and a power source. It is essential to ensure that the LED light strips are the same type and have the same voltage requirements. Otherwise, the connection may not work correctly, or one strip may overpower the other. The wire needed for connecting the strips is typically an 18-gauge stranded wire, which is flexible and perfect for the job. Lastly, the power source should be sufficient to power both LED strips without overloading or damaging them. With the right tools and materials, you can effortlessly connect two LED light strips and create a stunning lighting display in no time.
Before starting the process of connecting two LED light strips, you need to make sure that you have all the necessary tools and materials. First and foremost, you’ll need two LED light strips of the same type and size. In addition, you’ll need a soldering iron, soldering wire, wire strippers, electrical tape, and a power source. You’ll also need a ruler, pencil, and a sharp knife to measure and cut the strips to the desired length. It’s important to have a well-lit workspace with enough room to move around and work comfortably. Having all of these materials and tools in place before starting the process will ensure a smooth and successful LED light strip connection.
To connect 2 LED light strips, you will need a few tools and materials. Firstly, you will require a soldering iron to join the wires of both the strips. Ensure that you have a properly functioning soldering iron with a pointed tip to avoid any mishap. Secondly, you will need a wire stripper to remove the insulation from the wires before soldering them together. A wire cutter may also come in handy if you need to trim the wires to the required length. To secure the connection, you will need heat shrink tubing that you can slide over the soldered wires and shrink with a heat gun. Lastly, you will need a power supply that can handle the combined power of both the strips. Make sure to check the voltage and amperage of the LEDs before choosing a power supply to avoid any damage.
Preparing the LED light strips

Preparing LED light strips is an essential step to ensure that they work correctly and provide the desired effect. Begin by identifying the positive and negative terminals of the LED strip. The positive terminal is typically marked with a \+\ sign or a colored wire, while the negative terminal is marked with a \-\ sign or a white wire. Next, use a pair of scissors or a sharp knife to cut the strip to your desired length. Make sure to cut along the designated cut line to avoid damaging the LED lights. Once you have cut the strip, it is important to prepare the ends for connection. Use a wire stripper to remove approximately 1/4 inch of insulation from each end of the LED strip. This will expose the copper terminals, which can be soldered or connected using a connector. Inspect the terminals to ensure that they are clean and free of any debris, as this can impact the quality of the connection. By taking these steps to prepare the LED light strips, you can ensure that they are connected correctly and provide the desired lighting effect.
Before connecting LED light strips, there are a few crucial steps to prepare them properly. Firstly, make sure to clean the surface where the LED strips will be attached, as any dirt or debris can affect the adhesive. Next, measure the length of the area where the strips will be placed to ensure you have the right length of LED strips. Then, cut the strips along the designated cut lines to match the length required. It’s also essential to check the voltage and amperage of the LED strips and ensure that they match the power supply unit. Finally, connect the LED light strips to a compatible controller and test them before installing them permanently. By following these steps, you can ensure that your LED light strips will work correctly and provide the desired illumination.
Connecting two LED light strips may seem like a daunting task, but with the right steps, it can be done effortlessly. The first step is to gather all necessary materials, including LED light strips, a power supply, and connectors. Once you have all the materials, measure the distance between the two strips and cut the connector wire accordingly. The second step is to strip the wires on both LED light strips and the connector wire to expose the metal wires. Then, twist the metal wires together and cover them with electrical tape. Finally, connect the LED light strips to the power supply and test the connection. With these simple steps, you can easily connect two LED light strips and create a stunning lighting display in your home or workspace.
Connecting the LED light strips
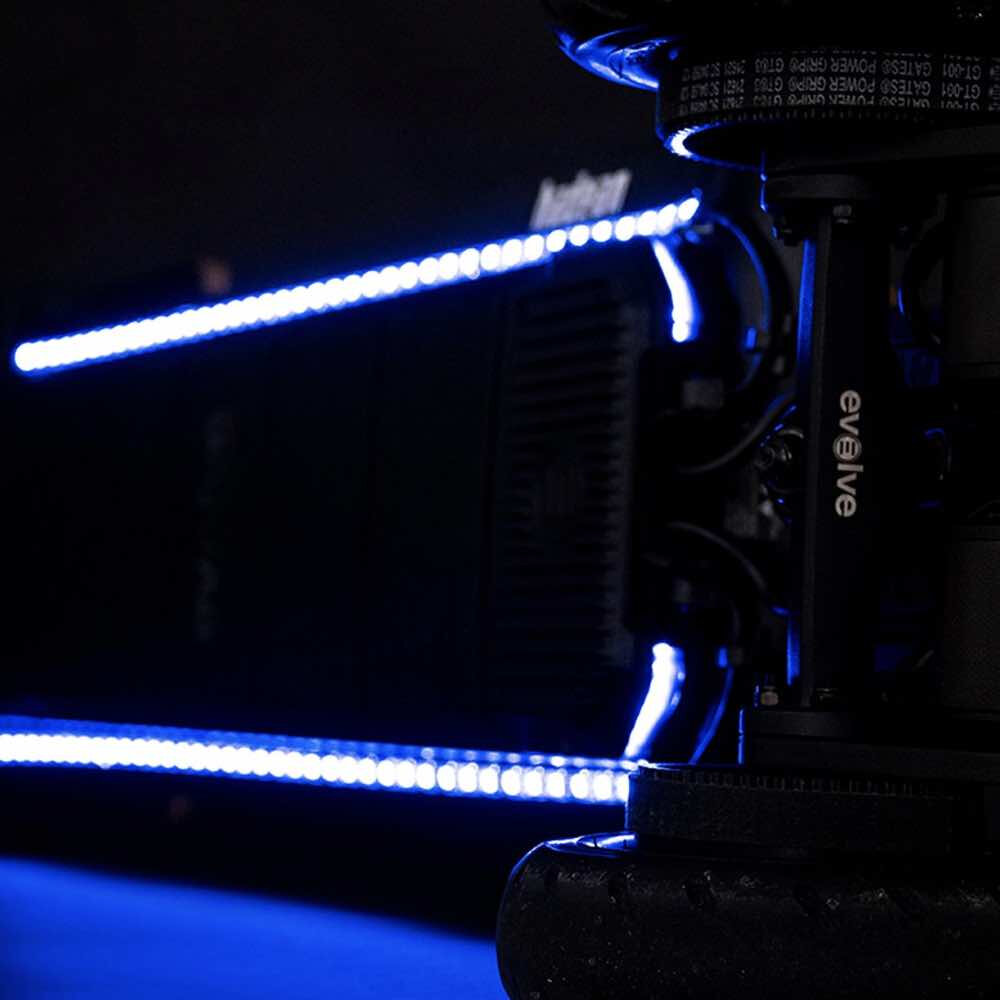
Connecting LED light strips can be a daunting task for those who are not familiar with electrical wiring. However, with the right tools and knowledge, it can be done effortlessly. The first step is to ensure that the LED light strips are compatible with each other. Check the voltage and current requirements of each strip, and make sure that they match. If they don’t, you may need to use a voltage regulator or a resistor to balance the voltage and current. Once you have ensured that the LED light strips are compatible, the next step is to connect them. Start by cutting the strips to the desired length, and then use a soldering iron to solder the wires together. Make sure that the wires are connected in the correct order, and that they are securely attached. Once the wires are connected, use heat shrink tubing or electrical tape to cover the exposed wires and protect them from damage. Finally, test the LED light strips to ensure that they are working properly. With these simple steps, you can effortlessly connect two LED light strips and create a stunning lighting display.
Connecting LED light strips can seem like a daunting task, but with the right tools and knowledge, it can be a breeze. The first step is to gather all the necessary materials, including the LED light strips, a power source, and connectors. Next, measure the length of the space where you want to install the LED light strips and cut the strips accordingly. After that, connect the power source to one end of the first LED strip using the connectors. Then, connect the second LED strip to the other end of the first strip using the connectors. Finally, plug in the power source and test the LED light strips to ensure they are working properly. With these simple steps, you can effortlessly connect two LED light strips in no time.
Connecting 2 LED light strips is a simple process that can be done effortlessly with the right tools and techniques. The first step is to choose the appropriate power supply for the LED lights. This ensures that enough power is supplied to the strips, which can prevent any damage or malfunction. The next step is to measure the length of the LED light strips and cut them accordingly. It’s important to use a sharp cutting tool to avoid any frayed edges. After that, the strips can be connected using a connector or soldering them together. To secure the connection, heat shrink tubing can be used. Finally, the LED light strips can be tested to ensure that they are working properly. With these simple steps, anyone can connect 2 LED light strips with ease.
Testing the connection

Testing the connection is a crucial step in connecting two LED light strips effortlessly. Once you have connected the wires and power supply, it is essential to check if the connection is working correctly. To test the connection, turn on the power supply and ensure that both LED light strips light up. If one of the LED light strips does not light up, it means that there is a problem with the connection. You should check the wires and make sure that they are correctly connected. Additionally, you could check the power supply to ensure that it is providing enough power to both LED light strips. If both LED light strips light up, you can test the connection further by turning them off and on several times. This will help you to ensure that the connection is stable and that there are no loose wires. Additionally, you should check the color of the LED light strips to ensure that they are the same. If one of the LED light strips is a different color, it could be an indication that there is a problem with the connection. Overall, testing the connection is an essential step in connecting two LED light strips. It helps to ensure that the connection is stable and that the LED light strips are working correctly.
To test the connection of the LED light strips, follow these simple steps. First, ensure that the power source is off before connecting the strips. Next, connect the two strips using the provided connectors or soldering them together. Once connected, turn on the power source and test the lights by checking if they illuminate properly. If the lights do not turn on, double-check the connections to make sure they are secure and in the correct positions. Additionally, check the wiring and power source to ensure they are functioning properly. By following these steps, you can ensure that your LED light strips are connected and functioning correctly.
Connecting two LED light strips may seem like a daunting task, but with the right tools and steps, it can be done effortlessly. The first step is to gather all the necessary tools, which include a soldering iron, solder wire, wire strippers, and electrical tape. Next, measure the length of the LED light strips and cut them to the desired length. Strip the ends of the wires and solder them together, making sure to connect the positive end to the positive end and the negative end to the negative end. Cover the soldered area with electrical tape to protect it. Finally, connect the LED light strips to a power source and test them to ensure they are working properly. By following these simple steps, you can easily connect two LED light strips and achieve the desired lighting effect.
Effortlessly connecting two LED light strips is a simple and straightforward process that requires a few basic tools and a little bit of patience. First, gather the necessary materials, including the LED light strips, a soldering iron, wire cutters, and electrical tape. Next, carefully cut the ends of the light strips, strip the wires, and twist the corresponding wires together. Finally, solder the wires and cover the connection with electrical tape for added protection. With these simple steps, you can easily connect two LED light strips and create a beautiful and functional lighting display in no time.
Properly connecting LED light strips is crucial for ensuring optimal performance and longevity of the light strips. A poor connection can cause flickering lights, dimming, or even a complete failure of the LED lights. In addition, improper connections can cause safety hazards such as electrical fires or shocks. Therefore, it is essential to follow the correct steps and use the appropriate tools to connect the LED light strips. A well-connected LED light strip will not only enhance the overall look of your space but also provide an energy-efficient lighting solution that can last for years.
In conclusion, connecting two LED light strips may seem like a daunting task, but with the right tools and approach, it can be done effortlessly. It is important to ensure that the strips are compatible and to follow the step-by-step guide carefully. Additionally, it is recommended to use a power supply with the appropriate voltage and amperage to avoid damaging the strips. With these tips in mind, you can create a stunning lighting display without any hassle. So, go ahead and try it out for yourself – you might be surprised at how easy it can be!
Conclusion
In conclusion, connecting two LED light strips can be an effortless task with the right tools and knowledge. By following a step-by-step guide, you can easily connect two LED light strips and enhance the ambiance of your space. Whether you’re looking to create a cozy atmosphere in your living room or add some flair to your workspace, LED light strips are a versatile and affordable option. With a variety of colors and lighting modes available, the possibilities are endless. So why not give it a try and see what creative lighting solutions you can come up with?


