Effortlessly Remove Ceiling LED Lights: A StepbyStep Guide
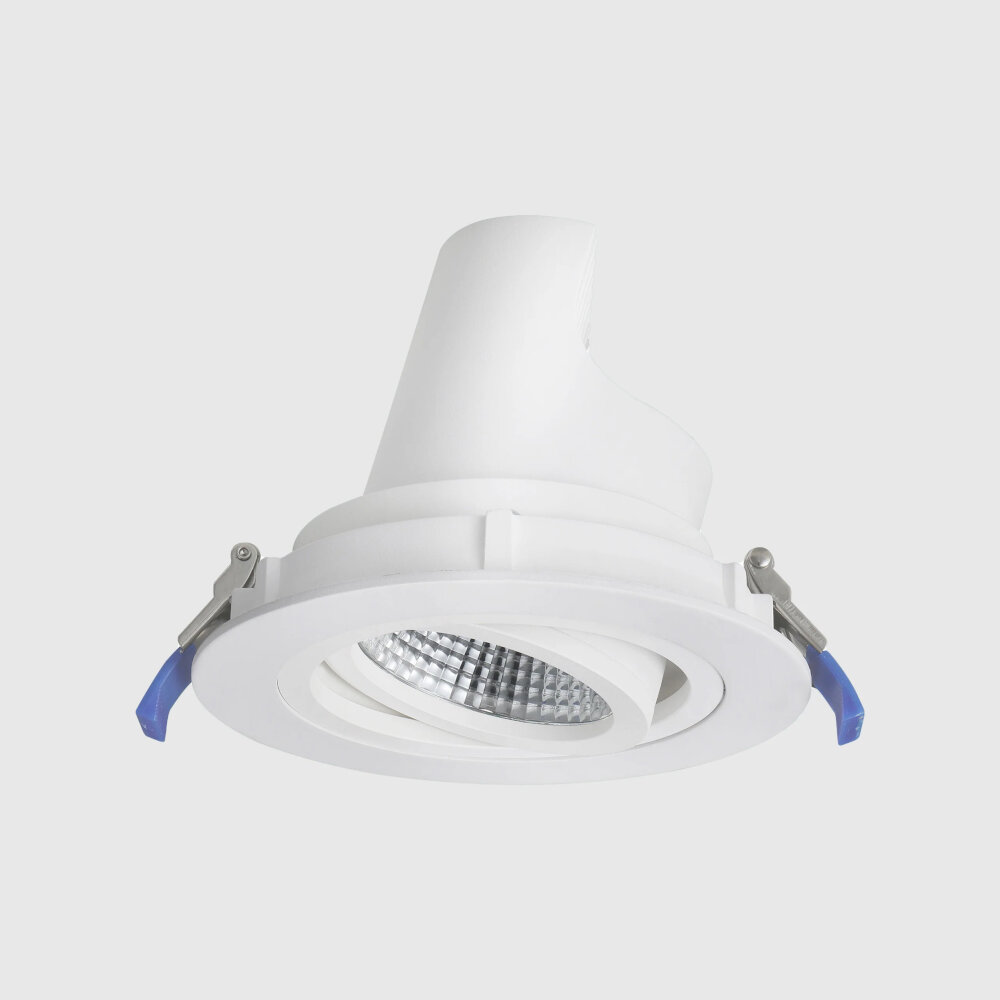
Ceiling LED lights are a great addition to any home or office space. They provide bright and energy-efficient lighting while also adding a modern touch to the decor. However, there may come a time when you need to remove them, whether it’s for maintenance, replacement, or simply because you want to change the look of your space. Removing ceiling LED lights may seem like a daunting task, but with the right tools and knowledge, it can be done effortlessly. In this step-by-step guide, we will provide you with all the information you need to remove your ceiling LED lights without any hassle. We will cover everything from the tools you’ll need to the actual removal process, as well as some tips and tricks to make the job easier. Whether you’re a DIY enthusiast or a beginner, this guide is perfect for anyone looking to remove their ceiling LED lights quickly and efficiently. So let’s get started and make your space look brand new again!
There are various reasons why someone might need to remove ceiling LED lights. Firstly, if the LED lights are faulty or damaged, it becomes necessary to remove them for repairs or replacement. Additionally, if the LED lights have become outdated or are no longer suitable for the design of the room, they need to be removed and replaced with newer designs. Another reason could be to carry out maintenance work on the ceiling or the wiring, which requires the LED lights to be removed temporarily. Whatever the reason, it is essential to know how to remove these lights efficiently to avoid damage to the surrounding fixtures while also ensuring personal safety.
When it comes to removing ceiling LED lights, it is crucial to do it safely and correctly. Not only can improper removal put your safety at risk, but it can also damage the light fixture or even the ceiling itself. Before starting the removal process, turn off the power supply to the light fixture in order to avoid electric shocks. Additionally, make sure you have the necessary tools and equipment, such as a ladder and gloves, to safely remove the fixture. By taking the time to remove the ceiling LED lights safely and correctly, you can ensure that the job is completed without any accidents or damage.
Gather the Necessary Tools
Before removing any ceiling LED lights, it is important to gather all the necessary tools. The tools you need will depend on the type of fixture you are removing, but some common tools include a ladder, screwdriver, wire strippers, and pliers. A ladder is essential in reaching the fixture, especially if it is attached to a high ceiling. Be sure to use a sturdy ladder and have a partner hold it steady while you work. A screwdriver is typically used to remove the screws that hold the fixture in place. Make sure you have the correct type of screwdriver for the screws on your fixture. Wire strippers are necessary if you plan on disconnecting the wires that power the fixture. Pliers can be useful for bending and shaping wires, or for removing any other small parts that might be holding the fixture in place. It is important to make sure you have all necessary tools before starting the removal process. This will save time and prevent frustration if you have to pause halfway through to go find a missing tool. Additionally, having all necessary tools on hand will prevent the need to improvise with substitute tools, which can be dangerous and potentially damage the fixture or surrounding area. By gathering all necessary tools before beginning the removal process, you can ensure a smooth and efficient experience.
Removing ceiling LED lights can be a daunting task if you don’t have the right tools. To make the process safer and easier, you’ll need a few tools such as a ladder, a screwdriver, a voltage tester, pliers, and gloves. A stable ladder is crucial to ensure your safety while removing the lights. A screwdriver will help you loosen the screws holding the fixture in place. A voltage tester will ensure that the power is turned off before you start working on the fixture. Pliers will come in handy when you need to disconnect the wires. Lastly, gloves will protect your hands from any sharp edges or broken glass. Having these tools on hand will make removing your ceiling LED lights a breeze.
Each tool required in removing ceiling LED lights serves a specific purpose, making each one necessary for the job. The ladder or step stool is essential to reach the ceiling, ensuring that the light fixture can be accessed safely. The screwdriver is needed to remove the screws that hold the light fixture in place, while the wire stripper is necessary to strip the wires of the fixture so that the old fixture can be detached. The electrical tester helps to check if the power supply is cut-off before starting the removal process, ensuring safety. Lastly, the pliers are required to detach the wires from the fixture, making it easy to install the new fixture. All these tools work together to make the removal process efficient, safe, and effortless.
Turn Off Power Supply

Ceiling LED lights can be an excellent addition to any room, but at times, they might need to be removed. Before starting the process, it’s crucial to turn off the power supply. This is one of the most crucial steps when it comes to removing ceiling LED lights as it ensures safety during the process. Failing to turn off the power supply can lead to accidents, injuries, and even electrical fires. To turn off the power supply, locate the circuit breaker in your home or office. The circuit breaker is usually found in the electrical panel or fuse box. Once you locate the circuit breaker, switch it off, and ensure that the power is indeed off by checking the light switch. If the switch is working correctly, the ceiling LED light should not turn on. Taking the extra step to verify that the power is off will ensure that you can proceed with the removal process with ease and safety.
Turning off the power supply is crucial when removing ceiling LED lights as it ensures safety and prevents electrical accidents. LED lights operate on electricity, and even low voltage can cause electric shock or fire hazards. By switching off the power supply, you minimize the risk of electrocution or short-circuiting, which can lead to damage to the light fixture or the ceiling. Moreover, it is essential to follow the instructions and safety precautions provided in the user manual to avoid any mishap. In conclusion, always prioritize your safety when dealing with electrical appliances, and ensure that the power supply is switched off before removing ceiling LED lights.
Before starting any electrical work, it is important to turn off the power supply to ensure your safety. To turn off the power supply to ceiling LED lights, follow these step-by-step instructions. First, locate the electrical panel in your home and open it using a screwdriver. Then, find the circuit breaker that controls the power supply to your ceiling LED lights. Switch off the circuit breaker by flipping the switch to the \off\ position. If you’re unsure which breaker controls the power to your lights, turn off the main circuit breaker to cut off power to your entire home. Finally, use a voltage tester to ensure that the power is off before proceeding with any electrical work. Remember to always prioritize safety when working with electricity.
Remove the LED Light Fixture
Removing LED light fixtures from the ceiling can be a daunting task, especially if you are not familiar with electrical wiring. However, with the right tools and some basic knowledge, you can safely and effortlessly remove LED light fixtures from your ceiling. The first step is to turn off the power supply to the fixture. This can be done by switching off the circuit breaker or removing the fuse that controls the lighting circuit. Once the power is off, you can proceed with the removal process. To remove the LED light fixture, you will need a screwdriver, pliers, and a ladder. Start by unscrewing the screws that hold the fixture to the ceiling. If the fixture is held in place by clips, use pliers to gently pull the clips away from the ceiling. Once the fixture is loose, gently lower it down from the ceiling. If the fixture is wired directly into the ceiling, you will need to disconnect the wires before removing it. Make sure to take note of the wire colors and which wires are connected to which terminals. With the wires disconnected, you can safely remove the fixture from the ceiling.
Removing LED light fixtures from the ceiling can be a daunting task, but with the right approach, it can be done safely and easily. The first step is to turn off the power to the fixture to avoid any electrical shock. Next, you need to remove the cover or trim of the fixture and disconnect any wiring that connects it to the ceiling. Once the wiring is disconnected, you can then remove the fixture from the ceiling by unscrewing any screws or bolts holding it in place. It is important to take your time and be careful not to damage the ceiling or the fixture during the removal process. Once the fixture is removed, you can then install a new one or make any necessary repairs. By following these steps, you can effortlessly remove your ceiling LED lights and complete your home improvement project with ease.
To detach the fixture from the wiring, there are a few essential steps that you need to follow. First, turn off the power supply to the fixture by flipping the switch or turning off the circuit breaker. Then, remove the screws that secure the fixture to the ceiling with a screwdriver. After that, gently pull the fixture down to expose the wiring. Locate the wire connectors that attach the fixture to the wiring and twist them counterclockwise to disconnect them. If the fixture has a grounding wire, remove it from the grounding screw. Finally, once all the wires have been disconnected, you can safely remove the fixture from the ceiling. It is essential to follow these steps carefully to ensure that you do not damage the fixture or harm yourself in the process.
Dispose of Old LED Lights Properly

When it comes to removing old LED lights, it’s important to dispose of them properly. LED lights contain small amounts of hazardous materials such as lead and mercury, which can be harmful to both humans and the environment. Therefore, it’s crucial to take the necessary steps to dispose of LEDs safely. One way to do this is to check with your local government to see if they offer a recycling program for LED lights. Many cities provide hazardous waste disposal services, which include LED lights. If your city doesn’t have a program, you can also contact your local hardware store or electrician to see if they offer LED light recycling services. Another way to dispose of old LED lights is to donate them to a local charity or school. Many organizations are in need of working LED lights and will gladly take them off your hands. It’s important to note that the LED lights must be in good working condition and not damaged in any way. If the LED lights are damaged, it’s best to dispose of them through a recycling program. By donating your old LED lights, you’re not only doing your part to protect the environment but also helping those in need.
It is crucial to dispose of old LED lights properly due to their harmful impact on the environment. LED lights contain toxic materials such as lead, arsenic, and mercury that can contaminate the soil and water if they end up in landfills. Furthermore, improper disposal of LED lights can result in the release of greenhouse gases, contributing to climate change. Therefore, it is essential to recycle LED lights through proper channels, such as designated e-waste recycling facilities or local recycling programs. By disposing of old LED lights responsibly, we can reduce pollution and preserve our planet for future generations.
When disposing of old LED lights, it is important to do so in a safe and environmentally-friendly manner. One option is to recycle them at a local recycling center or through a mail-in program. Some manufacturers also offer take-back programs for their products. Another option is to donate the working lights to a nonprofit organization or school. If the lights cannot be recycled or donated, they should be disposed of at a hazardous waste facility. It is important to never throw LED lights in the trash, as they contain harmful substances such as mercury and lead that can harm the environment if not properly disposed of. By taking the time to dispose of old LED lights correctly, we can do our part to protect our planet and keep our communities safe.
To effortlessly remove ceiling LED lights, start by turning off the power supply to the room you’ll be working in. Next, remove the light cover or lens to access the LED light panel. Most LED panels are held in place by clips or screws, so use a screwdriver to detach them. Once the LED panel is loose, gently pull it out of the ceiling and disconnect the wiring. Be sure to take note of which wires are connected to which terminals for reassembly. Finally, remove any brackets or screws holding the light fixture in place and carefully lower it down. With these simple steps, you can remove your ceiling LED lights without any hassle or difficulty.
It is essential to prioritize safety when removing any electrical fixture, especially when dealing with ceiling LED lights. Before starting the removal process, make sure to turn off the power supply to the fixture and wear protective gear, such as gloves and safety glasses. Additionally, ensure that the ladder or step stool is sturdy and placed on a level surface to avoid any accidents. If you are unsure about the removal process, it is always recommended to seek professional help. Remember, taking shortcuts or neglecting safety protocols can lead to serious injury or damage to your property. So, take your time, follow the steps carefully, and prioritize safety above all else.
It is important to seek professional help if you are unsure about any step of the process while removing ceiling LED lights. The process may seem easy at first, but it can become complicated quickly if you don’t have the necessary skills or knowledge. By seeking professional help, you can ensure that the job is done correctly and safely. This will not only save you time and effort but also reduce the risk of accidents or damage to your property. So, don’t hesitate to reach out to a licensed electrician or a professional handyman if you have any doubts or concerns. Remember, it’s always better to be safe than sorry!
Conclusion
In conclusion, removing ceiling LED lights can seem like a daunting task, but with the right tools and approach, it can be accomplished effortlessly. By following the step-by-step guide outlined in this article, you can safely and efficiently remove your ceiling LED lights without causing any damage to your fixtures or ceiling. Remember to always prioritize safety, double-check your power sources, and take your time to avoid any mishaps. With these tips in mind, you can confidently tackle your next LED light removal project with ease.

