LED Conversion Made Easy: How to Upgrade Your Fluorescent Light Fixtures in 5 Simple Steps
Lighting is one of the most essential aspects of any living space, and it can significantly impact the overall ambiance and aesthetic appeal of a room. Fluorescent lighting fixtures have been a popular choice for many households and commercial spaces for decades. However, as technology continues to advance, more and more people are turning to LED lighting as a more energy-efficient and cost-effective alternative. Fortunately, converting your fluorescent light fixtures to LED is a simple process that can be completed in just a few easy steps. LED conversion is an excellent option for anyone looking to upgrade their lighting system without breaking the bank. Not only do LED lights consume less energy than fluorescent lights, but they also last longer and emit less heat, making them a safer and more sustainable choice. In this article, we will guide you through the simple steps necessary to convert your fluorescent light fixtures to LED, giving you a brighter, more efficient, and modern lighting system that will enhance your living or working space.
LED lighting offers numerous benefits over traditional fluorescent lighting. Firstly, LED lights consume significantly less energy than fluorescent bulbs, which translates into lower electricity bills and reduced carbon footprint. Secondly, LED lights have a longer lifespan compared to fluorescent bulbs, reducing the need for frequent replacements and maintenance. Thirdly, LED lights emit less heat, resulting in a cooler and more comfortable environment. Additionally, LED lights are available in a range of colors and brightness levels, allowing for customization and versatility in lighting design. Lastly, LED lights do not contain hazardous materials such as mercury, making them safer for both the environment and people. Overall, upgrading to LED lighting is a smart and eco-friendly choice for any household or business.
LED Conversion Made Easy is a comprehensive guide for upgrading fluorescent light fixtures in 5 simple steps. The first step is to remove the fluorescent tubes, ballast, and starter. The second step involves wiring the LED driver to the fixture, and the third step is to mount the LED driver. The fourth step is to connect the LED tubes to the driver, and the fifth step is to test the installation. This conversion process takes a fraction of the time and cost of a full fixture replacement and can save up to 50% on energy bills. The guide provides detailed instructions and diagrams to make the process easy and efficient.
Gather the Necessary Materials
When it comes to converting your fluorescent light fixtures to LED, the first step is to gather all the necessary materials. This may seem like a daunting task, but with a little bit of research and planning, you can easily find everything you need to complete the project. Some of the essential items include LED tubes, a screwdriver, wire cutters, and pliers. It’s also important to make sure that the LED tubes you purchase are compatible with your existing fixture. In addition to the basic materials, you may also need additional items depending on the specific fixture you are working with. For example, if your fixture has a ballast, you will need to either remove it or purchase an LED tube that is compatible with ballasts. You may also need to purchase a new tombstone if your existing ones are damaged or incompatible with the new LED tubes. Taking the time to gather all the necessary materials before you start the project will ensure that you have everything you need to complete the job efficiently and effectively.
Before starting the LED conversion process, you will need a few tools and materials. Firstly, you will require a screwdriver set to remove the fluorescent light fixture cover and the ballast. Secondly, a wire cutter and stripper, a voltage detector, and a drill or a hole saw to make holes for the LED light fixture. Thirdly, you will need LED light fixtures, which can be purchased from any hardware store, and you can choose between various sizes and colors. Additionally, you will need wire connectors, wire nuts, and electrical tape to connect the wires properly. Lastly, safety glasses and gloves are essential for your safety while handling electrical components. With all these tools in hand, you can convert your fluorescent light fixtures into energy-efficient LED lighting in just five simple steps, saving money and reducing your carbon footprint.
When it comes to purchasing LED conversion kits for your fluorescent light fixtures, there are a variety of options available both online and in stores. Many home improvement stores such as Lowe’s and Home Depot carry LED conversion kits in their lighting sections, and there are also numerous online retailers such as Amazon and LEDMyplace that offer a wide selection of kits at various price points. It’s important to do your research and compare prices and reviews before making a purchase to ensure that you are getting a quality product that will meet your needs. Additionally, some LED conversion kits may require professional installation, so be sure to factor in any additional costs for installation when making your decision on where to purchase.
Turn Off Power and Remove Fluorescent Tubes
If you’re planning on upgrading your fluorescent light fixture to LED, the first step is to turn off the power and remove the fluorescent tubes. This is an important safety measure that should not be overlooked. To turn off the power, locate the circuit breaker that controls the fixture and switch it off. If you’re not sure which breaker controls the fixture, turn off the main power switch to be safe. Once the power is off, use a ladder or step stool to reach the fixture and carefully remove the fluorescent tubes. To do this, gently twist the tube while pulling it out of the socket. Be sure to dispose of the fluorescent tubes properly, as they contain mercury and should not be thrown in the trash. Removing the fluorescent tubes may seem like a simple task, but it requires caution to avoid injury. It’s important to ensure that the power is off before attempting to remove the tubes, as fluorescent bulbs operate at high voltages and can be dangerous if mishandled. Additionally, fluorescent bulbs are fragile and can break easily, so it’s important to handle them with care. If a bulb does break, use gloves and a vacuum cleaner to clean up the broken glass and dispose of it properly. By following these safety measures, you can ensure a smooth and safe transition from fluorescent to LED lighting.
When it comes to any electrical work, safety should always be the top priority. Before starting the LED conversion process for your fluorescent light fixtures, make sure to turn off the power to the circuit that you will be working on. Use a voltage tester to confirm that there is no power running to the fixture. Additionally, wear protective gear such as gloves and safety glasses to prevent any harm from debris or electrical currents. If you are not confident in your ability to complete the conversion safely, consult a licensed electrician to assist you in the process. Taking these precautions will ensure that your LED conversion is successful and safe for everyone involved.
If you are looking to upgrade your fluorescent light fixtures to LED, the first step is to remove the existing fluorescent tubes. To do this, start by turning off the power to the fixture. Then, locate the small metal clips on either end of the tube and gently push them inwards towards the center of the tube. This will release the tube from the fixture. Carefully grasp the tube and gently twist it to release it from the sockets. Be sure to dispose of the old tubes properly, as they contain small amounts of mercury. With the tubes removed, you can now proceed with the LED conversion process.
Install LED Conversion Kits
Upgrading your fluorescent light fixtures to LED conversion kits can bring numerous advantages to your home or office. LED lights are energy-efficient, durable, and have a longer lifespan than traditional fluorescent bulbs. Installing LED conversion kits is also an easy and affordable way to modernize your lighting system without having to replace the entire fixture. With just five simple steps, you can upgrade your fluorescent lights to LED and enjoy bright, long-lasting illumination. The first step in installing LED conversion kits is to choose the right kit for your fixture. There are a variety of kits available, so it’s important to consider factors such as the size and type of your fixture, the color temperature of the LED lights, and the wattage needed to provide the desired level of brightness. Once you have selected the kit, you can begin the installation process by removing the fluorescent bulbs and ballast from your fixture. Then, simply follow the instructions provided with your kit to install the LED bulbs and driver. With a few basic tools and a little bit of know-how, you can upgrade your fluorescent lights to LED conversion kits in no time, and enjoy the many benefits of efficient, long-lasting illumination.
LED conversion kits are available in various types, and each type offers unique features that cater to different needs. The first type is the tube retrofit kit, which replaces fluorescent tubes with LED tubes. It is suitable for commercial and industrial applications, as it provides high-quality lighting and energy efficiency. The second type is the troffer retrofit kit, which converts fluorescent troffers into LED troffers. It is ideal for office spaces and retail stores, as it provides a modern look and better light distribution. The third type is the magnetic strip retrofit kit, which is designed to retrofit magnetic strip fixtures with LED strips. It is perfect for residential and commercial applications, as it provides a high lumen output and energy savings. Lastly, the magnetic troffer retrofit kit, which is designed to retrofit troffers with magnetic strips, is an excellent option for those who need a quick and easy installation process. Overall, each type of LED conversion kit offers unique benefits, making it essential to choose the one that best suits your needs.
To begin the LED conversion process for your fluorescent light fixtures, start by gathering all the necessary tools and equipment. This includes a LED retrofit kit, wire strippers, wire connectors, pliers, and a screwdriver. Next, turn off the power supply to the fixture and remove the fluorescent bulbs and ballast. Follow the instructions provided with the LED retrofit kit to connect the wires and install the LED driver. Once the driver is in place, connect the LED tubes and turn the power supply back on to test the new lighting system. Finally, replace the fixture cover and enjoy the energy-efficient and long-lasting LED lighting in your space. With these five simple steps, you can easily upgrade your fluorescent light fixtures to LED and save money on energy costs while also improving the quality of lighting in your home or office.
Reconnect Power and Test the Lights
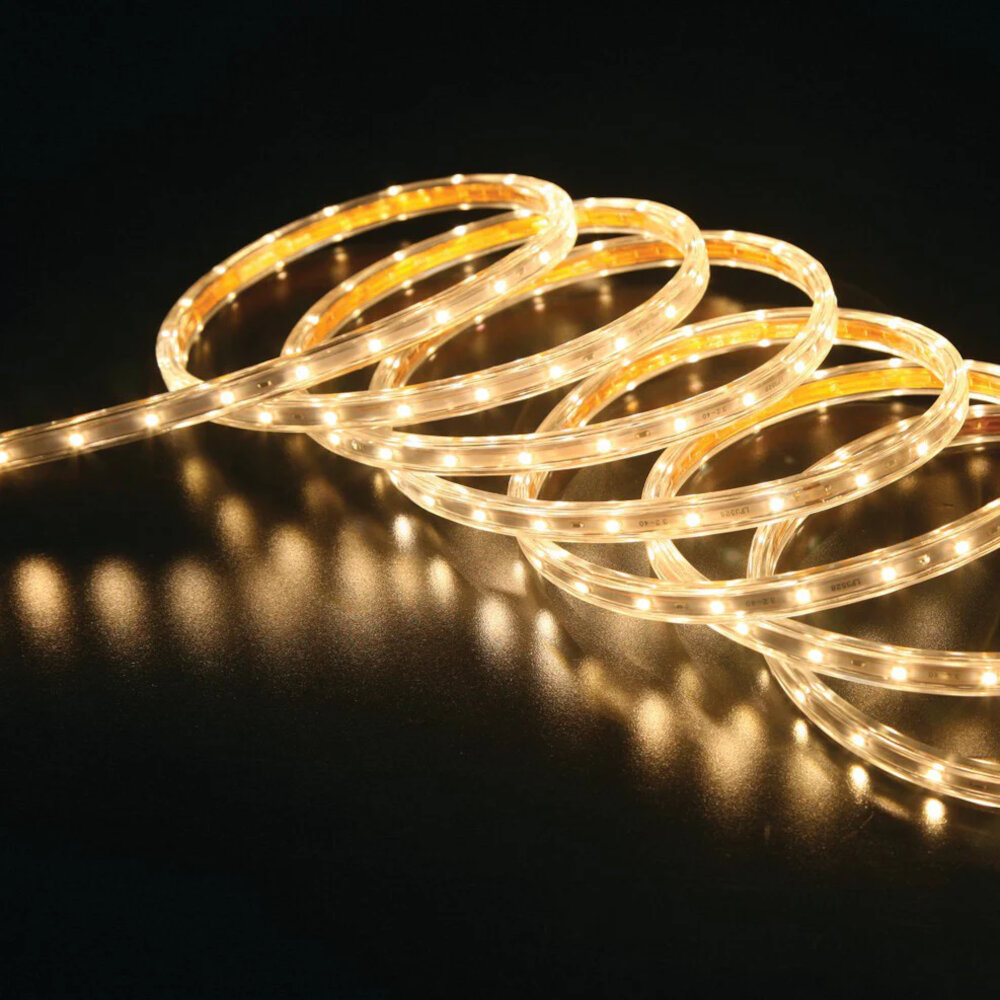
After installing the LED light tubes into the fixture, the next step is to reconnect the power and test the lights. This is a crucial step that ensures that the installation was successful and that the LED lights are functioning correctly. First, turn on the power switch, and you should see the LED lights flicker on. If the lights do not turn on, check the connections and make sure they are secure. It is also important to note that LED lights have a higher voltage requirement than fluorescent lights, so ensure that the power supply can handle the new LED lights’ power requirements. Once the LED lights are turned on, observe their brightness and color temperature. LED lights emit a brighter light than fluorescent lights, and they also have different color temperatures. Most LED lights emit a cool white light, which is ideal for workspaces and areas that require bright lighting. However, if you prefer a warmer hue, you can select LED lights that emit a warm white light. Overall, reconnecting the power and testing the LED lights is a straightforward process that ensures that the LED conversion was successful and that your fixtures are now more energy-efficient and eco-friendly.
When it comes to upgrading your fluorescent light fixtures to LED, safety precautions should be a top priority. Before starting the conversion process, make sure to turn off the power to the fixture and use a voltage tester to confirm that there is no electricity flowing to it. Additionally, wear protective gear such as gloves and safety glasses to prevent any injuries while handling the fixtures. It’s also important to follow the manufacturer’s instructions carefully and use the recommended tools and materials to ensure a safe and successful LED conversion. Taking these safety measures will not only protect you from harm, but also ensure that your new LED fixtures are installed properly and function efficiently for years to come.
Once you have successfully installed the LED bulbs and ballast, it’s time to reconnect the power and test the lights. Start by turning off the power supply to the fixture and using a voltage tester to confirm that the wires are not live. Next, connect the black wire to the black wire and the white wire to the white wire. If you have a green or bare wire, connect it to the grounding screw. Once you have securely connected the wires, put the cover back on the fixture and turn the power back on. Finally, test the lights to ensure that they are working properly. If you notice any issues, double-check your wiring and connections before proceeding. With these simple steps, you can easily upgrade your fluorescent light fixtures to energy-efficient LED lights.
LED lighting has become increasingly popular due to its numerous benefits. It is energy-efficient and can save up to 80% of energy compared to traditional lighting. LED lights also have a longer lifespan, which means they require less maintenance and need to be replaced less frequently. In addition, they are more durable and resistant to shock, vibrations, and extreme temperatures. LED lights also produce less heat, making them safer to use and reducing the risk of fire. They are also more eco-friendly as they do not contain harmful chemicals like mercury, which can be found in fluorescent lights. Furthermore, LED lights are highly customizable and can be made to produce various colors and shades. Overall, converting to LED lighting can provide numerous benefits and save money in the long run.
If you’re looking to upgrade your fluorescent light fixtures to LED, there are five simple steps to follow. First, you’ll need to determine the size and type of fixture you have, as well as the wattage of your existing bulbs. Next, you’ll need to purchase LED replacement bulbs that are compatible with your fixture. After removing the old fluorescent bulbs and ballast, you’ll need to install the new LED bulbs and connect them to the power source. Finally, you’ll want to test the lights to ensure they are functioning properly. With just a few basic tools and these five easy steps, you can make the switch to energy-efficient LED lighting in no time!
If you have already upgraded your fluorescent light fixtures to LED lighting in one area of your home or business, don’t stop there! Consider the benefits and savings of switching to LED lighting in other areas as well. LED lights last longer, use less energy, and are more environmentally friendly than traditional fluorescent bulbs. Additionally, LED lighting can provide better lighting quality and a more modern look to any space. With the simple steps outlined in this article, converting to LED lighting is an easy and affordable way to improve the lighting in your entire home or business. So, why not take the next step and upgrade all of your lighting to LED today?
Conclusion
In conclusion, upgrading your fluorescent light fixtures to LED can seem like a daunting task, but with the right tools and knowledge, it can be a simple and rewarding process. By following the five steps outlined in this guide, you can improve the efficiency, longevity, and overall quality of your lighting system. LED technology has revolutionized the lighting industry and made it easier than ever to achieve bright, energy-saving illumination in any space. Whether you’re a DIY enthusiast or a professional electrician, this guide provides a comprehensive overview of how to convert your fluorescent fixtures to LED in just a few easy steps. So, take the leap and upgrade your lighting today – your wallet and the planet will thank you.

