LED Flounder Gigging Light: A StepbyStep Guide to Making Your Own
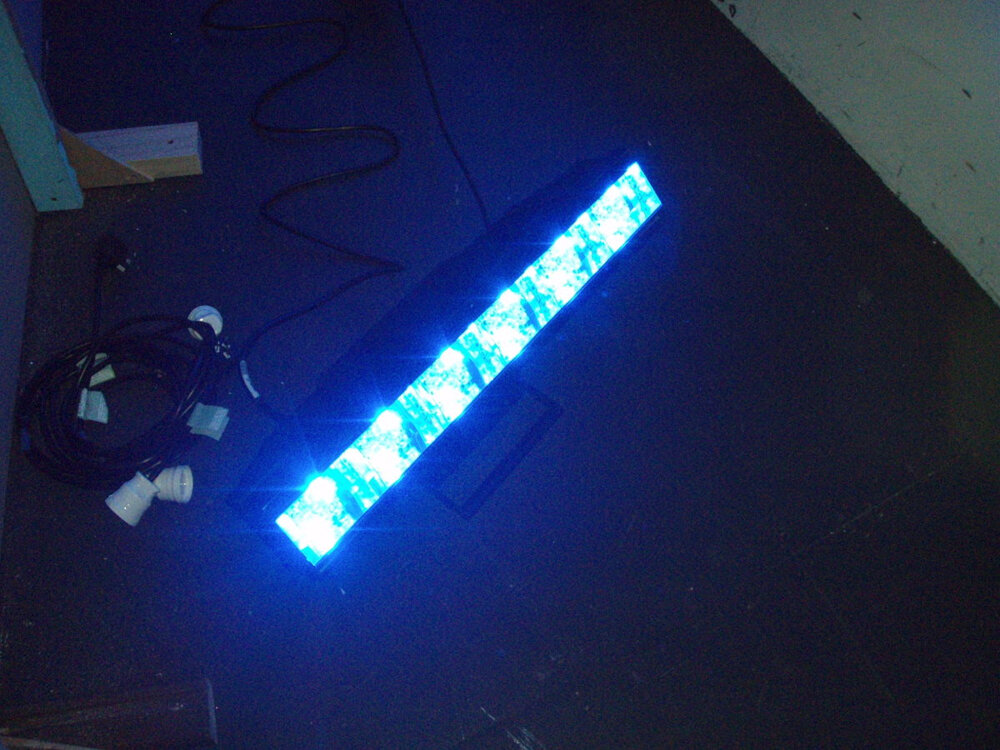
Flounder gigging is a popular pastime for many fishermen and women, especially in coastal regions. It involves using a gig or spear to catch flounder in shallow waters at night. However, one of the most essential tools for successful flounder gigging is a high-quality light source. A LED flounder gigging light is an excellent option, as it provides a bright, long-lasting light that can attract more fish. In this guide, we will take you through the step-by-step process of making your own LED flounder gigging light. Creating your own LED flounder gigging light can be a fun and rewarding experience. Not only will you save money by building it yourself, but you’ll also have the satisfaction of knowing that you created a tool that will help you catch more fish. This guide is designed for both novice and experienced DIYers, and we will provide detailed instructions on the materials you’ll need, the tools required, and the steps to follow. Whether you’re a seasoned fisherman or a beginner, this guide will help you create a high-quality LED flounder gigging light that will improve your chances of catching more fish.
Flounder gigging is a popular fishing technique that involves using a gig or spear to catch flounder at night. This method is typically done in shallow waters, such as bays or estuaries, where flounder are known to gather. The idea is to use a powerful light to attract the flounder, and then use a gig or spear to catch them. Flounder gigging can be a challenging yet rewarding experience, as it requires skill and patience to successfully catch these elusive fish. With the help of a high-quality LED flounder gigging light, you can increase your chances of catching flounder and enjoy a fun and exciting fishing adventure.
A good LED flounder gigging light is an essential tool for any angler who wishes to maximize their catch. The bright and focused beam of the LED light allows the angler to easily spot flounder hiding in the sand or mud. A high-quality LED light is also important to ensure that the angler can see clearly in the dark, making for a safer and more efficient fishing experience. By making your own LED flounder gigging light, you can customize the brightness and color temperature to suit your specific needs, ensuring that you have the best possible chance of catching those elusive flounder.
The idea of making your own LED flounder gigging light can be an exciting and fulfilling project for avid fishermen and DIY enthusiasts. By crafting a personalized lighting system, you can ensure that it meets your specific needs and preferences, giving you an edge when it comes to catching flounder at night. Apart from the satisfaction of building something from scratch, making your own LED flounder gigging light can also save you money in the long run while providing a more eco-friendly alternative to traditional lighting methods. With a step-by-step guide and some basic tools and materials, anyone can create a custom LED flounder gigging light that is both effective and unique.
Materials Needed
When it comes to making your own LED flounder gigging light, there are several materials that you will need to gather before you get started. The first item on your list should be a PVC pipe, which will be used to create the frame of the light. You will also need a high-quality LED bulb, which will provide the necessary illumination to attract the flounder. In addition, you will need a battery pack, wire, and a switch to control the light. Other materials that you may need include a charger for your battery pack, as well as a soldering iron and solder to join the wires and components together. You may also need a drill to create holes in the PVC pipe, as well as sandpaper to smooth the edges of any rough cuts. By gathering all of these materials before you begin, you can ensure that you have everything you need to create a functional and effective LED flounder gigging light that will help you catch more fish.
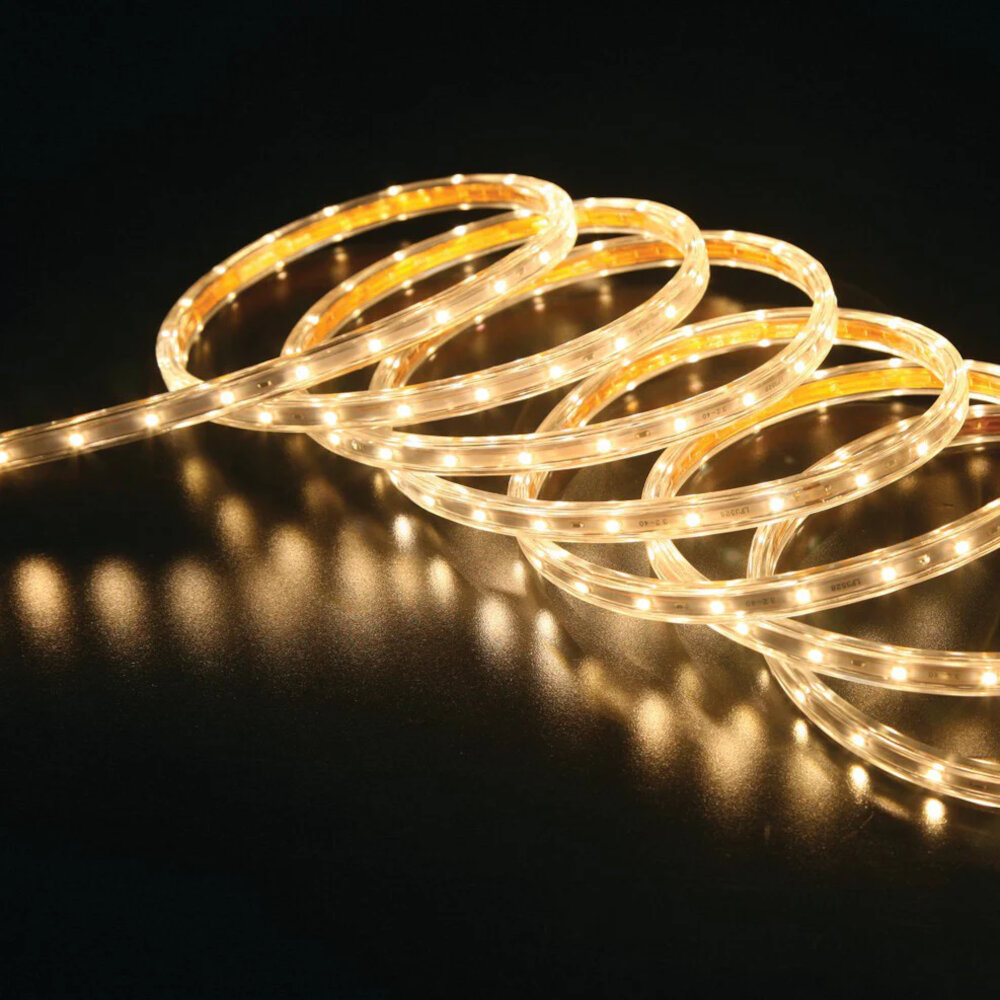
To make your own LED flounder gigging light, you will need several materials. First, you will need a PVC pipe that is approximately 2 inches in diameter and 24 inches long. You’ll also need a 12-volt battery, a battery holder, and a battery charger. Additionally, you’ll need a switch, a fuse, and some wiring. For the LED lights themselves, you’ll need a strip of waterproof LED lights, which should be around 5 meters long, and some heat-shrink tubing to protect the wiring. Finally, you’ll need a few small screws, a drill, and a saw to cut the PVC pipe to the desired length. With these materials, you’ll be able to make a high-quality, durable LED flounder gigging light that will help you catch more fish than ever before.
When it comes to sourcing the materials for your DIY LED Flounder Gigging Light, there are several options available. One of the most convenient and cost-effective ways is to purchase the materials online through websites such as Amazon, eBay, or specialized fishing equipment retailers. Another option is to visit your local hardware store, where you can find most of the necessary components such as PVC pipes, wires, and connectors. However, it’s essential to ensure that the materials you choose are of good quality and will withstand the conditions of the water. Therefore, it’s advisable to read reviews and compare prices before making any purchases. With a bit of research and planning, you can quickly gather all the materials needed to make your own LED Flounder Gigging Light.
StepbyStep Guide
If you’re an avid fisherman who loves the thrill of flounder gigging at night, you know how important it is to have the right equipment. One essential piece of gear is a high-quality LED flounder gigging light. While you can certainly buy one ready-made, making your own can be a fun and rewarding DIY project. Plus, it can save you some money in the long run. If you’re up for the challenge, this step-by-step guide will help you create your own LED flounder gigging light. The first step is to gather all the necessary materials. You’ll need a waterproof PVC pipe, a battery pack, LED strips, wire, and a switch. Once you have everything you need, you can start assembling the light. Begin by drilling holes in the PVC pipe to attach the LED strips. Then, wire the LED strips to the battery pack and switch. Finally, waterproof the light by sealing all the connections with silicone. With a little patience and some basic DIY skills, you’ll have a high-quality LED flounder gigging light that will help you catch more fish.
The process of making an LED flounder gigging light is relatively simple and can be completed with minimal tools and materials. First, gather an LED strip, a battery pack, a switch, and a PVC pipe. Cut the PVC pipe to the desired length and drill holes in it for the LED strip to be inserted. Then, connect the LED strip to the battery pack and switch, making sure to secure the connections with solder and heat shrink tubing. Finally, insert the LED strip into the PVC pipe and seal the ends with end caps. The end result is a durable and efficient flounder gigging light that is easy to use and maintain.
Pictures and diagrams are an essential aspect of any tutorial or guide, as they help to illustrate the steps and make the instructions easier to follow. In the case of making an LED flounder gigging light, including visual aids is especially helpful because it involves a lot of wiring and assembly. By providing clear images of the components and the steps involved in connecting them, anyone can easily recreate the project. Additionally, diagrams can help to clarify any confusion or ambiguity that may arise in the written instructions, making the process of building a LED flounder gigging light much smoother and more manageable.
Testing and Troubleshooting

Testing and troubleshooting are crucial steps in the process of building your own LED flounder gigging light. Before taking your light out on the water, it’s important to test it thoroughly to ensure that it’s functioning properly. This can be done by connecting the light to a power source and observing its brightness and color. If the light is too dim or too bright, it may be necessary to adjust the circuit or change the resistance of the components. Additionally, it’s important to check that all of the connections are secure and that there are no loose wires or components that could cause issues while in use. By testing your light before hitting the water, you can make sure that it’s reliable and will perform as expected. If you encounter any issues with your LED flounder gigging light while out on the water, troubleshooting can help you identify and resolve the problem. One common issue is a dim or flickering light, which may be caused by a loose connection or a faulty component. In this case, it’s important to inspect the wiring and components to identify and fix the problem. Other issues may include overheating or a complete failure of the light. By troubleshooting these problems and making the necessary repairs, you can ensure that your LED flounder gigging light is functioning properly and will provide you with years of reliable use.
To test the LED flounder gigging light, you will need to first connect the battery to the light using the appropriate wires. Once connected, turn on the switch to see if the LED light illuminates. If the light does not turn on, check the battery connection and ensure that the wires are connected properly. You can also use a multimeter to check the voltage and current of the battery and LED light. If everything appears to be functioning properly, test the light in a dark environment to see if it is bright enough for flounder gigging. It is important to test the light before heading out on a fishing trip to ensure that it is working as intended and will not fail during use.
When making your own LED flounder gigging light, it’s important to be aware of common issues that may arise during the process. One common issue is a lack of brightness in the LEDs. This can often be resolved by ensuring that the wiring is properly connected and that the power source is providing enough voltage. Another issue that may occur is overheating of the LEDs, which can cause them to burn out quickly. To prevent this, it’s important to use high-quality LEDs with a low heat output and to ensure that the light is properly ventilated. Finally, if you are experiencing issues with the durability of your flounder gigging light, consider reinforcing the housing with additional materials or using a more durable type of plastic or metal. By troubleshooting these common issues, you can ensure that your LED flounder gigging light is functional, durable, and effective.
Usage and Maintenance
When it comes to creating an LED flounder gigging light, it is essential to consider its usage and maintenance. The usage of the LED light is quite simple and straightforward. Once you have completed making the light, attach it to your boat using the clamps or brackets. Once the LED light is turned on, it will emit a bright, white light that illuminates the surrounding area, making it easier to spot the flounders. The LED light’s intensity can be adjusted according to your preference, allowing you to find the perfect setting for optimal visibility. Maintenance is another crucial factor that you should consider when creating an LED flounder gigging light. The LED bulbs used in the light are durable and long-lasting, requiring minimal maintenance. However, it is essential to clean the light regularly to ensure it is free from dirt, debris, and saltwater buildup. This will not only help to prolong the life of the light but also ensure its optimal performance. Additionally, it is important to check the wiring and connections regularly to ensure they are secure and free from corrosion. By taking care of your LED flounder gigging light, you can ensure optimal usage and performance for years to come.
To effectively use an LED flounder gigging light, first, you need to attach it securely to a pole or a kayak. Then, position the light in shallow water where flounder are likely to be hiding. Slowly wade or paddle through the water, scanning the area for the telltale signs of flounder, such as their eyes reflecting in the light. Once you spot a flounder, use a gig (a long pole with a sharp pronged end) to spear it quickly and accurately. Remember to be patient and stealthy, as flounder can be easily spooked. With the right technique and equipment, flounder gigging can be an exciting and rewarding outdoor activity.
To ensure that your LED flounder gigging light remains in good condition, there are a few maintenance tips that you should keep in mind. Firstly, make sure that the light is always kept clean and free from any dirt or debris. This can be done by wiping it down with a soft cloth or using a can of compressed air to blow away any dust. Additionally, it is important to regularly check the wiring and connections to ensure that they are secure and free from any damage. If you notice any frayed wires or loose connections, be sure to address these issues immediately to prevent any further damage. Finally, it is a good idea to store your LED flounder gigging light in a cool and dry place when not in use to prevent any moisture or humidity from causing damage to the components. By following these simple tips, you can ensure that your LED flounder gigging light remains in top condition and provides you with reliable and effective illumination for all of your fishing needs.
A good LED flounder gigging light is crucial for any successful flounder gigging trip. Not only does it provide adequate lighting to spot flounder in murky waters, but it also helps to avoid disturbing their natural habitat. LED lights are preferred due to their brightness, energy efficiency, and durability, making them ideal for extended use in harsh marine environments. A well-designed LED flounder gigging light can make the difference between a successful catch and a disappointing trip, making it a crucial investment for any serious flounder gigger. By following the step-by-step guide to make your own LED flounder gigging light, you can customize your equipment to your specific needs and preferences, ensuring a more efficient and enjoyable gigging experience.
Are you ready to take on a new DIY project? Look no further than this step-by-step guide to creating your own LED flounder gigging light. Not only will you save money by making it yourself, but you’ll also have the satisfaction of knowing you created something functional and unique. This guide provides all the necessary information and materials needed to make a successful and efficient flounder gigging light. So, gather your tools and get ready to dive into a new adventure, and who knows, this could be the start of a new hobby for you! Don’t hesitate any longer, let’s get started on creating your very own LED flounder gigging light.
Now that you have a step-by-step guide on how to make your own LED flounder gigging light, it’s time to try it out and see the results for yourself! However, we encourage you to not only use this knowledge for personal gain, but also to share it with others who may be interested in this activity. By sharing your own experiences with the LED flounder gigging light, you can help others improve their own fishing techniques and expand the community of flounder gigging enthusiasts. So, don’t hesitate to spread the word and share your knowledge with others!
Conclusion
In conclusion, creating your own LED flounder gigging light can be an exciting and rewarding experience. By following the step-by-step guide, you can design a personalized and efficient light that will enhance your fishing experience. Not only does it provide a cost-effective alternative to purchasing a pre-made light, but it also allows you to customize the light to fit your specific needs. The satisfaction of catching your own fish with a light you created yourself is a feeling that cannot be matched. So, roll up your sleeves, gather your materials, and start your journey into the world of DIY flounder gigging lights.


