LED Light Replacement Made Easy: StepbyStep Guide
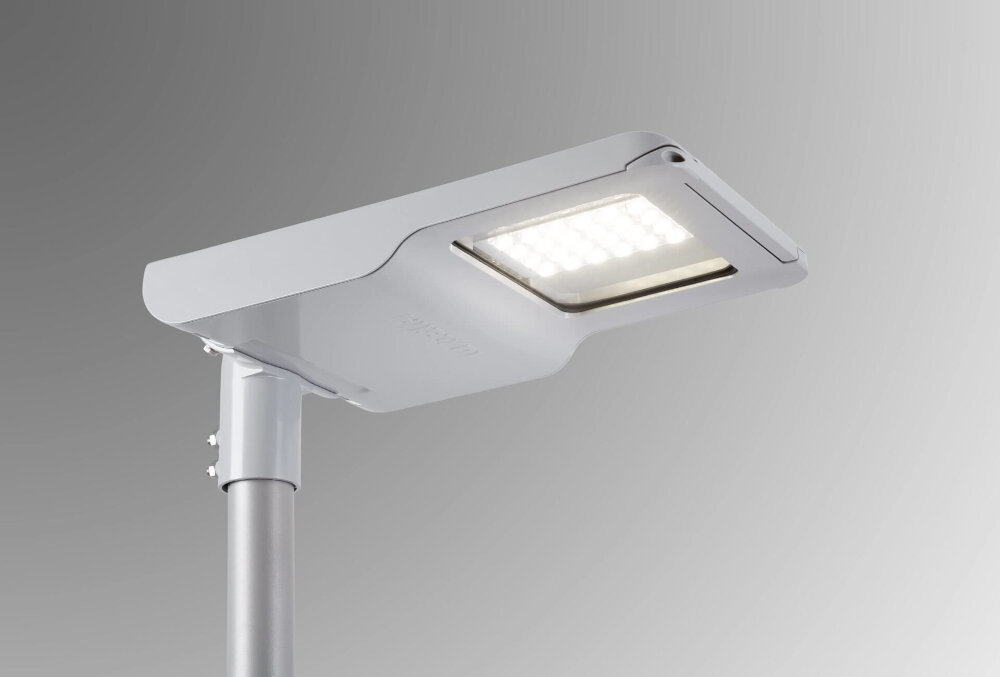
Lighting is an essential aspect of our daily lives. However, traditional light sources such as incandescent bulbs, fluorescent tubes, and halogen lamps are becoming obsolete due to their energy inefficiency and environmental hazards. LED lights, on the other hand, are the future of lighting technology. They are energy-efficient, eco-friendly, and have a longer lifespan. If you’re looking to upgrade your lighting system, replacing your old bulbs with LEDs is the best option. In this step-by-step guide, we’ll walk you through the process of LED light replacement, making it easy and hassle-free. LED light replacement may seem daunting, but it’s a simple process that anyone can do with the right tools and knowledge. This guide will provide you with all the information you need to replace your old bulbs with LEDs. We’ll cover everything from choosing the right LED bulbs to the installation process. You’ll learn how to remove your old bulbs, install the new ones, and troubleshoot any problems that may arise during the process. With this guide, you’ll be able to save money on your energy bills, reduce your carbon footprint, and enjoy brighter, more efficient lighting in your home or business. So let’s get started!
LED stands for Light Emitting Diode, and LED lights are a type of energy-efficient lighting that has become increasingly popular in recent years. LED lights use far less energy than traditional incandescent bulbs, making them more cost-effective and eco-friendly. They also last much longer, with an average lifespan of up to 25,000 hours compared to just 1,000 hours for incandescent bulbs. LED lights also produce less heat, making them safer to use and reducing the risk of fire. Additionally, LED lights are available in a wide range of colors and can be used in a variety of settings, from home lighting to commercial and industrial applications. Overall, LED lights offer numerous benefits, making them a great choice for anyone looking to save money and reduce their environmental impact.
The importance of replacing old lights with LED lights cannot be overstated. LED lights are not only more energy-efficient, but they also last longer than traditional lighting options. This means that you can save money on your electricity bills while also reducing your carbon footprint. Additionally, LED lights emit less heat, making them safer to use in enclosed spaces. LED lights come in a variety of colors and styles, making them a versatile option for any space. With LED lights, you can improve the ambiance of your home or office while also doing your part to protect the environment.
Tools and Materials Needed
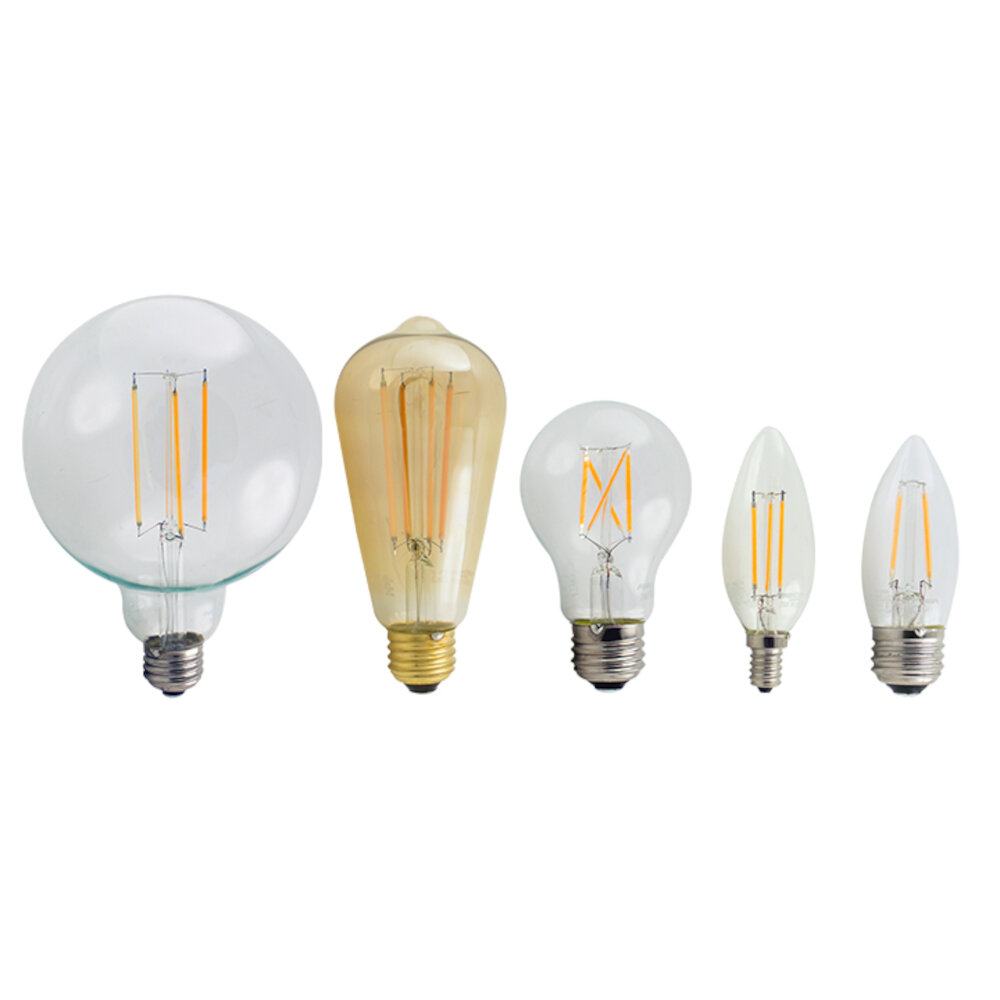
When replacing an LED light, it’s essential to have the right tools and materials to ensure a smooth and successful process. Firstly, you’ll need a screwdriver set that includes a Phillips and flathead screwdriver. These tools come in handy when removing the old LED light and installing the new one. Additionally, it’s always advisable to have a pair of gloves to protect your hands from cuts or burns that may result from handling the light fixture or LED bulb. A pair of pliers can also be useful when dealing with any stuck or tight screws. Apart from tools, it’s essential to have the right materials. A replacement LED light bulb is the most crucial item. Ensure that it’s compatible with your fixture and has the right wattage and color temperature. You can also opt for a dimmable bulb if your fixture supports dimming. A ladder or step stool can be helpful if you’re replacing a ceiling-mounted fixture. Additionally, if the fixture requires any additional hardware, ensure that you have it before starting the replacement process. Having all the right tools and materials makes the process more manageable and ensures that you don’t have to halt the replacement process halfway due to a missing tool or material. In conclusion, having the right tools and materials for replacing an LED light bulb is crucial. A screwdriver set, gloves, pliers, and a ladder are just a few of the essential tools you may need. A replacement LED light bulb, along with any additional hardware required, is also necessary. With all these tools and materials, you’ll be able to replace your LED light quickly and efficiently. Remember to turn off the power supply before starting the replacement process and to follow the manufacturer’s instructions to ensure a safe and successful replacement.
Before starting the process of replacing LED lights, it is essential to have the right tools and materials to ensure a smooth and successful replacement. Firstly, a ladder or step stool will be required to reach the light fixture. Secondly, a pair of gloves and safety glasses will be necessary to protect the hands and eyes from any injuries during the replacement. Thirdly, a screwdriver or pliers will be required to remove the old light fixture. Fourthly, the new LED light bulb should be purchased beforehand, ensuring that it is compatible with the fixture. Lastly, a clean cloth or duster will be necessary to wipe away any dust or debris that may have accumulated around the fixture. With all the necessary tools and materials in hand, the replacement process can be completed easily and effectively.
Using the right tools and materials is essential when it comes to LED light replacement. Failure to use the appropriate tools and materials may lead to damage to the bulb or fixture, or even worse, injury. The right tools will make the task easier and more efficient, while the right materials will ensure that the job is done correctly and safely. Additionally, using the right tools and materials will also help to extend the life of the LED light and ensure that it operates at its optimal level. Therefore, it is crucial to invest in the right tools and materials before undertaking any LED light replacement project.
StepbyStep Guide
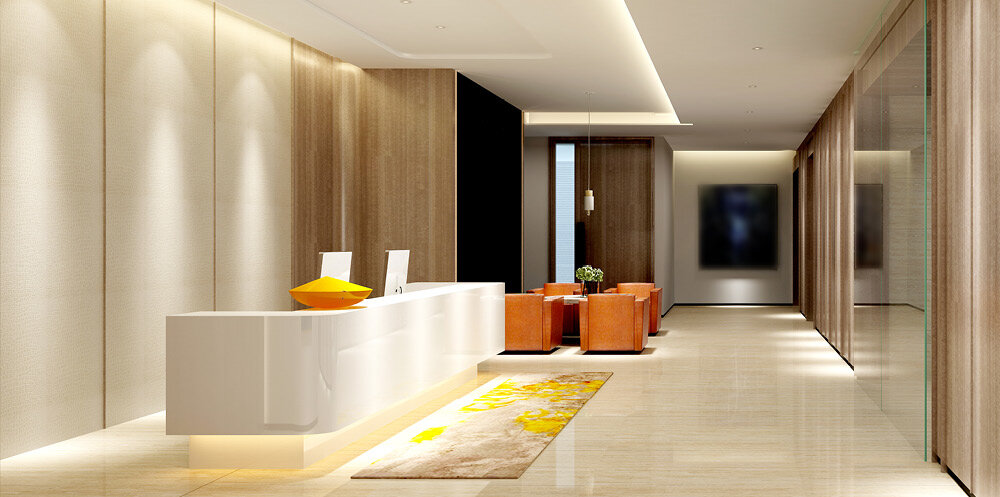
The process of replacing LED lights may seem daunting, but with a step-by-step guide, it becomes a breeze. First, make sure to turn off the power supply to the light fixture. This can be done either by turning off the switch or flipping the circuit breaker. Next, remove the cover or casing of the light fixture to expose the LED light bulb. Gently twist the bulb counterclockwise until it comes loose from the socket. Be sure to dispose of the old bulb properly, as it contains hazardous materials. Once the old bulb has been removed, it’s time to install the new LED light bulb. Start by aligning the pins or prongs on the base of the bulb with the slots on the socket. Gently push the bulb into place and give it a clockwise twist to secure it in the socket. Finally, replace the cover or casing of the light fixture and turn the power supply back on. With this step-by-step guide, replacing LED lights becomes a simple and easy task that anyone can do.
The first step in replacing an LED light is to turn off the power supply to the fixture. This is a crucial safety measure that should not be overlooked. Failure to do so can result in serious injury or even death due to electrocution. It is important to locate the correct circuit breaker or switch that controls the power to the fixture and turn it off. This may require some investigation or assistance from an electrician if you are unsure. Once the power is off, you can proceed with confidence knowing that you have taken the necessary precautions to ensure your safety.
In the process of replacing an old light fixture with a new LED light, the second step involves removing the old fixture. This is a crucial step as it ensures that the new LED light is installed properly and safely. To remove the old fixture, the power supply to the light should be turned off at the circuit breaker or fuse box. Once the power supply is off, the light fixture should be carefully unscrewed or unclipped from its mounting bracket. It is important to be gentle during the removal process to avoid damaging the wiring or the mounting bracket. With the old fixture removed, the installation of the new LED light can begin.
Step 3 in the LED Light Replacement Made Easy Step-by-Step Guide involves the installation of the new LED light fixture. Once you have removed the old fixture, carefully follow the manufacturer’s instructions to install the new one. It is essential to turn off the electricity to the circuit before beginning the installation. Ensure that the wires are correctly connected and secured to avoid any electrical hazards. Tighten any screws or fittings to keep the fixture in place. Finally, turn on the electricity and test the new LED light fixture to ensure that it’s working correctly. With these simple steps, you can easily install your new LED light fixture and enjoy its energy-efficient benefits.
Step 4 of the LED light replacement process involves carefully connecting the wiring. This is a crucial step that requires attention to detail to avoid potential hazards. It is essential to ensure that the wires are connected correctly and securely to avoid any electrical issues, malfunctions, or even fires. Before connecting the wiring, it is important to turn off the power supply to the light fixture to prevent any electrocution. Once the power is off, carefully connect the wires according to their colors and ensure that they are tightly fastened. This step requires patience and precision to ensure that the new LED light functions optimally and safely.
After successfully connecting the new LED light to the wiring, it’s time to turn on the power supply and test it out. This is a crucial step in the replacement process as it ensures that the new light is functioning correctly and that all the connections have been made securely. Once the power supply is turned on, the LED light should illuminate brightly without any flickering or dimming. If there are any issues with the light, it’s important to switch off the power supply immediately and double-check the connections before trying again. If everything works as expected, you can now enjoy the energy-efficient and long-lasting benefits of your new LED light.
Tips and Tricks
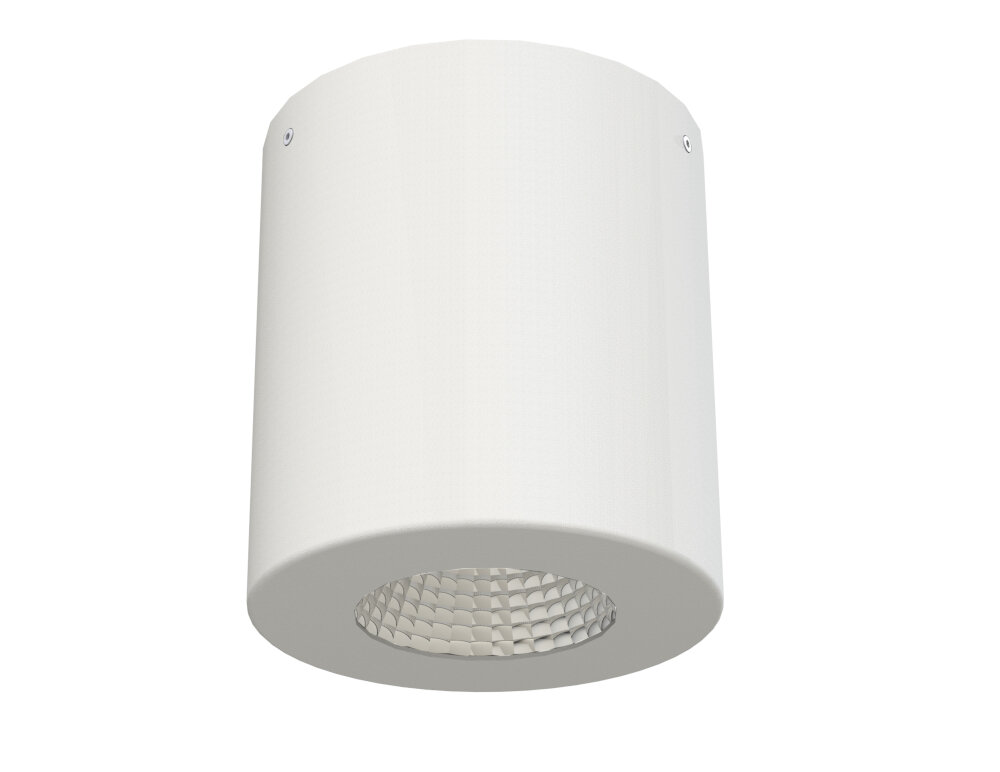
When it comes to replacing LED lights, there are a few tips and tricks that can make the process much easier. First and foremost, it’s important to choose the right replacement bulb. LED lights come in a variety of sizes and shapes, so it’s important to select a bulb that is compatible with your fixture. Additionally, you’ll want to consider the color temperature and brightness of the bulb to ensure that it meets your lighting needs. Another helpful tip is to turn off the power to the fixture before beginning any work. This will prevent any potential electrical shocks or accidents. Once the power is off, you can safely remove the old bulb and replace it with the new LED bulb. It’s important to handle the bulbs carefully and avoid touching the LED chips, as this can damage the bulb and reduce its lifespan. With these tips and tricks in mind, replacing your LED lights should be a breeze.
When it comes to choosing the right LED light fixture, there are a few key factors to keep in mind. First and foremost, consider the purpose of the light. Is it intended for task lighting, accent lighting, or general illumination? This will help you determine the brightness and color temperature needed. Additionally, consider the size and style of the fixture, as well as any specific features such as dimming capabilities or smart controls. It’s also important to choose a high-quality LED fixture from a reputable manufacturer, as this will ensure longevity and optimal performance. By taking these factors into account, you can confidently choose the right LED light fixture for your needs and enjoy the many benefits that come with energy-efficient lighting.
During the LED light replacement process, some common problems may arise that can cause frustration and delay. One of the most common issues is the LED light not turning on. To troubleshoot this problem, double-check the wiring connections and ensure that the LED light is compatible with the existing wiring. Another issue may be flickering or dimming of the LED light. This can be caused by a faulty driver or incompatible dimmer switch. To fix this problem, replace the driver or switch with a compatible one. Additionally, if the LED light is overheating, it may be due to poor ventilation or incorrect installation. Make sure that the LED light is installed in a well-ventilated area and check that it is securely mounted. By following these troubleshooting tricks, you can ensure a smooth and successful LED light replacement process.
LED lights are an energy-efficient and cost-effective alternative to traditional lighting options. They have a longer lifespan, consume less energy, and emit less heat than incandescent bulbs. LED lights also come in a variety of colors and can be dimmed to suit any mood. However, proper installation is key to getting the most out of your LED lights. Poor installation can lead to flickering, dimming, and even premature burnout. It is important to follow the step-by-step guide to ensure that your LED lights are installed correctly and safely. Taking the time to properly install your LED lights will not only improve their performance but also increase their lifespan, saving you both time and money in the long run.
If you’re looking for a cost-effective way to brighten up your home while reducing your carbon footprint, then replacing your old lights with LED lights is the way to go. LED lights are energy-efficient, which means they consume less power, last longer, and emit less heat than traditional incandescent bulbs. Plus, LED lights come in a variety of colors and can be used in different settings, from task lighting to ambient lighting. By switching to LED lights, you’ll not only save money on your energy bills, but you’ll also be doing your part to help the environment. So why not make the switch today and start enjoying a brighter, more energy-efficient home?
Conclusion
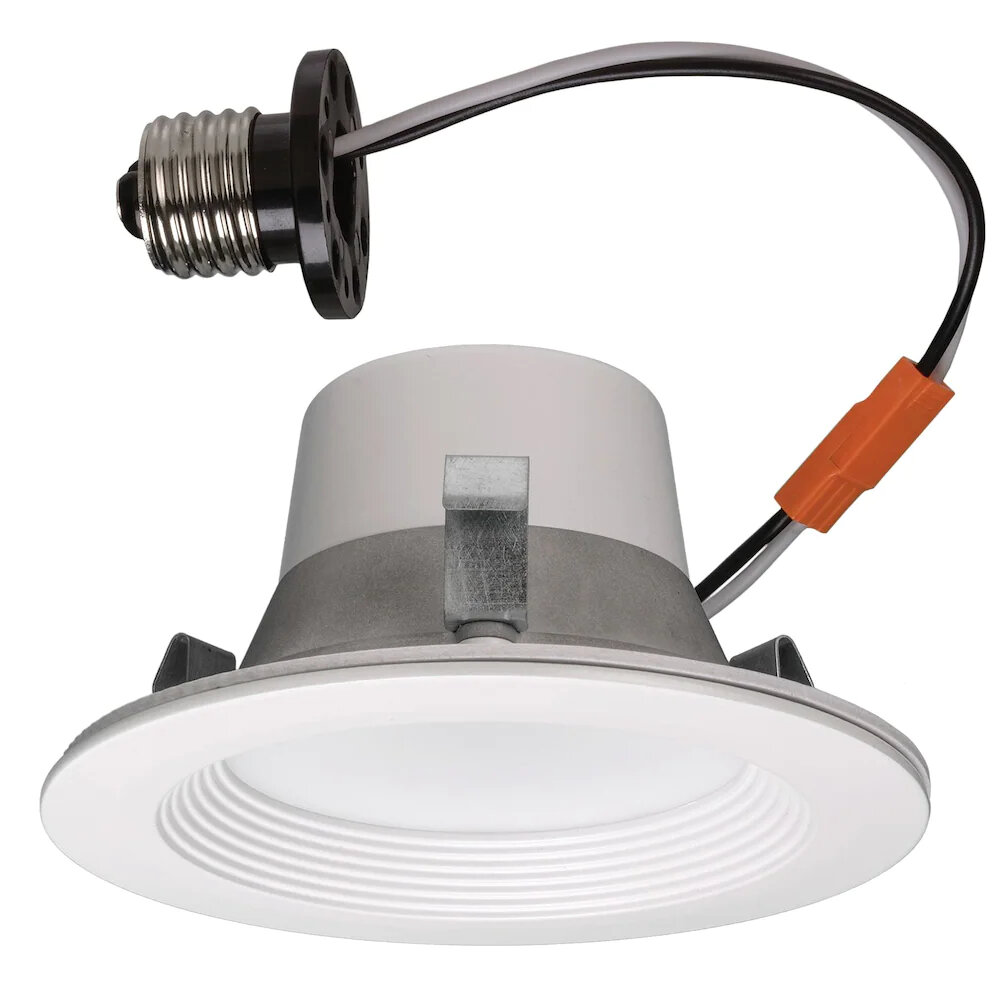
In conclusion, replacing your traditional light bulbs with LED lights is an easy process that can be done in just a few simple steps. Not only do LED lights last longer and save energy, but they also provide better lighting quality and can save you money on your electricity bill. By following this step-by-step guide, you can confidently make the switch to LED lights and enjoy the benefits they have to offer. Don’t hesitate to upgrade your lighting system and join the growing number of people who are making the switch to LED lights for a brighter and more sustainable future.

