Light Up Your Next Event: Learn How to Make a LED Light Suit in 5 Easy Steps
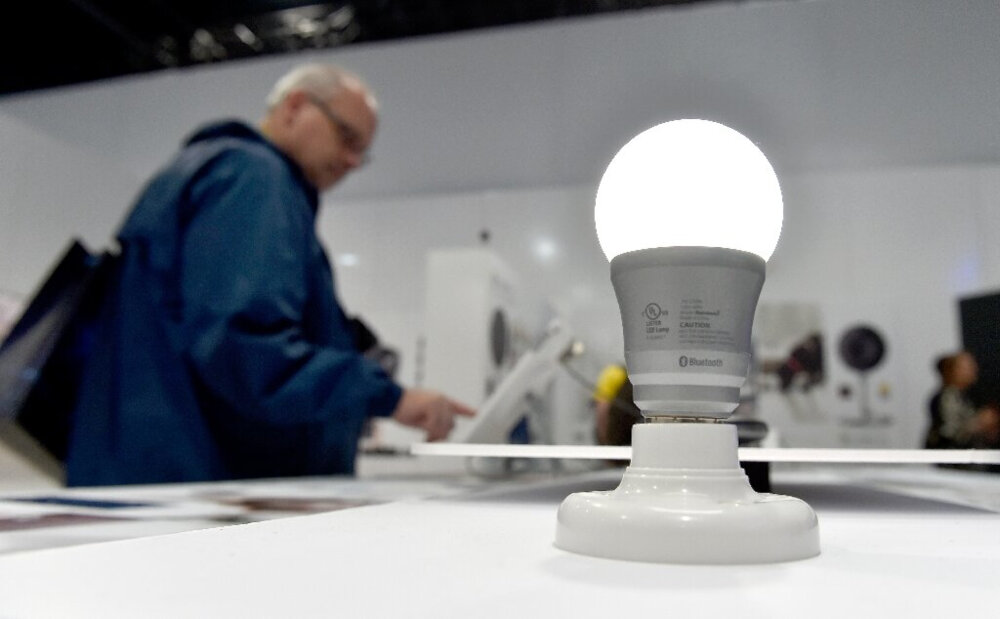
Do you want to light up your next event and be the center of attention? Then, you need to learn how to make an LED light suit! This innovative piece of clothing will make you stand out and impress everyone around you. The good news is that you don’t need to be a fashion designer or an electrician to create your own light suit. With just five easy steps, you can make your own LED light suit at home and wow your friends and family. LED light suits are becoming increasingly popular at music festivals, sports events, and other gatherings. They’re not only a fashion statement, but they also create a unique and unforgettable experience for everyone around you. Imagine dancing under the stars with your LED light suit on, or cheering on your favorite team while glowing in the stands. With this guide, you’ll learn how to make your own LED light suit and take your event experience to the next level. So, grab your materials, and let’s get started on this exciting journey of creativity and innovation!
Materials Needed
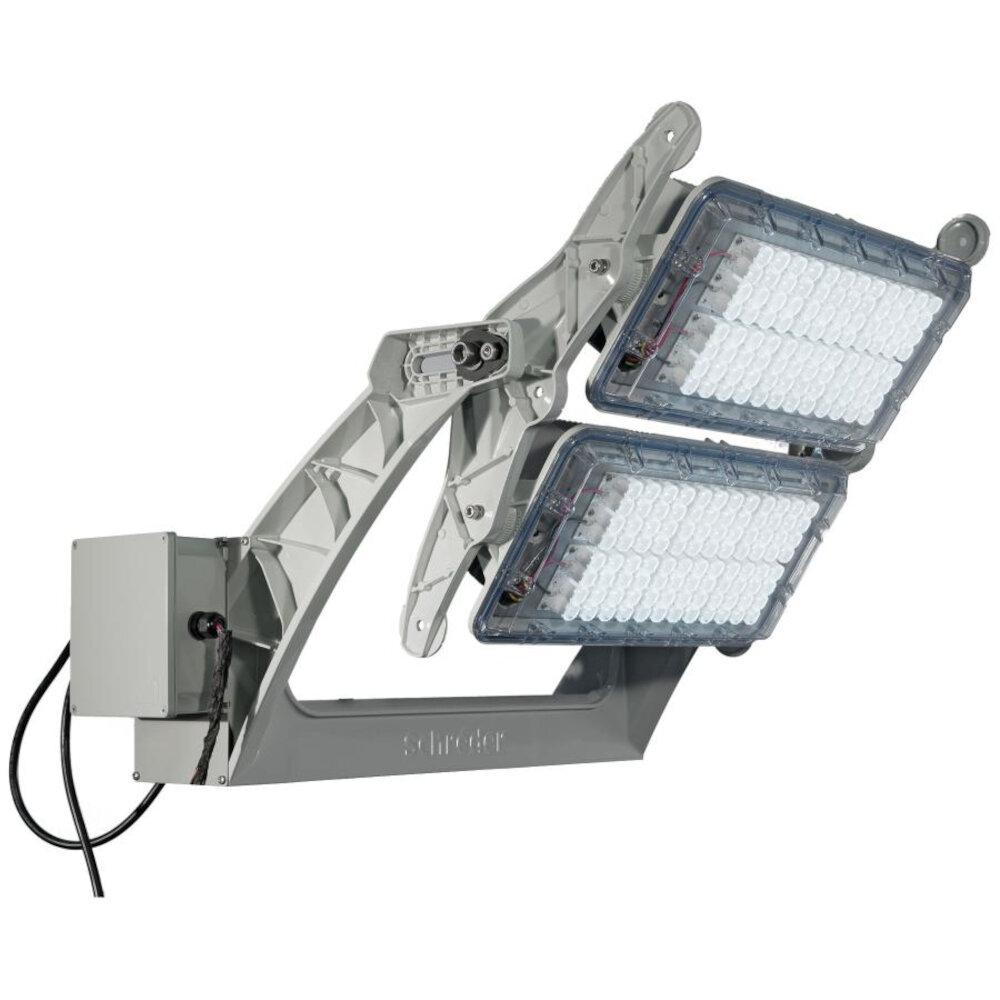
When it comes to making a LED light suit, the materials needed are crucial for the success of the project. The first and most important item is the LED strip lights. These can be found in various colors and lengths, so it is important to choose the ones that suit the event’s theme and design. Additionally, a battery pack is necessary to power the LED strip lights. It is advisable to choose a rechargeable battery pack to avoid constantly replacing batteries. Other materials required include a soldering iron, solder, wire cutters, and electrical tape. These tools will be used to connect the LED strip lights to the battery pack and create the light suit. In addition to the above materials, it is also recommended to have a hot glue gun and fabric glue. These will be used to attach the LED strip lights to the clothing items, such as a shirt, pants, or jacket. It is important to choose clothing items that are lightweight and breathable to avoid discomfort during wear. Finally, a pair of scissors is necessary to cut the LED strip lights to the desired length and shape. With these materials at hand, anyone can create a stunning LED light suit that will make their event stand out.
StepbyStep Guide to Making Your LED Light Suit

If you want to stand out at your next event or party, a LED light suit is a surefire way to make a statement. Not only is it attention-grabbing, but it’s also a fun and creative way to express yourself. In just five easy steps, you can create your own LED light suit that will be the talk of the party. First, gather your materials. You’ll need a suit or clothing that you don’t mind covering in LED lights, LED strip lights, a battery pack, and some basic sewing supplies. Once you have your materials, you can start creating your design. You can choose to make a pattern or simply add lights in a random fashion. It’s up to you to decide how you want your suit to look. Once you have your design in mind, it’s time to start sewing the LED strip lights onto your suit. Make sure to sew the lights securely so they don’t fall off during the event. Finally, attach the battery pack to the suit and turn on the lights to see your creation come to life. You’ll be the center of attention with your unique and eye-catching LED light suit.
The first step in making a LED light suit is designing it. The design process involves choosing the right materials, colors, and patterns that will complement the event theme and the wearer’s personality. The suit’s design should also consider the type of LED lights to be used, their placement, and the wiring needed to connect them. It is important to ensure the design is comfortable and allows for movement, as the wearer will be dancing and moving around. The design stage is crucial as it sets the tone for the entire project and determines the final outcome of the LED light suit.
In the second step of creating your LED light suit, it’s time to gather all the materials you’ll need for this exciting project. Some of the essential items that you’ll need to get started include a sewing machine, scissors, thread, and a measuring tape. Additionally, you’ll need LED light strips, a battery pack, and a controller to power up and control the lights. It’s also crucial to choose the right fabric for your suit, such as spandex or lycra, which are stretchy and durable materials that will allow you to move comfortably while wearing your light suit. With all the necessary supplies and tools at hand, you’re ready to move on to the next step and start creating your LED light suit.
The third step in making a LED light suit is to connect the LED strips. First, you need to measure the distance between the strips on the suit and cut the strips accordingly. Next, you need to solder the wires to connect the strips together. It is important to make sure that the positive and negative ends of the strips are correctly aligned before soldering. Once the strips are connected, you can use adhesive tape to attach them to the suit. It is recommended to test the strips at this stage to ensure that they are working properly. Connecting the LED strips is a crucial step in making a LED light suit, as it determines the final appearance of the suit and its functionality.
Step 4 of making a LED light suit involves attaching LED strips to the chosen fabric. This is a crucial step as it determines how well the lights will be visible and how securely they will stay in place. First, decide on the pattern and arrangement of the LED strips on the fabric. Then, use fabric glue or needle and thread to attach the strips, ensuring that they are evenly spaced and securely fastened. The use of a hot glue gun is not recommended as it can damage the LEDs. It is important to take your time and be meticulous in this step to achieve a polished and professional-looking final product.
In order to fully bring your LED light suit to life, it’s time to power it up! This step is crucial and requires attention to detail. First, ensure that all of the wires are properly connected and secure. Next, insert the batteries into the battery pack and turn it on. It’s important to test each individual LED light to ensure they are all functioning properly. Once you’ve confirmed that everything is working as it should, it’s time to put on your suit and show it off! The power up process is the final step in creating your LED light suit and will leave you with a one-of-a-kind outfit that is sure to make a statement at your next event.
Tips and Tricks
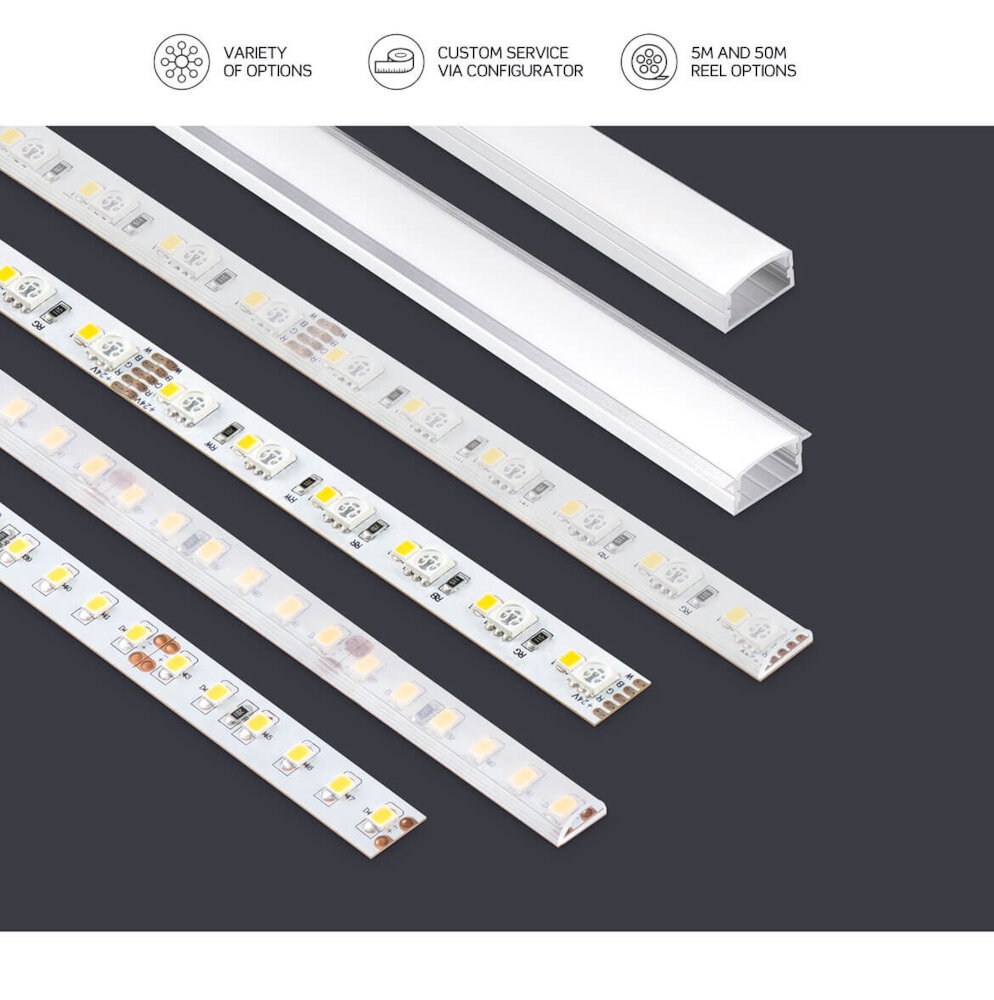
When it comes to creating a memorable event, it’s all about the details. One way to add some unique flair to your next gathering is by incorporating a LED light suit. These suits are a fun way to get people excited and engaged, and they’re surprisingly easy to make. With just five simple steps, you can create a custom light suit that will have everyone talking. First, gather your materials. You’ll need a plain jumpsuit, LED strip lights, a battery pack, and some basic sewing supplies. Once you have everything you need, it’s time to get started. Begin by laying out your jumpsuit and measuring where you want the lights to go. Then, sew the LED strip lights onto the jumpsuit, making sure to secure them in place with small stitches. Once the lights are in place, attach the battery pack to the back of the jumpsuit and test the lights to make sure they’re working properly. With a little bit of creativity and some basic sewing skills, you can create a one-of-a-kind LED light suit that will make your next event a hit.
Conclusion
In conclusion, creating your LED light suit is an excellent way to add a unique touch to your next event. With just a few materials and some basic knowledge of electronics, you can create a stunning and personalized outfit that is sure to turn heads. Whether you’re attending a rave, a music festival, or a costume party, your LED light suit will make you stand out from the crowd and create a memorable experience. So why not give it a try? With these five easy steps, you’ll be lighting up the night in no time.


