Power Up Your LED: A StepbyStep Guide to Lighting with Batteries

Lighting is an essential aspect of our daily lives, whether it’s for practical or aesthetic purposes. With the increasing popularity of LED lighting, it’s now possible to create beautiful and efficient lighting setups with minimal power consumption. However, powering these lights can be a challenge, especially when you’re on the go or in a remote location where electricity is unavailable. This is where batteries come in handy, allowing you to power your LED lights anytime and anywhere. In this step-by-step guide, we will explore the different options available for powering your LED lights with batteries. We’ll cover the basics of battery technology, the types of batteries suitable for powering LED lights, and the different configurations you can use to create a portable lighting setup. Whether you’re a photographer looking to create stunning portraits, a camper in need of reliable lighting, or someone who wants to reduce their electricity bill, this guide will help you power up your LED lights with ease. So let’s dive in and discover the world of battery-powered LED lighting!
When it comes to LED projects, lighting is a crucial aspect that requires attention. Lighting with batteries is an essential consideration for LED projects as it enables the devices to function without the need for a power outlet. The importance of this is particularly felt in settings where there are no power outlets or in cases where mobility is necessary. Lighting with batteries allows for flexibility in the positioning of the LED lights, making them ideal for outdoor and camping activities. Additionally, using batteries to power LED lights is energy-efficient, which means that it is a cost-effective lighting option. With proper planning and implementation, lighting with batteries can significantly enhance the effectiveness and functionality of LED projects.
The purpose of this guide is to provide a comprehensive, step-by-step tutorial on how to power up your LED lighting using batteries. Whether you are an electronics enthusiast looking to build your own lighting system or simply want to learn how to make use of batteries to power your LED lights, this guide has got you covered. With clear and concise instructions, accompanied by detailed diagrams and illustrations, this guide takes you through the entire process, from selecting the right batteries to wiring up your LED lights. By the end of this guide, you will have the knowledge and skills needed to create your own battery-powered LED lighting system that is both efficient and effective.
Understanding Power Requirements

Understanding power requirements is crucial when it comes to lighting with batteries. The power requirements of your LED lighting system will determine the type and capacity of battery you will need in order to power your lights. It is important to consider the power requirements of your LED lights before purchasing a battery because compatibility is essential for the longevity and performance of your system. If you use a battery that does not meet the power requirements of your LED lighting system, you may end up with lights that do not work, or a battery that does not last as long as you need it to. To determine the power requirements of your LED lighting system, you will need to consider the voltage and current requirements of your LED lights. The voltage requirement refers to the amount of electrical potential that is needed to power your LED lights, while the current requirement refers to the amount of electrical current that is needed to power your LED lights. Once you have determined the voltage and current requirements of your LED lights, you can use this information to select a battery that has the appropriate voltage and current capacity to power your lights. By understanding the power requirements of your LED lighting system, you can ensure that you have the right battery for your needs and that your lights will perform at their best.
To calculate the power requirements for LEDs, you must first determine the voltage and current requirements of the LED. This information can usually be found in the LED’s datasheet. Once you have this information, you can use Ohm’s law to calculate the power requirements. The power required by the LED is equal to the voltage across the LED multiplied by the current flowing through it. It’s important to note that the power supply you use must be able to provide enough power to meet the requirements of all the LEDs you are using. Additionally, you should take into consideration any losses that may occur in the circuit due to resistance in the wires or other components. By accurately calculating the power requirements for your LEDs, you can ensure that they are powered efficiently and effectively.
Understanding voltage and current requirements is crucial when it comes to lighting up an LED with batteries. Voltage refers to the electrical potential difference between two points, and it is measured in volts. Different LEDs require different voltage levels to operate, and it is essential to ensure that the battery voltage matches the LED’s voltage requirement. On the other hand, current refers to the flow of electric charge in a circuit and is measured in amperes. To light up an LED, the current must flow through it. However, too much current can damage the LED or cause it to burn out quickly. It is, therefore, necessary to use the appropriate resistors to regulate the current flow and ensure that the LED operates within its safe current range. By understanding the voltage and current requirements, you can select the right battery and resistors to power your LED effectively.
Choosing the right battery for your project is a crucial factor that directly affects the performance of your device. A battery’s capacity, voltage, discharge rate, and chemistry should match the specifications of your project. If the battery capacity is too low, the device’s runtime will be limited, and if the voltage is too high or too low, it can damage the device or cause it to under-perform. Additionally, the battery’s discharge rate should be sufficient to meet the device’s power demands. Lastly, the battery’s chemistry should be compatible with the device’s operating conditions. By selecting the right battery, you can ensure that your device performs optimally and prolong its lifespan. It’s essential to do your research and consult with experts to make an informed decision when choosing the right battery for your project.
Choosing the Right Battery

When it comes to lighting up your LED, choosing the right battery is crucial. The battery you choose will determine how long your LED will last and how bright it will shine. There are a variety of batteries available on the market, each with different capacities, voltages, and chemistries. It is important to understand these differences to choose the right battery for your LED. Firstly, consider the capacity of the battery. The capacity is the amount of energy the battery can store and is measured in milliampere-hours (mAh). The higher the capacity, the longer the battery will last. However, high-capacity batteries are often larger and heavier, so you will need to balance size and weight with the desired runtime. Additionally, the voltage of the battery is also important. The voltage is the electrical potential difference between the positive and negative terminals. Most LEDs operate on 3-5 volts, so be sure to choose a battery with the appropriate voltage. Lastly, consider the chemistry of the battery. Common battery chemistries include alkaline, lithium-ion, and nickel-metal hydride. Each chemistry has its own advantages and disadvantages, such as cost, lifespan, and environmental impact. By understanding these factors and considering your specific needs, you can choose the right battery to power up your LED.
When it comes to powering up LED projects, there are several types of batteries to choose from. Alkaline batteries, such as AA and AAA, are readily available and inexpensive, making them great for small projects. Lithium-ion batteries are rechargeable and have a higher energy density, making them ideal for larger, high-performance projects. Nickel-metal hydride batteries are also rechargeable and have a longer lifespan than alkaline batteries. For projects that require a portable power source, coin cell batteries are compact and lightweight, but have a lower capacity than other types of batteries. It is important to consider the voltage and capacity requirements of your LED project when choosing a battery type.
When it comes to powering up your LED lighting, there are a few different options to choose from, each with their own set of pros and cons. One option is to use disposable batteries, which are convenient and easy to replace when they run out. However, this can become costly over time and can also be wasteful for the environment. Another option is to use rechargeable batteries, which can be used multiple times and are more eco-friendly. However, they can be expensive upfront and require a charging device. Lastly, there is the option of using a power bank, which is convenient and can be used to charge other devices as well. However, they can be heavy and bulky to carry around. Ultimately, the choice depends on your specific needs and priorities.
When selecting a battery for your project, there are several factors to consider. The first is the voltage required by your device, which will determine the type of battery you need. You should also consider the amperage required by your device, as this will determine the capacity and discharge rate of the battery. The physical size and weight of the battery are also important, especially if you need to integrate it into a compact or portable device. Additionally, you should consider the cost and availability of the battery, as well as its lifespan and rechargeability. Finally, it is important to consider the safety and environmental impact of the battery, especially if you plan to dispose of it after use. By taking these factors into account, you can choose the right battery for your project that provides the necessary power and meets your requirements for safety, cost, and sustainability.
Connecting Your LED to the Battery
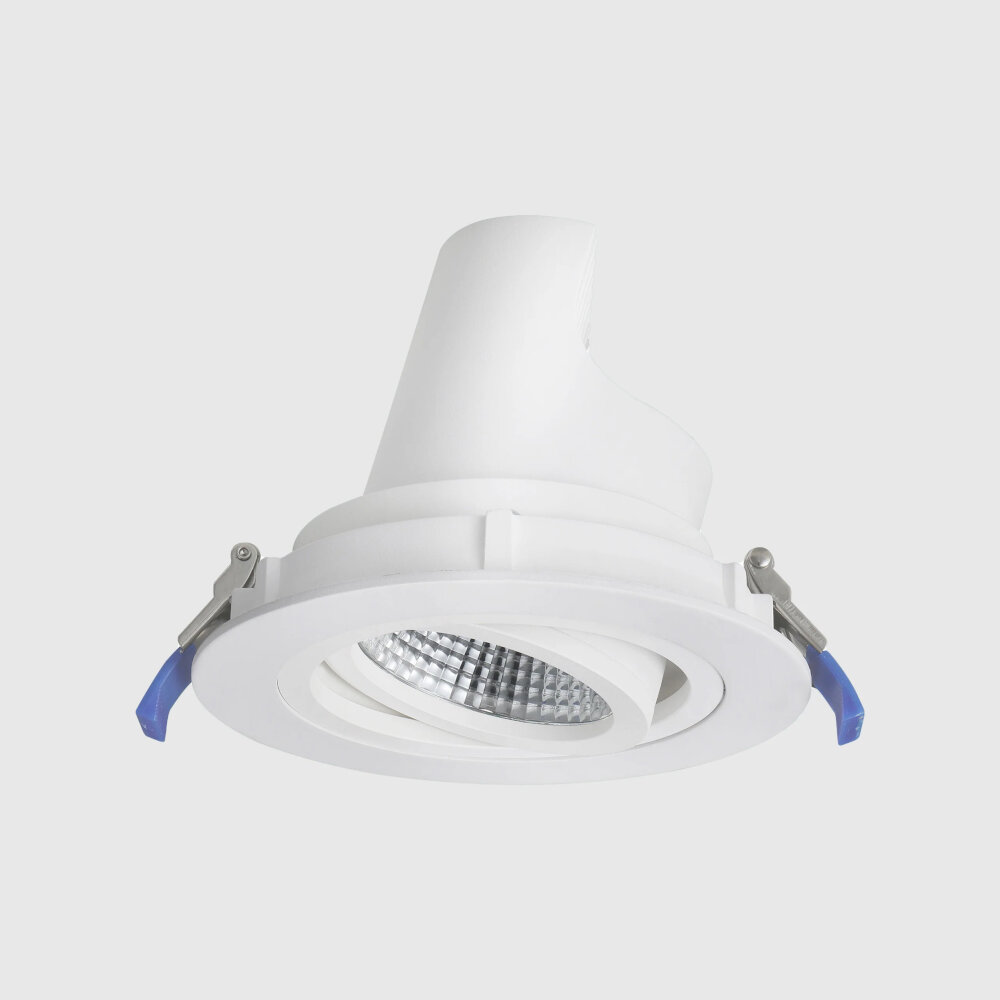
Connecting your LED to the battery is an important step in powering up your lighting project. To begin, you will need to gather the necessary materials such as wire, resistors, and of course, your LED and battery. It is important to choose the correct resistor for your LED to avoid damaging it. Once you have everything you need, you can start by attaching one end of the wire to the positive terminal of the battery and the other end to the positive leg of the LED. Next, attach the negative leg of the LED to the resistor and then connect the other end of the resistor to the negative terminal of the battery. It is important to make sure that the connections are secure to prevent any accidental disconnections. When connecting your LED to the battery, it is important to pay attention to the polarity of the battery and the LED. The positive leg of the LED should be connected to the positive terminal of the battery, and the negative leg of the LED should be connected to the negative terminal of the battery. It is also important to use the correct voltage for your LED to ensure that it lights up properly. Using too high or too low voltage can damage your LED. Once you have successfully connected your LED to the battery, you can test it out by turning on the switch or pressing the button. With a little bit of patience and attention to detail, you can easily power up your LED and bring your lighting project to life.
Connecting an LED to a battery is an easy process that can be done with just a few simple steps. First, gather your materials, including an LED, a battery, and two wires. Next, carefully connect one end of a wire to the positive terminal of the battery and the other end to the positive leg of the LED. Then, take the second wire and connect one end to the negative terminal of the battery and the other end to the negative leg of the LED. Once both wires are securely connected, the LED should light up. It’s important to note that the positive and negative legs of the LED must be correctly identified and connected to the corresponding terminals of the battery to ensure proper functioning. With these steps, you can easily power up your LED and enjoy the benefits of portable, battery-operated lighting.
Proper wiring and soldering techniques are crucial in ensuring a safe and efficient lighting system when working with batteries and LEDs. Poor wiring can result in short circuits or even electrical fires, putting both the project and the people around it in danger. Soldering, on the other hand, is a technique that allows for a secure and long-lasting connection between wires and components. A well-soldered joint will prevent the wires from coming loose or disconnecting over time, ensuring a reliable and stable power supply to the LED. In addition, proper wiring and soldering techniques can also improve the aesthetics of the project, making it look neat and professional. Therefore, it is vital to pay attention to these details when constructing a battery-powered LED system.
When it comes to lighting with batteries, there are some common mistakes that people often make. To avoid these mistakes, it’s important to follow some helpful tips. Firstly, always make sure that you’re using the correct type of battery for your LED lights. Using the wrong type of battery can lead to a decrease in performance, or even worse, damage to your lights. Secondly, be sure to connect your battery to your LED lights correctly. A reversed connection can cause damage to your lights and battery. Thirdly, avoid overloading your battery by powering too many LED lights with a single battery. This can cause the battery to drain quickly or even become damaged. Lastly, always be aware of the temperature of your battery and LED lights. Overheating can cause damage to both the battery and the lights, so it’s important to monitor the temperature and take necessary steps to prevent overheating. By following these tips, you can ensure that your LED lighting with batteries is safe, effective, and long-lasting.
Troubleshooting Common Issues
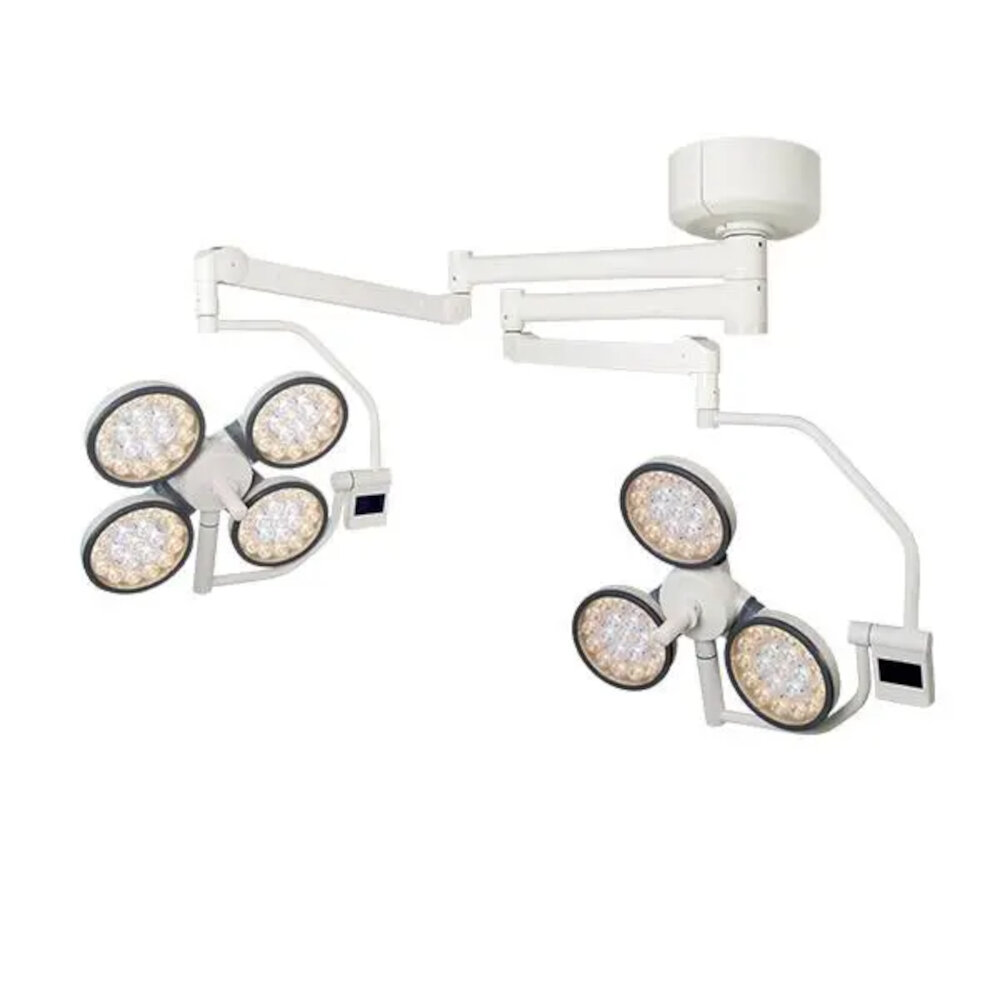
When it comes to lighting with batteries, there are common issues that people may encounter. One of the most common issues is that the LED light doesn’t turn on. This can be caused by a variety of issues, including the battery not being properly inserted or the battery being dead. To troubleshoot this issue, first, check if the battery is properly inserted and if it has enough power. If the battery is inserted correctly and still doesn’t work, try replacing it with a new one. Another possible cause of the issue could be a faulty LED light. In this case, it may be necessary to replace the LED or the entire lighting system. Another issue that people may encounter when lighting with batteries is that the LED light may flicker or dim. This can be caused by a number of factors, including a low battery, loose wiring, or a faulty LED. To troubleshoot this issue, first, check to see if the battery has enough power. If the battery has enough power, check the wiring to make sure it is properly connected and secure. If the wiring is secure and the battery has enough power, then the issue may be a faulty LED. In this case, it may be necessary to replace the LED or the entire lighting system. By troubleshooting common issues, you can ensure that your LED lighting system is working properly and efficiently.
When it comes to lighting with batteries, there are some common issues that one may face. Firstly, the battery life may not last as long as anticipated, leading to the lights dimming or turning off unexpectedly. This could be due to a number of factors such as the type of battery used, the quality of the battery, or the power consumption of the lights. Secondly, there may be compatibility issues between the batteries and the lights, leading to them not working together efficiently. It is important to ensure that the batteries and lights are compatible before starting the project. Lastly, there may be issues with overheating or short-circuiting, especially if the batteries are not handled or stored properly. It is important to take proper precautions and follow safety guidelines when working with batteries to prevent any accidents or damage to the lights or equipment.
When lighting up LEDs with batteries, there are common issues that may arise such as flickering, dimness, or even no light at all. To troubleshoot and fix these issues, the first step is to check the battery connections and ensure they are properly connected. If the connections are correct, check the battery voltage and ensure it is sufficient for the LED. If the voltage is low, replace the battery with a new one. Another common issue is the polarity of the LED being reversed, causing it to not light up. To fix this, switch the polarity of the LED by switching the wires’ connections. If the LED is still not working, it may be damaged and needs to be replaced. By following these simple troubleshooting steps, you can ensure your LED lighting works efficiently and effectively.
To avoid issues when lighting with batteries, it’s important to follow a few tips. First, ensure that the batteries you’re using are compatible with your LED lights. You should also use batteries that are fresh and fully charged, as this will help ensure optimal performance. Additionally, consider using a battery tester to check the charge level of your batteries before using them. It’s also a good idea to invest in high-quality batteries and LED lights, as these will typically last longer and provide better lighting. Finally, be sure to store your batteries in a cool, dry place when not in use, as this will help prevent corrosion and other issues that can affect their performance. By following these tips, you can power up your LED lights with confidence and avoid common issues that can arise when using batteries for lighting.
Lighting with batteries is a crucial aspect of LED projects, as it ensures the smooth and consistent flow of electricity to the LED lights. The importance of lighting with batteries cannot be overstated, as it allows for flexibility and portability in LED projects. Batteries provide a reliable and sustainable power source that can be used in a variety of settings, without the need for an external power source. Additionally, batteries allow for greater control over the lighting levels and intensity of LED lights, making them ideal for creating customized lighting effects. Overall, lighting with batteries is an essential component of any successful LED project, and can greatly enhance the functionality and versatility of LED lighting.
The article \Power Up Your LED: A Step-by-Step Guide to Lighting with Batteries\ provides an in-depth guide on how to use batteries to power LED lights. The guide covers the basics of LED lights, including their advantages over traditional incandescent bulbs. It then moves on to explain how batteries work and the different types of batteries available. The article provides step-by-step instructions on how to create a basic battery-powered LED circuit, including information on selecting the appropriate voltage and resistance. Additionally, the guide covers more advanced topics, such as creating a dimmer switch and using rechargeable batteries. Overall, this article is an excellent resource for anyone looking to power their LED lights with batteries.
As you embark on your journey to power up your LED, it’s essential to encourage yourself to experiment with different battery and LED combinations. Not all batteries are created equal, and some may provide longer-lasting power or more significant voltage output, which can be crucial for certain LED types. Furthermore, different LED colors and sizes may require varying amounts of power to emit the desired brightness. So, don’t be afraid to mix and match battery types and LED colors to find the perfect combination for your lighting project. By experimenting with different combinations, you’ll gain a deeper understanding of how batteries and LEDs interact, and you may even discover new and exciting ways to light up your world!
Conclusion

In conclusion, lighting with batteries can be a simple and effective way to power up your LED lights. By following the step-by-step guide provided, you can create a reliable and efficient lighting system that is both cost-effective and environmentally friendly. Whether you’re looking to light up your home, office, or outdoor space, the possibilities are endless with battery-powered LEDs. So why wait? Start experimenting with different battery types and lighting setups today and see how you can power up your LED lights to create a brighter, more energy-efficient world.

