Quick and Easy Guide: How to Replace LED Ceiling Light like a Pro
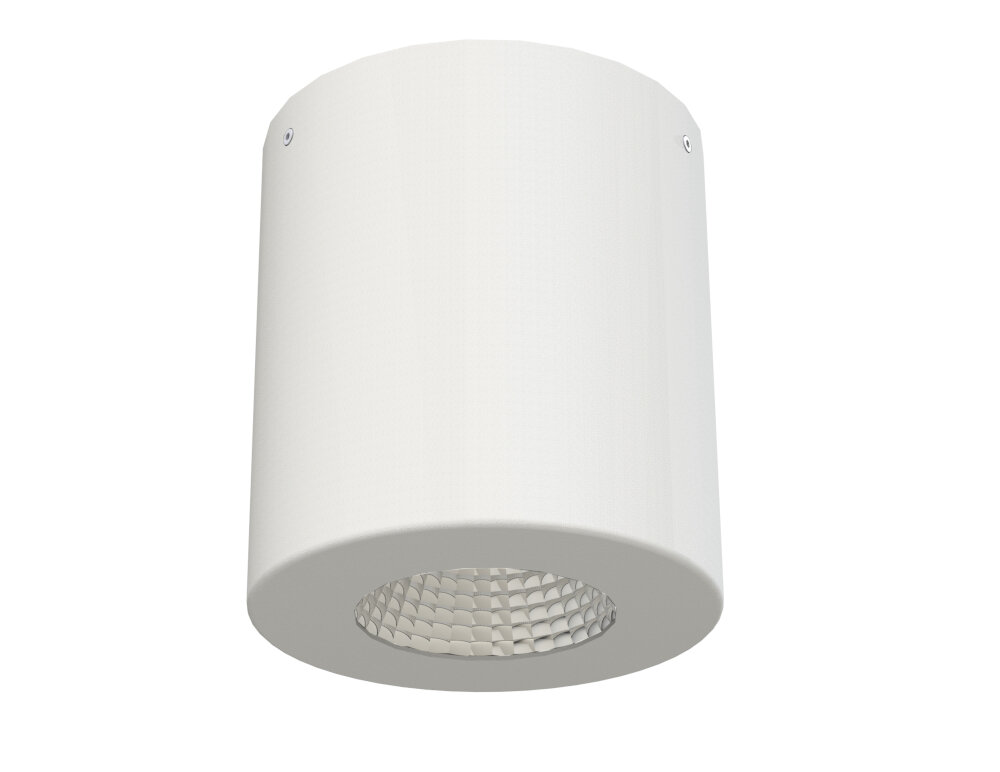
LED ceiling lights are a popular choice among homeowners and businesses because of their energy efficiency, long lifespan, and sleek design. However, like any other lighting fixture, LED ceiling lights may need to be replaced from time to time due to damage, wear and tear, or simply to upgrade to a newer model. Replacing an LED ceiling light can seem daunting, especially if you are not experienced in electrical work. But fear not, with a few simple steps and precautions, you can replace your LED ceiling light like a pro and have your room shining brightly once again. The first step in replacing an LED ceiling light is to identify the type of fixture you have. LED ceiling lights come in different shapes and sizes, and the replacement process may vary depending on the type of fixture. Some LED ceiling lights are recessed, while others are surface-mounted or pendant lights. You should also check the wattage and voltage of the LED light to ensure that the replacement bulb is compatible. Once you have identified the type of LED ceiling light you have, you can proceed to the next steps of the replacement process.
Replacing LED ceiling lights is a task that many homeowners may face at some point. While it may seem like a simple job, it’s important to do it properly to ensure the safety of yourself and your home. Faulty installation or incorrect wiring can lead to electrical hazards, which can be dangerous and costly to fix. Additionally, a poorly installed LED ceiling light may not function as intended or last as long as it should. By following the proper steps and taking the time to do it right, you can replace your LED ceiling lights like a pro and enjoy a well-lit and safe home.
Gather Your Tools

When it comes to replacing an LED ceiling light, having the right tools can make all the difference. Before starting the project, it’s essential to gather all the necessary tools and equipment. The first item on the list should be a ladder or step stool, depending on the height of the ceiling. A sturdy, stable ladder is essential for reaching the light fixture safely. Next, you’ll need a screwdriver set, which includes a flat-head and a Phillips-head screwdriver. These will be used to remove the screws holding the old fixture in place. You may also need pliers or wire cutters to disconnect the wiring from the old fixture. Finally, it’s a good idea to have a voltage tester to ensure there’s no electricity running through the wires before you begin working on the fixture. By gathering all these tools before starting the project, you’ll be prepared to tackle any issues that may arise during the replacement process.
Before replacing an LED ceiling light, it is important to have the necessary tools ready. Firstly, a ladder or step stool is required to reach the ceiling fixture. Secondly, a voltage tester is needed to ensure that the power to the fixture is turned off. A screwdriver will be required to remove the old fixture and install the new one. Wire strippers and wire nuts are necessary for connecting the wires, and a wire cutter may be useful for cutting excess wire. Finally, a new LED ceiling light fixture is required for the replacement process. Having all of these tools ready before starting the replacement process will ensure a smooth and successful installation of the new LED ceiling light.
When it comes to replacing an LED ceiling light, having the right tools is crucial for ensuring the process is both easy and safe. Without the proper tools, the job can become frustrating, time-consuming, and even dangerous. A sturdy step ladder, screwdrivers, wire strippers, and a voltage tester are just a few of the tools that are necessary for this task. Using the right tools will not only make the process easier and more efficient, but it will also reduce the risk of injury or damage to your home. By investing in the right tools, you can tackle this project like a pro and enjoy the benefits of a new and improved LED ceiling light.
Before starting the process of replacing an LED ceiling light, it is essential to have all the necessary tools. These tools can be found in a variety of places, including hardware stores, online retailers, and even some home improvement centers. Some of the essential tools that you may need for this project include a screwdriver, wire stripper, wire cutter, pliers, and a voltage tester. You may also need a ladder or step stool to access the ceiling light. It is recommended to gather all the necessary tools before starting the replacement process to ensure a smooth and efficient installation. Additionally, make sure to follow all safety precautions when using these tools to avoid any accidents or injuries.
Turn Off the Power
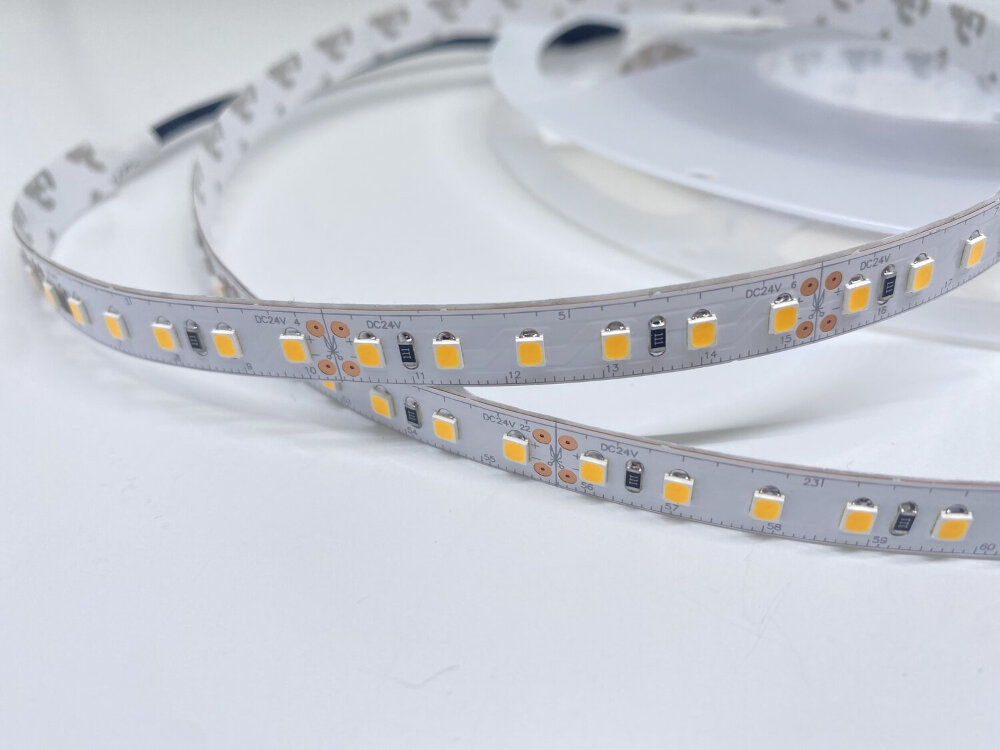
When it comes to replacing an LED ceiling light, one of the most crucial steps is to turn off the power. This step is essential for your safety, as working with electrical wiring can be dangerous. You don’t want to risk electrocution or a short circuit that could damage your new light fixture or even your home’s electrical system. To turn off the power, you first need to locate the circuit breaker or fuse box that controls the light fixture. Usually, the circuit breaker or fuse will be labeled with the name of the room or area where the light is located. Once you’ve located the correct circuit breaker or fuse, switch it off or remove the fuse to cut off the power supply. It’s also a good idea to use a voltage tester to double-check that the power is off before you start working on the light fixture. Once you’ve replaced the light fixture, be sure to turn the power back on and test the new light to make sure it’s working properly.
One of the most important steps to follow before replacing an LED ceiling light is to turn off the power. This is crucial for your safety and also to avoid any potential damage to the light fixture or the electrical system in your home. Without turning off the power, you run the risk of getting electrocuted, which can be a serious hazard. Additionally, if the power is not turned off, it can cause electrical surges that may damage the fixture or even the wiring in your home. Therefore, always make sure to turn off the power before starting the replacement process to ensure a safe and successful installation.
Before replacing an LED ceiling light, it’s essential to ensure that the power supply to the fixture is turned OFF to avoid the risk of electrocution. To do this safely, locate the circuit breaker or fuse box that controls the power supply to the room where the fixture is located. Turn off the circuit breaker or remove the fuse that corresponds to the room. Next, use a non-contact voltage tester to confirm that there is no electrical current flowing to the fixture. Finally, test the fixture itself with the voltage tester to ensure that there is no residual charge. Once you have confirmed that the power is off, you can safely proceed with replacing the LED ceiling light.
Before you start replacing your LED ceiling light, it’s always a good idea to use a voltage tester to verify that the power is off. This simple yet crucial step can ensure your safety and prevent any potential electrical hazards. A voltage tester is a handy tool that can detect the presence of electrical current in wires or circuits. It works by sending a signal through the wire and alerting you if there is any electrical activity. By using a voltage tester, you can be certain that the power is off before you begin working on your LED ceiling light. This precautionary measure can save you from electric shocks or worse, and it only takes a few seconds to do. So, make sure to grab a voltage tester and test for electricity before you start replacing your LED ceiling light.
Remove the Old Light

The first step in replacing an LED ceiling light is to remove the old one. Before you start, make sure the power is turned off at the circuit breaker or fuse box. This is important to ensure your safety while handling electrical components. Once you have turned off the power, use a ladder to access the light fixture. Carefully remove the cover or shade from the fixture by loosening any screws or clips that hold it in place. Be careful not to damage the cover or shade, as you may need to reuse it later. Once the cover is removed, you should be able to see the bulb and the mounting bracket. Depending on the fixture, you may need to remove the bulb first before you can remove the mounting bracket. Use a screwdriver to remove any screws or bolts that hold the bracket in place. Once the bracket is free, gently pull the wires out of the electrical box. If the wires are connected to the bracket with wire nuts, use your pliers to remove them. Finally, remove the bracket from the ceiling by unscrewing any screws or bolts that hold it in place. With the old light removed, you can now proceed to install the new LED ceiling light. Removing the old light is an important step in replacing an LED ceiling light. This is because it allows you to access the wiring and mounting bracket of the fixture. Removing the old light can be a bit tricky, especially if you are not familiar with electrical components. However, with the right tools and precautions, you can easily remove the old light like a pro. It is important to follow the manufacturer’s instructions carefully and to take your time when removing the old light. This will ensure that you do not damage any of the components and that you can easily install the new LED ceiling light. Once you have removed the old light, it is a good idea to inspect the wiring and electrical box for any damage or wear. If you notice any problems, such as frayed wires or a damaged box, you should call a licensed electrician to repair the issue before installing the new light fixture.
Before starting the replacement process, it is important to remove the old light safely. First, turn off the power supply to the light by switching off the circuit breaker or removing the fuse. Use a step ladder to safely reach the light fixture and use a screwdriver to remove any screws or clips holding the old light in place. Carefully lower the fixture and detach any wires connected to it by untwisting the wire connectors. If the wires are difficult to disconnect, use pliers to gently pull them apart. Once the wires are disconnected, remove the old fixture and dispose of it properly. Always wear protective gloves and eyewear to prevent injury during the removal process.
Disconnecting the wires properly is an essential step when replacing an LED ceiling light. First, turn off the power supply to the light fixture from the main circuit breaker. Next, remove the cover of the light fixture to expose the wires. Carefully pull apart the wire connectors that connect the wires from the fixture to the wires from the ceiling. Use a wire cutter or stripper to trim the wires if necessary, and ensure that no exposed wires are touching. Label the wires with tape or a marker to help you remember which wire goes where when you connect the new fixture. Finally, wrap the wire connectors around the wires and twist them clockwise until they are tight and secure.
Removing screws or mounting brackets to replace an LED ceiling light may seem like a daunting task, but with the right tools and techniques, it can be done easily. Firstly, ensure that you have the correct screwdriver that fits the screw head or bracket. Apply pressure to the screw or bracket while turning it counterclockwise to loosen it. If the screw or bracket is stuck, try applying some lubricant or penetrating oil to loosen it up. Alternatively, you can use pliers or a wrench to grip the screw or bracket and turn it. Remember to be gentle and patient to avoid damaging the ceiling or light fixture. With these tips, you’ll be able to remove any screws or mounting brackets like a pro.
Install the New Light
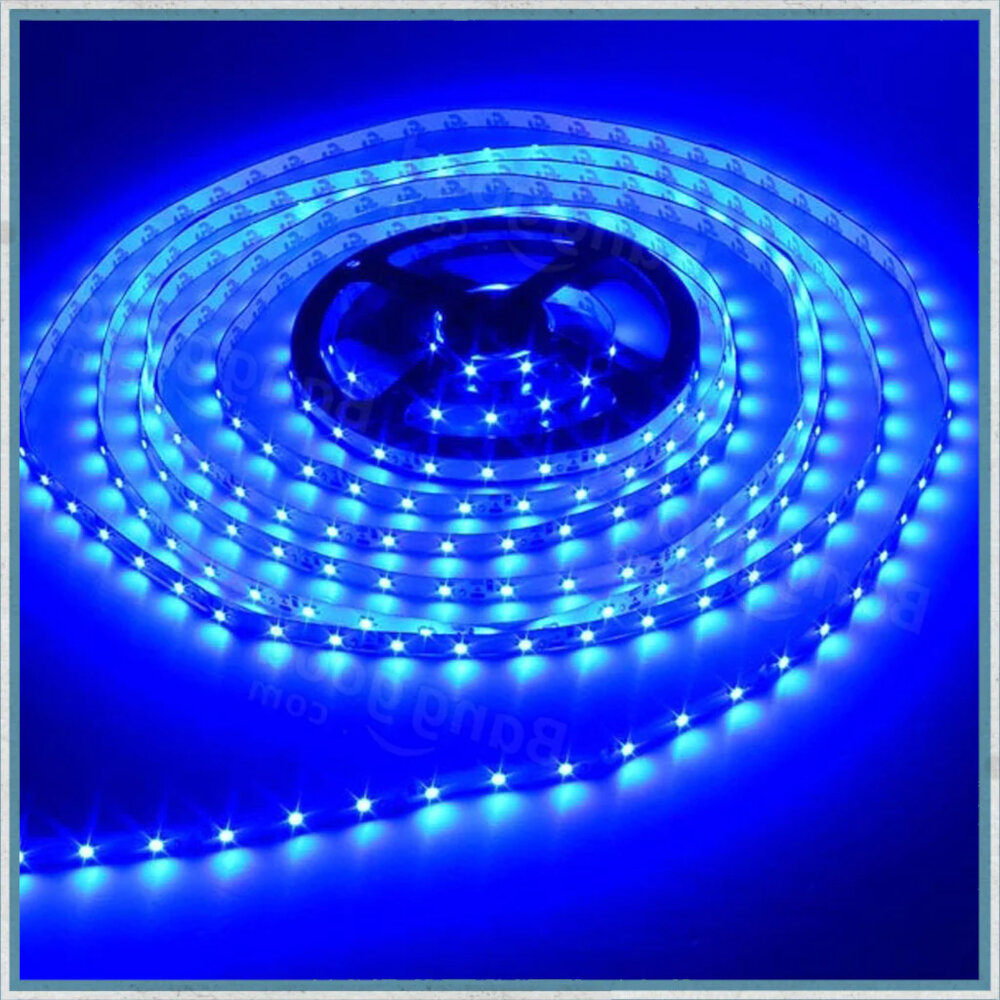
Installing a new light can be a daunting task for many homeowners, but with the right tools and knowledge, anyone can replace an LED ceiling light like a pro. The first step is to turn off the power supply to the light fixture to avoid any electrical hazards. You can do this by switching off the circuit breaker or removing the fuse that powers the fixture. Next, remove the old light fixture by unscrewing the screws that hold it in place. Be sure to hold the fixture securely to avoid any damage or injury. Once the old fixture is removed, it’s time to install the new light. Start by attaching the mounting bracket to the ceiling in the same spot as the old fixture. Then, connect the wires from the new light fixture to the wires from the ceiling using wire connectors. Be sure to match the color of the wires and tighten the connectors securely. Once the wires are connected, attach the new fixture to the mounting bracket using screws. Finally, turn the power supply back on and test the new LED ceiling light to ensure it’s working properly. With these simple steps, you can replace an LED ceiling light like a pro and enjoy a bright and energy-efficient light source in your home.
Before installing the new light, ensure that the power supply to the existing light fixture is turned off. Remove the old fixture carefully, by unscrewing the screws and carefully detaching the wires. Care should be taken not to damage the electrical wires or the ceiling. Once the old fixture is removed, attach the mounting bracket of the new LED ceiling light to the ceiling. Next, connect the wires of the new light fixture to the corresponding wires in the ceiling. Make sure to match the colors of the wires properly. Once the wires are connected, screw in the new light fixture to the mounting bracket. Finally, turn on the power supply to the new fixture and test to ensure it’s working properly.
Connecting wires properly is a crucial step when replacing an LED ceiling light. First, ensure that the power is turned off before beginning any work. Next, remove the old fixture and separate the wires. It is important to match the colors of the wires between the old and new fixture when connecting them. Twist the matching wires together and secure with wire nuts. Make sure the connections are tight and no bare wire is exposed. Finally, tuck the wires neatly into the ceiling and attach the new fixture according to the manufacturer’s instructions. Taking the extra time to properly connect the wires will ensure a safe and functioning LED ceiling light.
Mounting a new LED ceiling light may seem like a daunting task, but with the right tools and techniques, it can be done quickly and easily. First and foremost, make sure that you have turned off the power to the fixture at the circuit breaker. Next, remove the old fixture and inspect the wiring to ensure it is in good condition. Once you have confirmed the wiring is in good condition, attach the mounting bracket to the ceiling box and connect the wires according to the manufacturer’s instructions. Finally, attach the fixture to the mounting bracket and turn the power back on to test the light. By following these steps, you can replace your LED ceiling light like a pro and enjoy a beautifully lit space in no time.
If you want to replace your LED ceiling light like a pro, there are a few key steps to follow. First, turn off the power to the fixture by flipping the circuit breaker or removing the fuse. Then, remove the old fixture by unscrewing the screws that hold it in place and disconnecting the wires. Next, attach the mounting bracket to the ceiling box and connect the wires from the new LED fixture to the corresponding wires in the ceiling box. Finally, attach the fixture to the mounting bracket and turn the power back on to test the new light. By following these steps, you can easily replace your LED ceiling light and give your room a fresh, updated look.
When it comes to replacing an LED ceiling light, following the steps carefully is of utmost importance. Not only does it ensure a safe process, but it also guarantees a successful replacement. Rushing through the steps or skipping any of them can result in injury, damage to the light fixture, or even electrical hazards. Taking the time to read through the instructions and following each step meticulously can prevent any accidents or mistakes from happening. It is essential to prioritize safety in any DIY project, and replacing a ceiling light is no exception. By being careful and thorough, you can replace your LED ceiling light like a pro and enjoy a well-lit and safe home.
We understand that replacing LED ceiling lights can be a daunting task, especially for those who have never done it before. That’s why we encourage our readers to share their experiences and tips with us. By doing so, we can create a supportive community where we can exchange ideas and learn from each other. Whether you have encountered a problem during the installation process or found a clever way to make the job easier, we want to hear from you. Your input can help other readers who are facing similar challenges, and together, we can all become pros at replacing LED ceiling lights. So don’t hesitate to share your insights with us!
Conclusion
In conclusion, replacing an LED ceiling light may seem daunting at first, but with the right tools and knowledge, it can be done easily and efficiently. By following the step-by-step guide outlined above, you can replace your LED ceiling light like a pro, without the need for professional help. Remember to turn off the power, gather the necessary tools, and take precautions to ensure safety. With a little patience and attention to detail, you can enjoy a bright, new LED ceiling light in your home or office in no time. So don’t hesitate to try it out and take pride in your DIY skills.


