Quick Fix: How to Easily Repair Your LED Light Strip Connector
LED light strips have become increasingly popular in recent years due to their energy efficiency and versatility. However, like any electronic device, they are susceptible to damage over time. One of the most common issues with LED light strips is damaged connectors, which can cause the lights to flicker, dim, or not light up at all. Luckily, repairing a damaged LED light strip connector is a simple and inexpensive process that can be done without the need for professional assistance. In this article, we will explore the most common causes of LED light strip connector damage, as well as step-by-step instructions on how to repair them. Whether you are a DIY enthusiast or simply looking to save money on repairs, this guide will provide you with all the information you need to easily fix your LED light strip connector and get your lights shining bright once again. So, let’s dive in and learn how to perform a quick fix on your LED light strip connector!
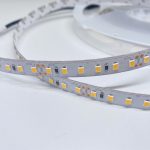
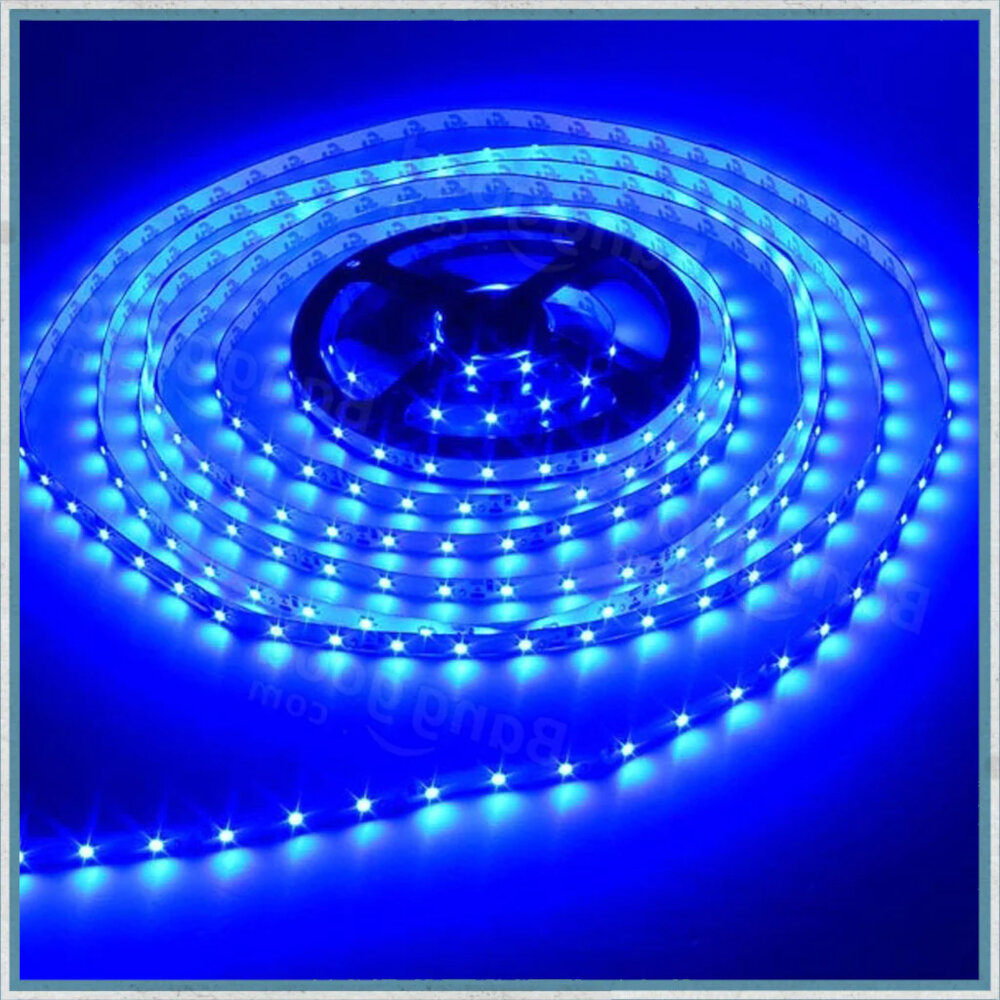
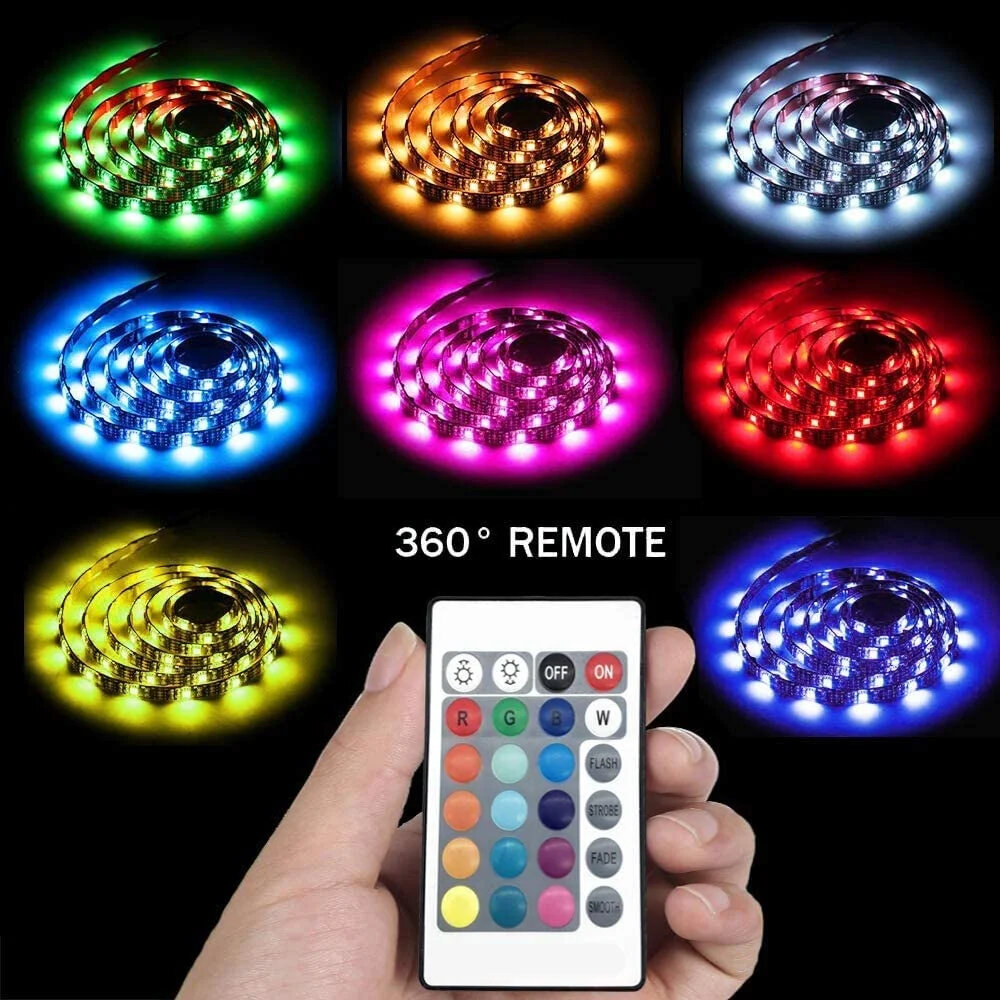
LED light strips are versatile, flexible and energy-efficient lighting solutions that can be used for a variety of purposes. They are typically used for decorative lighting, accent lighting, and task lighting in residential, commercial, and industrial settings. These strips are comprised of small LED bulbs that are mounted on a flexible circuit board, which makes them easy to install and customize to fit any space. They come in a variety of colors and can be controlled by remote or a mobile application, allowing users to easily adjust the brightness, color, and pattern of the lights. LED light strips are perfect for adding ambiance to a room, highlighting architectural features, and creating unique lighting effects.
Over time, the connectors on your LED light strip can begin to wear down and become damaged. This can be caused by a number of factors, including exposure to the elements, frequent use, or improper installation. If left unresolved, these damaged connectors can lead to issues with your lighting, including flickering, dimming, or even complete failure. To ensure that your LED light strip remains in top condition, it is important to regularly inspect and repair any damaged connectors. With just a few simple tools and some basic know-how, you can easily repair your LED light strip connector and restore your lighting to its full brightness and functionality.
Identify the Issue
Identifying the issue is the first and most crucial step when it comes to repairing your LED light strip connector. Whether your light strip isn’t turning on at all or only a few LED lights are lighting up, identifying the issue can save you time, money, and frustration. Before you start any repair work, take a moment to evaluate the problem and try to pinpoint the exact issue. This way, you can be sure that you are addressing the correct problem and not wasting time on a solution that won’t work. One way to identify the issue with your LED light strip connector is to visually inspect the connector itself. Look for any signs of damage or wear and tear, such as frayed wires or broken pins. If you notice any damage, it’s likely that this is the issue that is causing your LED light strip to malfunction. Another way to identify the issue is to check your power source. Ensure that your LED light strip is getting enough power, and the power source is in good working condition. If the power source isn’t the issue, try changing the batteries or checking the wiring connections to ensure that everything is properly connected. By taking the time to identify the issue, you can save yourself time and money by addressing the root problem and fixing it correctly the first time.
To identify if the connector is the issue with your LED light strip, start by checking the power source and ensuring it is working correctly. Then, inspect the connector for any visible damage, such as bent or broken pins, or loose connections. You can also try wiggling the connector to see if it causes the lights to flicker or turn off. If the issue is with the connector, you can try cleaning it with a soft-bristled brush or using electrical contact cleaner to remove any dirt or debris. If the connector is damaged, you may need to replace it with a new one to fix the problem. Remember to always unplug the power source before attempting any repairs to ensure your safety.
Connectors are an important component in any electrical system, including LED light strips. However, they are prone to a range of issues that can affect their performance and reliability. One common issue is corrosion, which can occur due to exposure to moisture and other environmental factors. This can lead to poor conductivity and even complete failure of the connector. Another issue is loose connections, which can cause flickering or intermittent operation of the LED light strip. In some cases, connectors may break or become damaged over time, requiring replacement or repair. These issues can be frustrating to deal with, but fortunately, there are simple solutions that can help you easily repair your LED light strip connector and get your lighting system back up and running quickly.
Gather Necessary Materials
When it comes to repairing an LED light strip connector, the first and most crucial step is to gather all the necessary materials. Without the proper tools and equipment, the repair process may become frustrating and time-consuming. The materials required for this task may vary depending on the type of connector and the extent of the damage. Therefore, it is essential to assess the situation and determine the necessary materials before beginning the repair. Some of the essential materials required for repairing an LED light strip connector include a soldering iron, solder wire, wire cutters, and a heat shrink tubing kit. These tools are crucial for fixing any broken wires or connections and ensuring that the connector is secure and functional. Other materials that may be necessary include a multimeter to test the electrical connection, a magnifying glass to inspect small components, and a pair of pliers for bending wires and holding small parts in place. Overall, gathering all the necessary materials before starting the repair process will help ensure that the repair is successful and completed in a timely manner. In addition to gathering the necessary materials, it is also important to create a comfortable and organized workspace for the repair. This will help ensure that all the materials are easily accessible and that there is enough space to work on the connector. It is recommended to use a well-lit area with a clean and flat surface to avoid any unnecessary complications or accidents. Having a comfortable workspace will also help reduce stress and promote focus, which is crucial when repairing delicate electronic components such as an LED light strip connector. With the right materials and a well-organized workspace, repairing an LED light strip connector can be a simple and straightforward process.
To repair your LED light strip connector, you will need a few essential materials. First, you will need a soldering iron, preferably one with adjustable temperature settings to ensure precise melting of the solder. You will also need a soldering wire or flux to coat the wires and make the connection more robust. A wire stripper or cutter will be necessary to remove the insulation from the wires and expose the conductors. Additionally, a heat shrink tubing or electrical tape will be needed to insulate the repaired connection and protect it from damage. Finally, a multimeter or continuity tester will be handy to ensure that the repairs have been done correctly and that the electrical current is flowing through the wire. With these materials, you can easily repair your LED light strip connector and have it working again in no time.
If you need to purchase materials to repair your LED light strip connector, there are several options available to you. You can visit a local electronics store or hardware store, such as Best Buy or Home Depot, to purchase replacement connectors, wires, and tools needed for the repair. Alternatively, you can purchase these materials online from retailers such as Amazon or eBay. It is important to ensure that you purchase the correct materials for your specific LED light strip model to ensure a successful repair. Additionally, you may want to consider purchasing extra materials in case of future repairs or replacements.
Repair the Connector
LED light strips have become a popular lighting solution for homeowners and businesses alike. They are low in energy consumption, eco-friendly, and easy to install. However, even the best quality LED light strips can suffer from connector issues. A damaged connector can cause the strip to flicker, dim, or not light up at all. The good news is that repairing the connector is a quick fix that can save you time and money. To repair the connector, you’ll need a few tools such as wire cutters, pliers, and a soldering iron. First, cut away any damaged sections of the wire and strip the ends of the wires. Then, twist the exposed wires together and solder them carefully. Once the connection has cooled, cover the exposed wires with heat shrink tubing or electrical tape. Alternatively, you can use a connector kit that includes a new connector and wire, making the repair even easier. By repairing the connector, you can extend the lifespan of your LED light strip and ensure that it provides a bright and consistent light source for years to come. In conclusion, repairing the connector of an LED light strip is a simple task that can save you money and extend the life of your lighting solution. With the right tools and a little bit of know-how, you can fix a damaged connector in no time. By taking care of your LED light strip, you can enjoy the benefits of energy-efficient and eco-friendly lighting for many years to come.
If you’re struggling with a faulty LED light strip connector, don’t worry! The good news is that repairing it is a relatively simple process. First, gather the necessary tools such as a wire stripper, soldering iron, and heat shrink tubing. Next, identify the broken or detached wire and strip about 1/2 inch of insulation from the end. Then, solder the wire to the connector’s corresponding pin, being careful not to overheat the solder. Finally, slide heat shrink tubing over the solder joint and use a heat gun to shrink it into place. With these steps, your LED light strip connector should be up and running in no time!
When it comes to repairing an LED light strip connector, adding images of the repair process can be extremely helpful. It is said that a picture is worth a thousand words, and this is especially true when it comes to DIY repairs. By including images, you can provide a step-by-step visual guide that will make it easier for readers to follow along. This can help to prevent confusion and ensure that the repair is done correctly. Furthermore, images can also be used to highlight specific points of interest, such as the location of the damaged connector or the type of tools needed for the repair. Overall, including images in your repair guide can greatly enhance its effectiveness and make the process much easier for readers to understand.
Test the Connection
Testing the connection is crucial to ensure that your LED light strip connector is functioning properly. The first step is to check if the power supply is providing the correct voltage to the connector. You can use a multimeter to measure the voltage output. If the voltage is not correct, the power supply may need to be replaced. Next, check the connections between the LED strip and the connector. Ensure that the wires are correctly connected and that there is no damage to the wires or the connector. You can do this by gently tugging on the wires to see if they come loose. If there is damage, replace the connector or the affected wires. Finally, turn on the power and check if the LED strip is functioning correctly. If the problem persists, there may be an issue with the LED strip itself. Testing the connection is a simple process that can save you time and money in the long run. By regularly checking your LED light strip connector, you can prevent potential issues and ensure that your lighting system is operating efficiently. Additionally, understanding how to test the connection can help you troubleshoot any problems that may arise in the future. Remember to always prioritize safety when working with electrical components and to disconnect the power supply before testing the connection. With these simple steps, you can easily repair your LED light strip connector and enjoy your well-lit space.
To ensure that the connection of your LED light strip is working properly, you can perform a simple test. Firstly, check if the power source is working well by plugging it into a different outlet. After that, turn on the power supply and observe if the LED lights are bright and consistent in color. If they are not, then the connection may be loose or damaged. To check this, unplug and replug the connector to ensure it is connected securely. Additionally, you may want to inspect the wiring and make sure that there are no broken or exposed wires. Once you have completed these steps, turn on the power supply again and test the lights. If they are still not working correctly, then the connector may need to be replaced.
If you have followed the above mentioned steps and the connection is still not working properly, there are a few troubleshooting tips you can try. First, make sure that the LED light strip connector is properly aligned with the pins on the strip. If it is not, gently adjust the connector until it clicks into place. You can also check the wiring to ensure that there are no loose connections or damaged wires. If everything seems to be in order, try using a different power source or connector to see if the problem lies with the original components. If the issue persists, it may be necessary to replace the connector or seek professional assistance. By following these troubleshooting tips, you can ensure that your LED light strip is functioning properly and providing the lighting you need.
The connector is a crucial component for the proper functionality of an LED light strip. It serves as the bridge between the power source and the light strip, ensuring that electricity flows through the circuit and illuminates the LEDs. If the connector is damaged or faulty, the LED light strip may not work at all or may have intermittent lighting. Repairing the connector is essential to restore the functionality of the LED light strip and prevent any potential safety hazards. By repairing the connector, you can avoid the need to replace the entire LED light strip and save money in the long run.
If you’re experiencing issues with your LED light strip connector, don’t be too quick to throw it away and purchase a brand new one. Instead, consider repairing it yourself. Not only will you save money, but you’ll also gain a sense of accomplishment and satisfaction in fixing something on your own. Plus, with the help of this easy-to-follow guide, you’ll be able to repair your light strip connector in no time. Don’t let a small problem discourage you from trying to fix it yourself. Take the leap and impress yourself with your newfound repair skills.
LED light strips are a fantastic addition to any room, but it can be frustrating when the connectors break or malfunction. Luckily, repairing a LED light strip connector is a quick and easy process that anyone can do with the right information. By following the steps outlined in this article, you will be able to identify the problem, repair the connector, and have your LED light strip up and running again in no time. Don’t let a broken connector get in the way of enjoying your LED light strip. With this guide, you can confidently repair your LED light strip connector and get back to enjoying your beautifully lit space.
Conclusion
In conclusion, repairing your LED light strip connector is not as daunting a task as it may seem. By following the simple steps outlined in this guide, you can quickly and easily fix any issues with your connector and get your LED lights shining brightly once again. Whether you’re a DIY enthusiast or a novice, this is an easy and cost-effective solution that will save you time and money in the long run. So don’t hesitate to give it a try and restore your LED light strip to its former glory!

