Quick Guide: Installing LED Panel Light in 5 Easy Steps
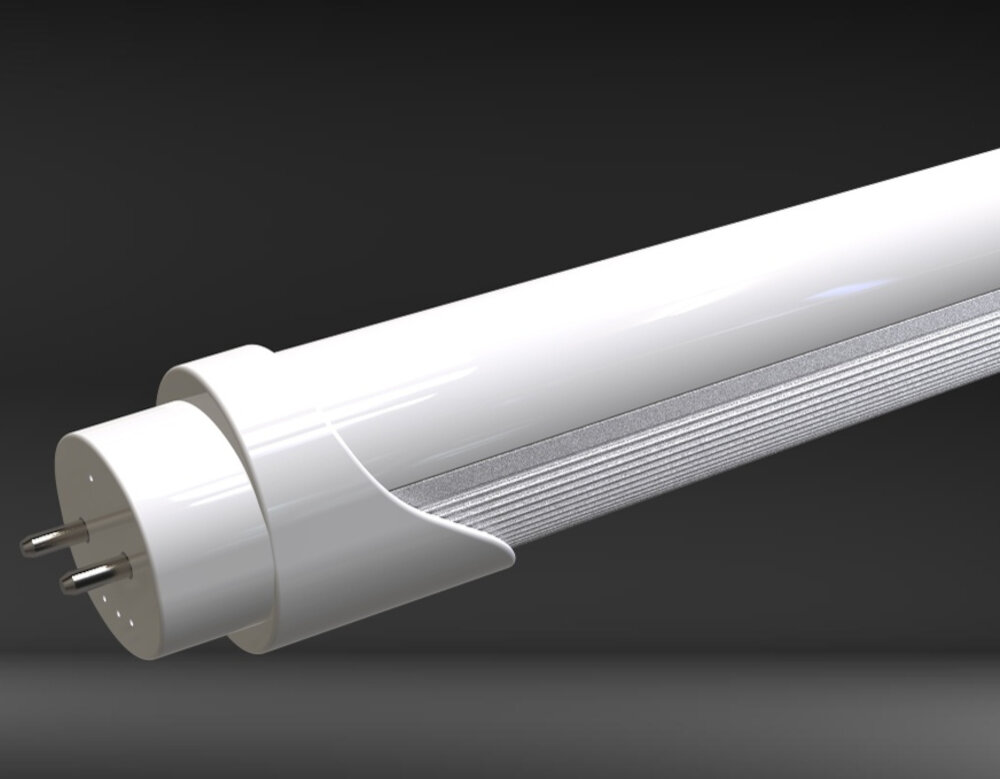
LED panel lights have become a popular choice among homeowners and businesses alike due to their energy efficiency, longevity, and sleek design. If you’re considering installing LED panel lights in your space, you might be wondering where to start. Fortunately, the process is straightforward and can be completed in just a few steps. This quick guide will walk you through the basic installation process, so you can enjoy the many benefits of LED panel lighting in no time. Before diving into the installation process, it’s important to note that LED panel lights come in different shapes and sizes. Some are designed to be mounted on the ceiling, while others are intended for recessed installation. Make sure you have the appropriate light fixture and accessories before starting the installation process. Additionally, it’s always a good idea to consult a professional electrician if you’re unsure about any aspect of the installation process, particularly if you’re dealing with electrical wiring. With that said, let’s get started with the five easy steps to install LED panel lights.
LED panel lights are a modern lighting solution that provides uniform and high-quality light emission, which is ideal for various commercial and residential applications. These lights are designed to replace conventional fluorescent ceiling fixtures, and they offer several benefits, including energy efficiency, long lifespan, and low maintenance costs. LED panel lights are also available in different sizes, shapes, and color temperatures to suit any lighting needs. They are easy to install, lightweight, and provide excellent illumination with minimal glare, which makes them ideal for use in offices, schools, hospitals, and homes. Additionally, LED panel lights are eco-friendly and do not contain any hazardous materials, making them a safe and sustainable lighting solution.
Step 1: Gather the necessary materials
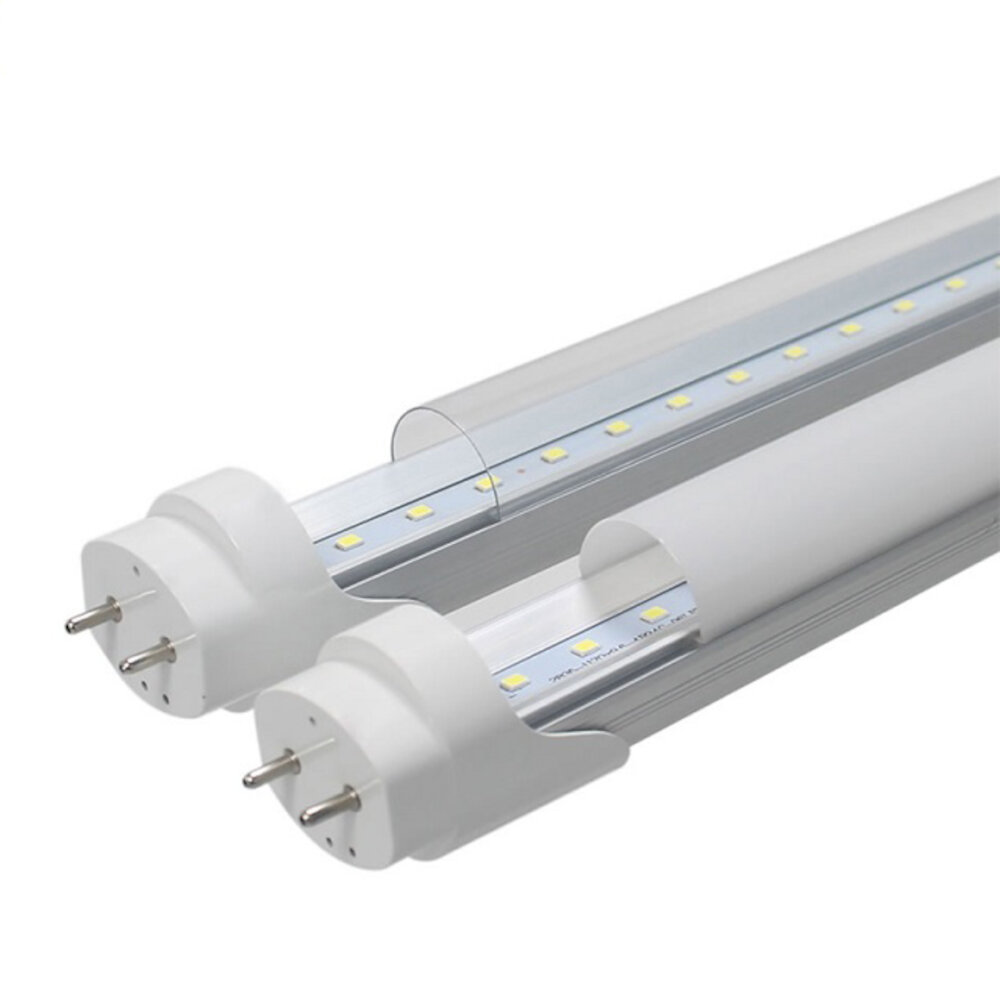
When it comes to installing LED panel lights, the first step is to gather all the necessary materials. Depending on the complexity of the installation, the materials required may vary. However, some of the basic materials that are needed for most LED panel light installations include a power drill, screws, a measuring tape, and a pencil. In addition, it is necessary to have the LED panel light itself, as well as any mounting brackets or hardware that may be required to install it. Before starting the installation process, it is important to ensure that all of the necessary materials are readily available. This will help to prevent any delays or interruptions during the installation process. It is also important to make sure that all of the materials are of the highest quality, as this will ensure that the LED panel light is properly installed and functions as intended. By taking the time to gather all of the necessary materials before starting the installation process, homeowners can save time and ensure that their new LED panel light is installed properly and safely.
Before starting the installation process of LED panel lights, it is essential to have all the necessary tools and supplies on hand. Some of the required tools include a screwdriver, drill, measuring tape, stud finder, and wire stripper. Additionally, it is crucial to have the right supplies, such as a wire connector, mounting brackets, and screws. It is recommended to purchase a complete LED panel light kit that includes all the necessary tools and supplies to ensure a smooth and hassle-free installation process. Having all the required tools and supplies on hand before starting the installation process will save time and prevent any potential delays or complications during the installation process.
Step 2: Turn off power supply
When it comes to installing LED panel lights, it is crucial to follow the necessary safety measures to prevent any accidents. One of the most important precautions that you need to take is to turn off the power supply before starting the installation process. This step is crucial as it ensures that there is no electrical current flowing through the wires, which could cause electric shock or damage the LED light panel. To turn off the power supply, you need to locate the electrical panel that controls the power supply for the area where you plan to install the LED panel light. Once you have located the panel, switch off the circuit breaker that controls the power supply. It is essential to double-check that the power has been turned off by using a voltage tester. This tool can help detect if there is any electric current flowing through the wires, ensuring that you can safely proceed with the installation process. By following this crucial step, you can prevent any potential accidents and ensure a safe and successful installation of your LED panel light.
It is crucial to turn off the power supply before starting the installation process of LED panel lights. This step is essential to prevent any potential electrical hazards and ensure the safety of the installer. Switching off the power supply cuts the flow of electricity, which eliminates the possibility of electrical shock or short circuit. Moreover, it helps to prevent any damage to the LED panel light during installation, as the power supply can cause the light to flicker or malfunction. Therefore, it is strongly recommended to turn off the power supply before proceeding with the installation process.
Step 3: Remove existing light fixture

When it comes to installing LED panel lights, it is important to follow the necessary steps to ensure that everything is done correctly. One critical step is to remove the existing light fixture before installing the new LED panel light. This process involves turning off the power supply to the light fixture and then carefully removing the fixture from the ceiling. It is important to read the manufacturer’s instructions carefully and follow the recommended steps to avoid any damage or injury during the removal process. Removing the existing light fixture is a crucial step in the installation process as it allows for a clean slate to install the new LED panel light. This step gives the installer the opportunity to assess the condition of the ceiling and make any necessary repairs or adjustments before installing the new light fixture. It is also important to ensure that the wiring is correctly disconnected from the existing fixture to prevent any electrical hazards during the installation of the new LED panel light. By taking the time to properly remove the old fixture, the installer can ensure that the new LED panel light is installed safely and correctly.
Before installing an LED panel light, it’s important to remove any old fixtures that may be in place. First, turn off the power supply to the fixture by switching off the circuit breaker. Then, carefully remove the cover or shade of the fixture by unscrewing it or gently pulling it off. Next, loosen the screws or bolts that hold the fixture to the ceiling or wall. If the fixture is wired directly into the electrical box, you will need to disconnect the wires by unscrewing the wire nuts or connecting clips. Finally, remove the fixture and set it aside. Be sure to safely dispose of any old bulbs, wires, or mounting hardware. With the old fixture removed, you can now proceed with the installation of your new LED panel light.
Step 4: Install LED panel light

Step 4 of the Quick Guide Installing LED Panel Light in 5 Easy Steps is the installation process. After determining the placement of the LED panel light, you will need to remove the ceiling tiles and expose the electrical wiring. Take note of the wires’ colors and their corresponding connections. Make sure to turn off the power source before proceeding to avoid any electrical accidents. Once you’ve identified the correct wiring, connect it to the LED panel light’s driver. Secure the driver to the ceiling using screws, and then attach the LED panel light to the driver. Make sure that all the connections are secure and tightly fastened before turning the power source back on. The installation of LED panel lights is a crucial step in upgrading your home or office’s lighting system. LED panel lights are energy-efficient, cost-effective, and environment-friendly lighting options. The installation process may seem complicated, but with the right tools and knowledge, it can be done quickly and efficiently. Proper installation ensures that the LED panel light functions correctly and provides optimal lighting. With the installation process complete, you can now enjoy the benefits of LED lighting, such as improved productivity, enhanced mood, and reduced energy costs.
Installing a new LED panel light can seem daunting, but with the right tools and a bit of know-how, it’s a quick and easy process. First, turn off the power to the fixture and remove the old light panel. Next, mount the new panel in place, making sure it’s level and secure. Then, connect the wiring, being careful to match the colors of the wires. Once the wiring is connected, turn the power back on and test the light to ensure it’s working properly. Finally, attach the panel cover and enjoy your new, energy-efficient lighting. With these simple steps, you can upgrade your lighting in no time.
Step 5: Connect wiring and turn on power supply
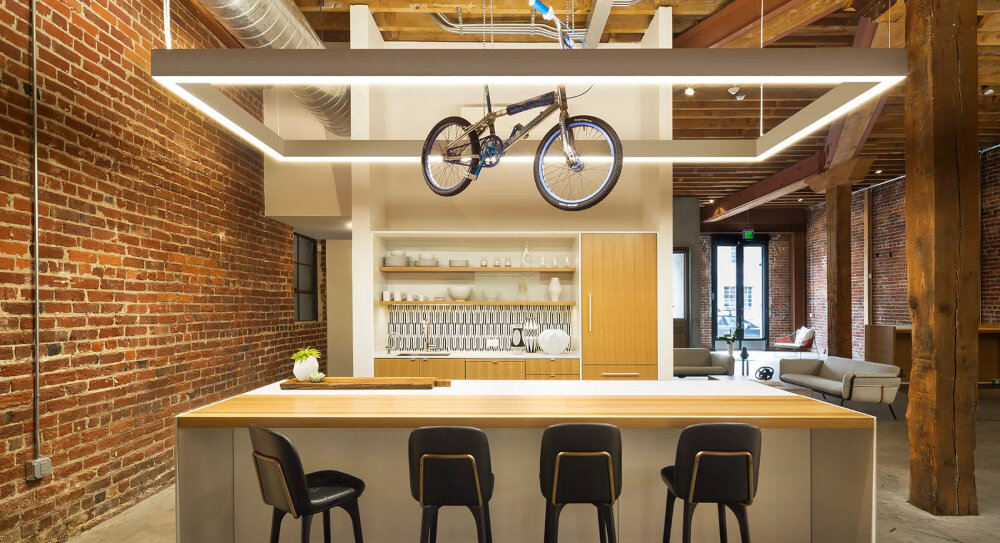
Once you have mounted the LED panel light, it’s time to connect the wiring and turn on the power supply. Before doing anything, make sure the power supply is turned off to avoid any electrical shock or accidents. If you are unsure of how to connect the wiring, refer to the manufacturer’s instructions or consult a licensed electrician. Usually, LED panel lights come with a driver, which is responsible for converting the voltage from the power supply to the correct voltage for the LEDs. Connect the wires from the driver to the corresponding wires from the power supply, making sure to match the colors accurately. Once the wiring is complete, turn on the power supply and check if the light turns on. It’s essential to ensure that the wiring is correctly connected as poor wiring can cause the LED panel light to malfunction or even start a fire. Additionally, make sure to secure the wiring with wire nuts or electrical tape to prevent any loose connections. Once the wiring is complete, you can turn on the power supply and enjoy the new LED panel light. LED panel lights are an excellent alternative to traditional lighting as they are energy-efficient, eco-friendly, and have a long lifespan. By following these simple steps, you can install an LED panel light in no time and enjoy the benefits of modern lighting technology.
To connect the wiring and turn on the power supply for your LED panel light, first ensure that you have switched off the main power supply. Next, connect the LED driver to the light fixture via the input wires ensuring that the polarity is correct. Once this is done, connect the AC wires to the LED driver and then connect the input wires to the AC wires. Make sure that all the connections are secure and properly insulated. Finally, switch on the power supply and test the light to ensure that it is working properly. If there are any issues, double-check the wiring connections and try again. Following these step-by-step instructions will help you safely and easily connect your LED panel light to the power supply.
LED panel lights are a popular lighting solution due to their numerous benefits. Firstly, they are energy-efficient and consume 50-70% less energy than traditional lighting. This means lower electricity bills and reduced carbon footprint. Secondly, they have a longer lifespan of up to 50,000 hours, which means less maintenance and replacement costs. Thirdly, LED panel lights provide uniform and glare-free illumination, making them ideal for offices, schools, hospitals and other commercial spaces. Moreover, they are easy to install, requiring no special tools or skills. By following the five easy steps outlined in this article, anyone can install LED panel lights in their home or office. The process is quick and straightforward, and the results are impressive.
Conclusion
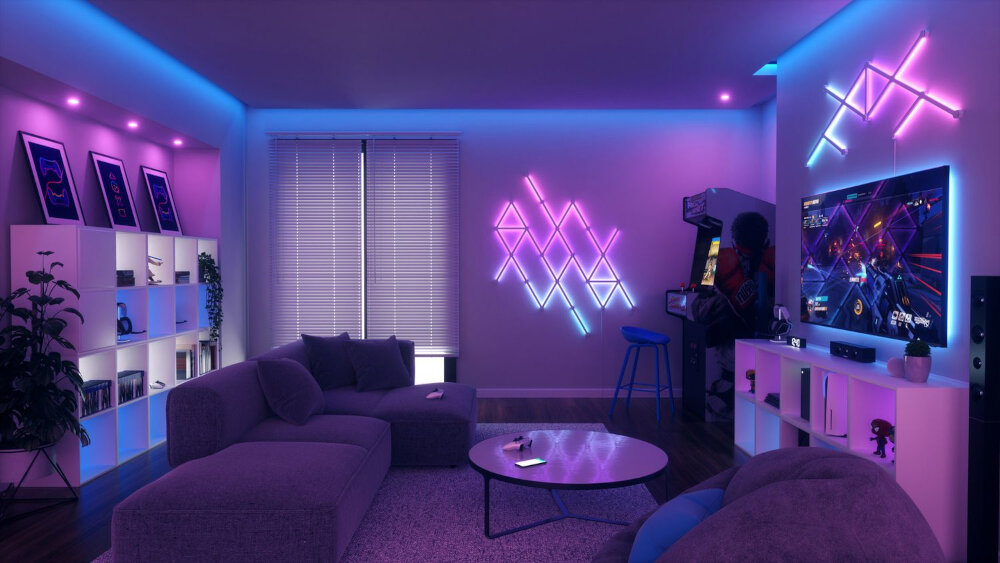
In conclusion, installing LED panel lights is a straightforward process that can be completed in five easy steps. By carefully following the instructions provided in this quick guide, you can enhance the lighting in your home or workspace, while also reducing energy consumption and saving money in the long run. LED panel lights are a smart and sustainable lighting solution that offer numerous benefits, including superior brightness, longer lifespan, and improved color rendering. So why wait? Start your LED panel light installation today and enjoy the many advantages of this innovative technology.

