Quick Guide: Opening Your LED Light Remote in Few Simple Steps
LED lights are a popular choice to enhance the ambiance of any room. With the advancements in technology, LED lights now come with a remote control, making it more convenient to switch on/off or adjust the brightness and color of the lights. However, there might be instances when the remote control stops working or needs a battery replacement. In such cases, knowing how to open the remote control becomes crucial. Opening the LED light remote control might seem daunting at first, but it is a simple task that can be completed in a few steps. This guide aims to provide a quick and easy method to open the remote control of your LED light. Whether you are a DIY enthusiast or someone who wants to fix their remote control, this guide will help you to access the remote control’s internal components without damaging it. So, let’s get started and learn how to open your LED light remote control in a few simple steps.
Tools Required
If you want to open your LED light remote, you need to have some necessary tools. The first tool that you require is a small screwdriver. This tool is essential to remove the screws that hold the remote together. The type of screwdriver that you should use depends on the type of screws that your remote has. If your remote has tiny screws, you should use a precision screwdriver. On the other hand, if your remote has larger screws, you can use a regular screwdriver. Apart from the screwdriver, you may also need a plastic opening tool. This tool is handy when opening a remote because it prevents damage to the casing. The plastic opening tool is also useful when removing the battery cover. You can use the tool to pry open the cover without damaging the remote. If you don’t have a plastic opening tool, you can use a credit card or any other thin plastic card. However, be careful when using a credit card because it can scratch the casing. Once you have these tools, you can open your LED light remote in a few simple steps.
Step by Step Guide

Opening the remote control for your LED light may seem like a daunting task, but it’s actually quite simple. With a few basic tools and some patience, you can have your remote open in no time. The first step is to locate the screws that hold the remote together. These screws are typically located on the back of the remote, and they may be covered by small plastic or rubber caps. Use a small screwdriver to carefully remove these caps and expose the screws. Once you have located the screws, use a screwdriver to remove them. Be careful not to strip the screws or damage the remote in the process. After you have removed the screws, gently pry apart the two halves of the remote. Be careful not to force the remote apart, as this can damage the internal components. Instead, use a plastic spudger or a flathead screwdriver to gently pry apart the two halves. As you separate the halves, you may encounter some resistance from the plastic clips that hold the remote together. Use your spudger or screwdriver to gently release these clips and separate the halves completely. Once the remote is open, you can access the internal components and make any necessary repairs or adjustments. With these simple steps, you can easily open your LED light remote and get back to controlling your lights in no time.
To start opening your LED light remote, the first step is to remove the battery cover. This cover is usually located on the backside of the remote and is designed to hold the batteries in place. You may need to use a small screwdriver or coin to unscrew the cover, depending on the model of your remote. Once the cover is removed, you will have access to the batteries inside the remote. It is important to remove the batteries before attempting any further steps to avoid any potential electrical hazards. With the battery cover removed, you can proceed to the next step in opening your LED light remote.
Step 2 of opening your LED light remote is to remove the screws. This may seem like a simple task, but it is essential to proceed with caution to avoid damaging the device. First, locate the screws that hold the remote together, which are usually found on the back or underside of the device. You may need a small screwdriver to remove these screws, so be sure to have the right tool on hand. Once you’ve removed the screws, gently pry apart the casing to expose the inner components. It’s important to take your time during this step to ensure that you don’t damage anything inside the remote, which could render it unusable.
Step 3, which is the next critical step in opening your LED light remote, is to crack open the remote. This may sound daunting, but it’s actually quite simple. You will need a small screwdriver to remove the screws holding the remote together. Once the screws are removed, gently pry open the remote with your fingers or a small tool. Be careful not to damage any of the internal components, and take note of how the remote is put together. This will make it easier to reassemble later. With the remote open, you can now access the circuit board and check for any loose connections or damaged components.
What to Do Next?
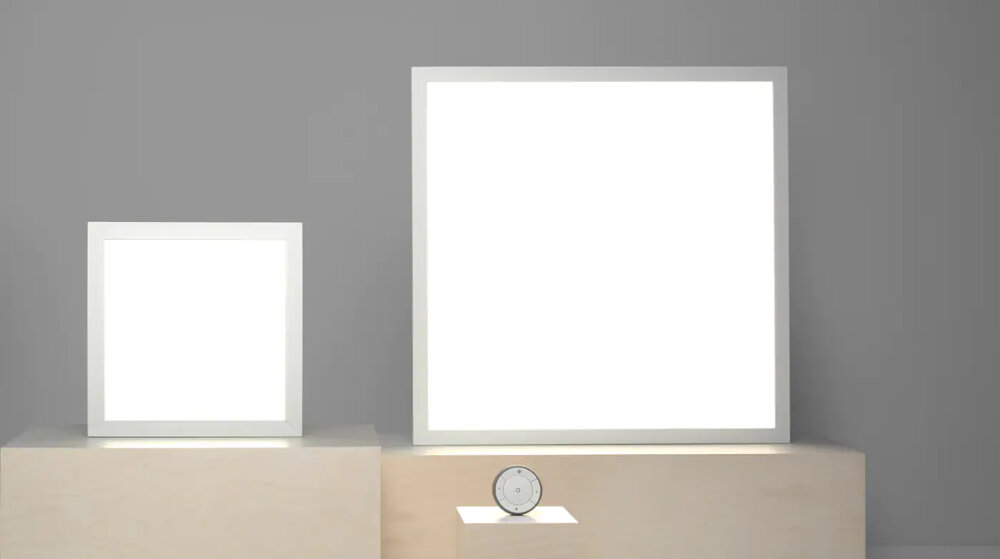
After successfully opening your LED light remote, the next thing to do is to check the battery compartment. If the batteries are low, replace them with new ones. Ensure that the batteries are placed correctly, following the polarity markings inside the compartment. Once the batteries are in place, close the battery compartment and turn the remote over. The next step is to test the remote by pressing the power button. If the LED light comes on, and you are able to control the brightness and color of the light, then your remote is working correctly. If the light does not come on, try pressing the power button again. If it still does not work, check the batteries and make sure they are properly installed. If the batteries are fine, then there may be an issue with the remote itself, and you may need to contact the manufacturer for assistance.
Troubleshooting Tips
When it comes to using LED light remotes, there may be times when you encounter problems with the device. Here are some troubleshooting tips that can help you resolve common issues you might encounter. First, check the batteries in the remote. Sometimes, the batteries may have died or may not be properly inserted, causing the remote to malfunction. If this is the case, replace the batteries or reinsert them correctly and try again. Another possible issue is that the remote and the LED light may not be on the same frequency. In this case, try resetting the remote and the light to make sure they are both on the same frequency. You can do this by turning off the LED light, pressing and holding the remote’s power button for a few seconds, and then turning on the LED light again. If none of these troubleshooting tips work, you may need to consult the user manual or reach out to the manufacturer for further assistance. With these simple tips, you can quickly resolve issues with your LED light remote and continue to enjoy the convenience it provides.
Conclusion
In conclusion, opening your LED light remote is a simple process that can be accomplished in just a few easy steps. By following the guide provided, you can access the battery compartment and replace the batteries as needed. It is important to remember to handle the remote with care and not force it open, as this could damage the device. With the right tools and a steady hand, you can quickly and easily replace the batteries in your LED light remote, ensuring that it continues to function properly for years to come.

