Quick Tips: How to Identify the Defective LED Christmas Light in Seconds
LED Christmas lights are a popular choice for decorating homes and businesses during the festive season. They come in various colors, shapes, and sizes, and can create a beautiful and eye-catching display. However, like any other electronic device, LED Christmas lights can also experience defects and malfunctions. Identifying a defective LED Christmas light can be a daunting task, especially if you have a large number of lights to check. But with a few quick tips and tricks, you can easily identify a defective LED Christmas light in seconds. One of the most common issues with LED Christmas lights is the failure of individual bulbs. This can cause a section of the light string to stop working, making the entire display look uneven and unattractive. In some cases, the entire string of lights may fail to work due to a defective bulb. By knowing how to identify a defective LED Christmas light, you can quickly replace the faulty bulb and restore the beauty of your Christmas display. In the following paragraphs, we will discuss some quick tips on how to identify the defective LED Christmas light in seconds.
Check the Fuse

One of the most common reasons for LED Christmas lights not working is a blown fuse. If your lights have stopped working, checking the fuse is an easy first step to take. The fuse is usually located in the plug of the lights, and it can be easily accessed by unscrewing the cap of the plug. If the fuse has blown, you will be able to see a thin wire inside the fuse that has melted or broken. To replace the fuse, you will need to remove it from the plug and replace it with a new one of the same rating. Fuses are readily available at most hardware stores, and they are inexpensive to replace. It is important to note that if the fuse blows again after you have replaced it, there may be a more significant problem with the lights that needs to be addressed. In this case, it is best to consult a professional or replace the lights altogether. Checking the fuse is a quick and easy way to identify the problem with your LED Christmas lights, and it is a good idea to do this before attempting any other troubleshooting methods. By checking the fuse, you can save time and money by identifying the problem quickly and easily, and you can get your lights back up and running in no time.
To check the fuse of your LED Christmas lights, you first need to unplug them from the power source. Next, locate the fuse compartment, which is typically located near the plug. Open the compartment and remove the fuse. Hold the fuse up to the light and check if the filament inside is broken or damaged. If it is, then the fuse needs to be replaced. Make sure to use a fuse that matches the rating of the original one. After replacing the fuse, plug in your lights and test them to see if they are working properly. Checking the fuse is a quick and easy way to identify if your LED Christmas lights are defective and need repair.
Inspect the Bulbs
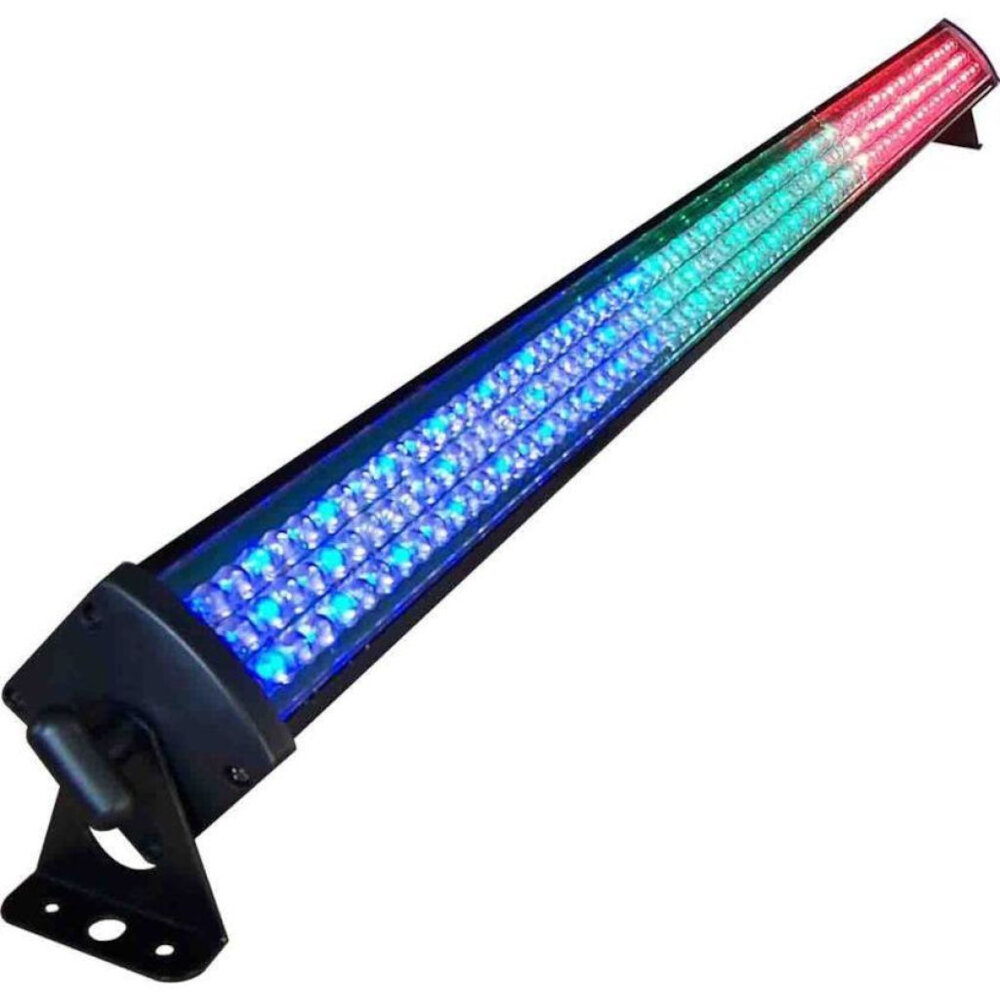
The inspection of bulbs is one of the most crucial steps in identifying the defective LED Christmas lights. To begin with, you need to check each bulb closely for any visible damage or discoloration. This can be done by holding the bulb up to your eye level and inspecting it carefully. If you notice any cracks, burns, or blackened areas on the bulb, it is a clear indication of its defectiveness. Additionally, you can also check the bulb’s color as it should be consistent with the rest of the bulbs in the string. If it appears dimmer or brighter than the others, it could be a sign of a faulty bulb. Furthermore, it is essential to inspect the bulb’s socket as well. The socket should be firm and secure, and the bulb should fit snugly into it. If the bulb wiggles or does not stay in place, it could be a sign of a loose socket. In such cases, it is best to replace the bulb with a new one to avoid any further issues. Therefore, by carefully inspecting the bulbs and sockets, you can quickly identify the defective LED Christmas lights and replace them to enjoy a safe and bright holiday season.
To inspect the bulbs of your LED Christmas lights, first, unplug the lights and remove them from the tree or decoration. Then, carefully examine each bulb, looking for any signs of damage, such as cracks, chips, or discoloration. If any bulbs are damaged, replace them before attempting to use the lights again. Additionally, check the connections between the bulbs to ensure they are secure and undamaged. Finally, plug the lights back in and turn them on to ensure they are functioning properly. By taking these simple steps, you can identify and replace any defective LED Christmas lights quickly and easily, ensuring a safe and festive holiday season.
Use a Light Tester

When it comes to identifying defective LED Christmas lights, one of the most useful tools you can have in your arsenal is a light tester. These small devices can help you quickly determine which bulbs are working and which ones need to be replaced, saving you time and frustration during the holiday season. To use a light tester, simply plug the device into an electrical outlet and then attach the probe to the base of each light bulb in turn. The tester will light up if the bulb is functioning correctly, allowing you to quickly identify any faulty bulbs that need to be replaced. There are many different types of light testers available on the market, ranging from simple handheld models to more advanced devices that can test multiple bulbs at once. Some testers even include additional features such as the ability to test fuses and check for voltage fluctuations in your electrical system. No matter which type of tester you choose, however, using one is a quick and easy way to ensure that your Christmas lights are working properly and will look their best throughout the holiday season.
To use a light tester to identify the defective LED Christmas light, first, plug the light tester into a functioning socket. Then, plug the defective light strand into the tester and turn it on. The tester will indicate which bulb is not working by either not lighting up or flashing. Remove the faulty bulb and replace it with a new one. Repeat the process until all the defective bulbs are replaced. This quick and easy method can save you time and frustration during the holiday season, allowing you to enjoy your beautifully lit Christmas tree without any interruptions.
Look for Damaged Wires

One of the most common reasons why LED Christmas lights fail is due to damaged wires. Damaged wires can occur when the lights are stored improperly or when they are exposed to extreme weather conditions. It is important to inspect the wires carefully before using them to ensure that they are in good condition. Look for any signs of fraying, cracking, or exposed wires. If you find any damage, it is best to discard the lights and replace them with new ones. Using damaged lights can be dangerous and can cause electric shocks or fires. To avoid damaging your LED Christmas lights, it is important to store them properly. Make sure to keep them in a dry and cool place, away from direct sunlight or heat sources. You can wrap them around a cardboard tube or use a specialized storage container to keep them organized and protected. Additionally, it is recommended to test your LED lights before using them. Plug them in and check if all the bulbs light up. If there are any dark spots, it may indicate a faulty bulb that needs to be replaced. Taking these simple precautions can help you enjoy your LED Christmas lights safely and without any issues.
If you suspect that your LED Christmas lights are not working correctly, you may need to check for damaged wires. To do this, start by unplugging the lights and examining the wires for any signs of wear or tear, such as fraying or exposed copper. You can also use a multimeter to test the continuity of the wires, which will help you identify any breaks or faults. If you find any damaged wires, it is best to replace the entire string of lights to ensure that they are safe and functional. By taking the time to inspect your LED Christmas lights for damaged wires, you can avoid potential safety hazards and enjoy a festive holiday season with confidence.
If you’re struggling to identify the defective LED Christmas lights, then you’ll need to follow some quick and easy tips. Firstly, check the wire for any visible damage, including cracks or exposed wires. Secondly, examine the light for any flickers or dimming, which can indicate a faulty bulb. Thirdly, use a non-contact voltage tester to check the current flow in the light’s circuit. Lastly, replace any damaged bulbs or fuses, and plug the light into a power source to ensure it’s working correctly. By following these simple steps, you can quickly identify and fix any defective LED Christmas lights, so you can enjoy a festive and well-lit holiday season.
Conclusion
In conclusion, identifying a defective LED Christmas light doesn’t have to be a cumbersome task. By following the quick tips mentioned above, you can easily detect the problematic light in seconds. Remember to check for any broken or missing bulbs, loose or damaged wires, and faulty fuses. Additionally, it is important to prioritize safety by unplugging the lights before conducting any inspection. With these simple steps, you’ll be able to enjoy a hassle-free and safe holiday season.


