Quick Tips: Removing LED Light Glue from Walls without Damaging Paint A StepbyStep Guide
LED lights are a popular and modern way to brighten up any room in your home. They come in various colors and sizes, providing an aesthetic appeal that is hard to resist. However, removing LED light glue from walls can be a challenging task, especially when you don’t want to damage the paint on your walls. Luckily, there are a few quick tips and tricks that you can use to remove LED light glue from walls without damaging the paint. In this article, we’ll take you through a step-by-step guide on how to remove LED light glue from walls quickly and safely. If you’ve recently removed LED lights from your walls, you may have noticed that the glue residue left behind can be difficult to remove. Many people resort to using harsh chemicals and abrasive tools, which can cause damage to the paint on the walls. However, with the right approach, you can remove LED light glue from walls without causing any damage to the paint. Whether you’re a DIY enthusiast or a homeowner looking to remove LED light glue from your walls, this article is for you. Follow along as we take you through a step-by-step guide on how to remove LED light glue from walls quickly and safely.
LED light glue is a type of adhesive that is commonly used to attach LED strips to walls. This glue is specially designed to provide a strong and durable hold without causing any damage to the wall or paint. LED light glue is also known for its easy application and quick drying time, making it a popular choice for DIY projects and home décor. It is commonly used to create accent lighting, provide extra illumination in dark areas, and add a touch of ambiance to any room. However, removing LED light glue from walls can be a challenge, as it tends to leave residue and can damage paint if not done correctly.
Gather Materials
Gathering the right materials is crucial in removing LED light glue from walls without damaging the paint. First, you will need a hairdryer or a heat gun to soften the glue. A scraper or a putty knife will also come in handy to remove the glue from the wall. A microfiber cloth or a soft sponge will be used to wipe off any excess glue. Additionally, you will need rubbing alcohol or vinegar to clean the wall after removing the glue. Finally, a mild detergent and warm water will be used to wash the wall thoroughly. It is important to note that some of these materials can be dangerous if not handled properly. When using a heat gun or hairdryer, be sure to keep it at a safe distance from the wall to avoid damaging the paint or creating a fire hazard. Also, wear protective gloves and eyewear when using a scraper or putty knife to prevent injury. By gathering the necessary materials and taking proper precautions, you can effectively remove LED light glue from your walls without causing any damage.
Removing glue from walls can be a daunting task, especially if you’re worried about damaging the paint. To ensure a successful removal process, you’ll need a few materials on hand. First, you’ll need a plastic scraper or putty knife to gently scrape away any excess glue. Next, you’ll need a solvent such as rubbing alcohol or white vinegar to break down the glue. You’ll also need a soft cloth or sponge to apply the solvent and wipe away the glue. Finally, it’s important to have a bucket of warm water and mild soap to clean the wall after the glue has been removed. With these materials and a little bit of patience, you can easily remove LED light glue from your walls without damaging the paint.
When it comes to removing LED light glue from walls, there are several items that are important to have on hand for the process. First and foremost, a plastic scraper or credit card can be used to gently scrape away any excess glue without damaging the wall’s paint. Additionally, rubbing alcohol or acetone can be used to dissolve the glue and make it easier to remove. A microfiber cloth is also helpful for wiping away any residue and leaving a clean surface. Lastly, it’s important to have a ladder or step stool to safely reach the LED lights and efficiently remove the glue. By having these items on hand, the process of removing LED light glue can be quick and easy without causing any damage to the walls.
Test a Small Area
When removing LED light glue from walls, it’s always a good idea to test a small area first. This is especially important if you’re working with a delicate or painted surface, as some adhesive removers can damage or discolor paint. By testing a small area, you can see how the adhesive remover reacts with the surface and make sure it doesn’t cause any harm. To test a small area, apply a small amount of adhesive remover to a discreet spot on the wall. Wait a few minutes to see how it reacts with the surface. If the paint starts to bubble or discolor, stop immediately and try a different method. If there’s no damage or discoloration, it’s safe to proceed with the adhesive removal process. Remember to always work in a well-ventilated area, wear protective gloves and goggles, and follow the manufacturer’s instructions for the adhesive remover you’re using. Testing a small area is a simple yet crucial step in ensuring that your LED light glue removal process goes smoothly without damaging your walls.
Before removing glue from a larger area of the wall, it is crucial to test a small area first to ensure that the paint does not get damaged or peeled off. This is especially important when dealing with LED light glue, which is often stronger and more adhesive than regular glue. Testing a small area allows you to determine the best method for removing the glue and to gauge the amount of pressure and force required. It also helps to identify any potential damage or discoloration that may occur during the process. By taking the time to test a small area, you can avoid a costly mistake that could damage the overall appearance of the wall and ensure that the glue is removed safely and effectively.
Before attempting to remove LED light glue from a wall, it’s always a good idea to test a small area first. This will help you determine whether the method you’re using is effective and whether it will damage the paint. To test a small area, start by selecting a spot that’s inconspicuous, such as behind a piece of furniture or in a corner. Apply a small amount of the solution you plan to use to a cotton swab or cloth and gently rub it onto the area. Allow the area to dry completely before checking for any signs of damage, such as discoloration or peeling. If the paint appears to be unaffected, you can proceed with confidence to remove the LED light glue from the rest of the wall.
Remove LED Light Glue
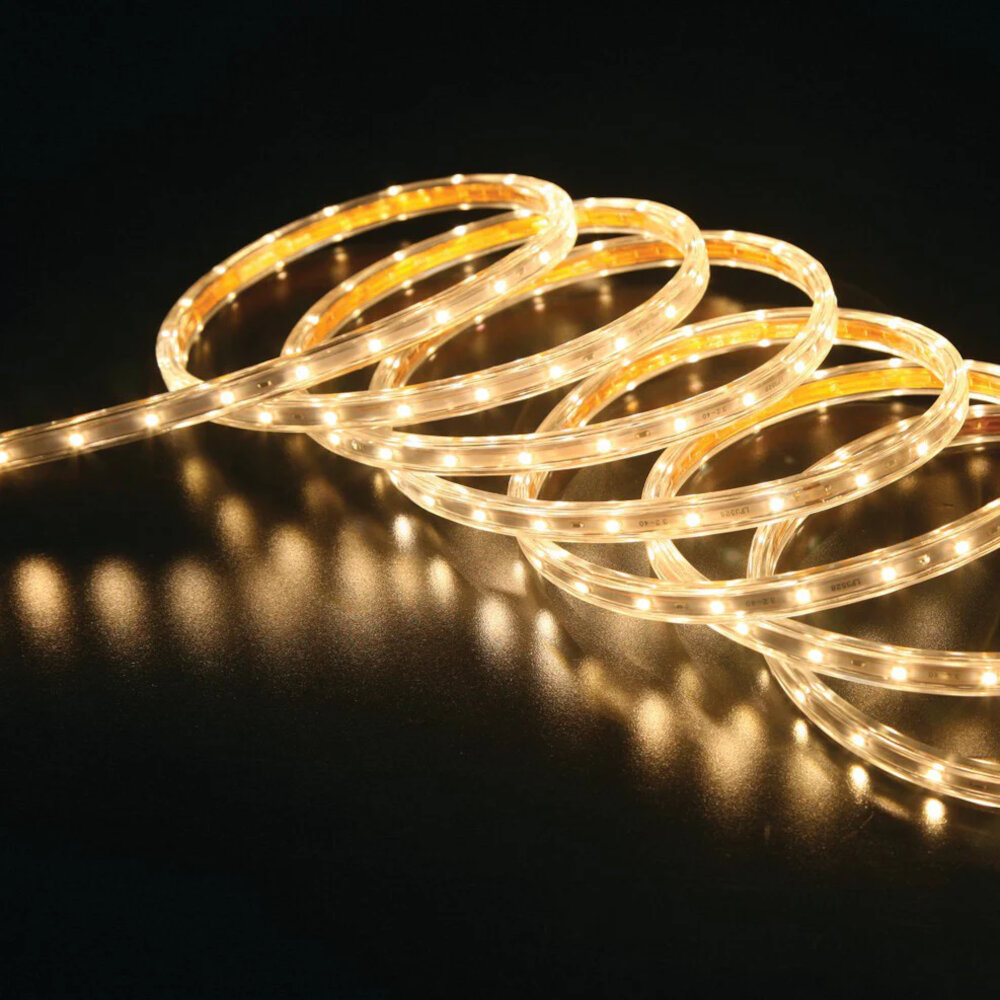
Removing LED light glue from walls can be a tricky task, especially if you want to avoid damaging the paint. However, with the right tools and techniques, you can easily remove the glue and restore your walls to their original condition. One of the most effective ways to remove LED light glue is to use a hairdryer or heat gun to soften the glue. Simply hold the hairdryer or heat gun a few inches away from the glue and heat it up for a few minutes. Once the glue is soft, use a plastic scraper or credit card to gently scrape it off the wall. Be sure to work slowly and carefully to avoid scraping the paint or damaging the wall. Another effective way to remove LED light glue is to use rubbing alcohol or acetone. Simply apply a small amount of rubbing alcohol or acetone to a clean cloth or cotton ball and rub it onto the glue. Allow the alcohol or acetone to sit on the glue for a few minutes to soften it, then use a plastic scraper or credit card to gently scrape the glue off the wall. Be sure to work slowly and carefully, and avoid applying too much pressure or scraping too hard, as this can damage the paint or the wall. With a bit of patience and the right tools, you can easily remove LED light glue from walls without damaging the paint.
Removing LED light glue from walls can be a daunting task, especially when you want to avoid damaging the paint. Thankfully, with the right tools and techniques, you can remove the glue without causing any harm. Here’s a step-by-step guide to help you do just that. First, gather your supplies, including a hairdryer, plastic scraper, rubbing alcohol, and a clean cloth. Next, use the hairdryer on a low heat setting to soften the glue. Carefully scrape the glue off the wall using the plastic scraper, taking care not to damage the paint. Once you’ve removed as much glue as possible, use a cloth soaked in rubbing alcohol to clean any remaining residue. Repeat the process until the wall is free of glue. By following these simple steps, you can remove LED light glue from your walls without damaging the paint.
Removing LED light glue from walls without damaging the paint can be a daunting task. However, with a few helpful tips, the process can be successful and stress-free. First, make sure to use a plastic scraper or credit card to avoid scratching the wall. Additionally, applying heat to the glue with a hairdryer or heat gun can soften it, making it easier to remove. It’s also important to use a gentle adhesive remover or rubbing alcohol to avoid damaging the paint. Finally, take your time and work carefully to avoid accidentally pulling off any paint. By following these tips, you can successfully remove LED light glue from your walls without any damage to the paint.
Clean the Wall
Keeping the walls clean and free from any unwanted substances is essential to maintain the aesthetic appeal of your home or office. Over time, walls can accumulate dust, dirt, stains, and even glue residue from LED lights. However, removing glue residue from walls can be a daunting task, especially if you are not familiar with the right techniques. Fortunately, with a few simple steps, you can clean the wall and restore its pristine condition. Firstly, gather the necessary cleaning supplies, such as a clean cloth, warm water, dish soap, and a sponge. Start by wiping the wall with a clean cloth to remove any loose debris or dirt. Next, mix a small amount of dish soap with warm water and apply the solution to the affected area using a sponge. Gently scrub the surface in circular motions until the glue residue comes off. Avoid using abrasive materials or harsh chemicals that may damage the paint or the wall surface. Finally, rinse the wall with clean water and let it dry naturally. By following these steps, you can effectively clean the wall and give it a fresh look.
After removing LED light glue from walls, it is important to clean the surface thoroughly to avoid any residue left behind. The glue, if left uncleaned, can attract dust and dirt, and the wall can also become discolored over time. Additionally, if a new LED light is installed in the same spot, any remaining glue can interfere with adhesion, leading to a less secure fixture. Cleaning the wall after removing LED light glue ensures that the surface is smooth, clean, and ready for new installations or decorations. It also helps maintain the aesthetic appeal of the wall, protecting the paint and ensuring it stays in good condition for longer.
Before cleaning the wall, you will need some materials to ensure the process goes smoothly. You will need a clean cloth, warm water, mild detergent, a scraper, a sponge, and a bucket. Start by removing any excess glue from the wall using a scraper. Then, dampen the cloth with warm water and gently dab the affected area to loosen the glue. Avoid rubbing the cloth on the wall as this may cause damage to the paint. Next, mix the mild detergent with warm water and use a sponge to apply the solution to the glue residue. Allow it to sit for a few minutes before wiping it off with a clean cloth. Be sure to rinse the wall thoroughly with clean water and dry it with another clean cloth. With these materials and instructions, you can easily remove LED light glue from your walls without damaging the paint.
Removing LED light glue from walls can be done without damaging the paint if you follow a few simple steps. First, use a hairdryer to heat the glue, making it easier to remove. Then, use a plastic scraper or credit card to gently scrape away the glue. If there is still residue left, use a mixture of warm water and dish soap to clean the area, being careful not to apply too much pressure. Finally, use a clean cloth to dry the area and ensure no moisture is left behind. It is important to avoid using harsh chemicals or abrasive tools that could damage the paint. By following these steps, you can remove LED light glue from walls quickly and easily without causing any damage.
Before embarking on the task of removing LED light glue from walls, it is essential to test a small area first. This step is crucial as it helps to ensure that the method used does not damage the paint or cause any other unwanted effects. It is also an excellent way to assess the effectiveness of the chosen method and make adjustments if necessary before moving on to the larger area. Neglecting this step can result in the removal of the glue, but with significant damage to the walls, which can be expensive to fix. Therefore, it is always wise to test a small area before proceeding with the glue removal task.
Conclusion
In conclusion, removing LED light glue from walls without damaging paint is a task that requires patience and the right tools. By following the step-by-step guide provided, you can successfully remove the glue without leaving any unsightly marks on your walls. It is important to remember to use gentle methods, such as using a hairdryer or rubbing alcohol, and avoiding harsh chemicals or abrasive tools that can damage the paint. With these quick tips, you can say goodbye to the glue and hello to a clean and beautiful wall.


