Revive Your LED Light Strips: Quick Guide on How to ReStick Them Easily

LED light strips are an excellent addition to any room. They provide a warm and cozy ambiance that can transform the atmosphere of your space entirely. However, one of the most frustrating things about these strips is that they tend to lose their adhesiveness over time, which can make them difficult to stick. If you’ve experienced this issue, you know how annoying it can be to have to keep reapplying the strips to keep them in place. Fortunately, there are several easy and effective ways to restick your LED light strips and keep them shining bright. Whether you’re using LED light strips for your bedroom, living room, or office, it’s essential to ensure that they’re stuck securely in place. If they’re not, they can fall off and become a tripping hazard, or worse, they can damage your walls or furniture. Resticking your LED light strips is a quick and straightforward process that can save you time and money in the long run. In this guide, we’ll explore some of the most effective ways to revive your LED light strips and keep them shining brightly for years to come.
LED light strips are flexible and slim circuits that contain light-emitting diodes. They are commonly used for decoration, ambient lighting, and task lighting in various settings such as homes, offices, and commercial spaces. LED light strips offer a wide range of colors, brightness levels, and effects. They are energy-efficient, durable, and easy to install. LED light strips can be cut to fit any length and shape, and they come with adhesive backing for easy mounting. They can be controlled by remote, smartphone app, or voice assistant, making them a versatile and convenient lighting solution. Whether you want to add a warm glow to your living room, highlight a display case, or create a party atmosphere, LED light strips can help you achieve your lighting goals with ease.
One of the most common issues faced by LED light strip users is the loss of stickiness over time. This can be due to a variety of factors such as exposure to heat, humidity, or simply due to wear and tear. As the adhesive wears off, the LED strip may start to peel off from the surface it was stuck to, leading to a frustrating situation where the strip no longer stays in place. This not only affects the aesthetic of the lighting but also poses a safety hazard as loose strips can fall and cause damage or injury. However, there are several ways to revive LED light strips and re-stick them easily, saving you the expense of buying new ones.
Gather Materials
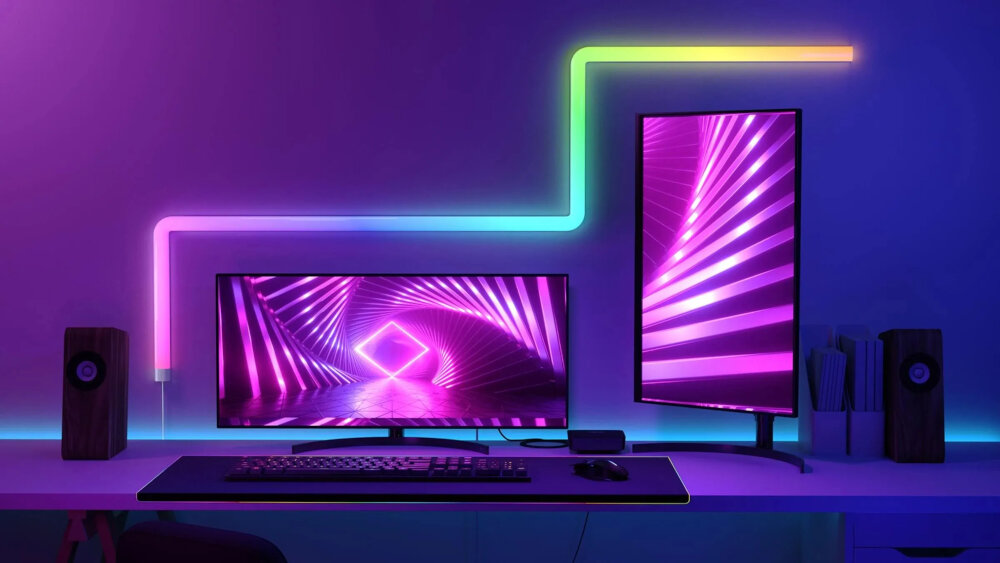
When it comes to reviving your LED light strips, the first step is to gather all the necessary materials. It is crucial to have all the tools in hand before starting the re-sticking process. Firstly, you will need a clean cloth or towel to wipe off any dust or debris from the strip’s surface. A clean surface is essential to ensure that the adhesive sticks properly. Additionally, you will require a pair of scissors to cut off the excess adhesive or tape from the strip. This will help you get a neat and clean finish. Furthermore, you will need double-sided adhesive tape or glue to reattach the LED light strip to its surface. It is important to choose a strong adhesive that can hold the weight of the strip. You can also opt for a heat-resistant adhesive if you plan on using the LED light strips in a high-temperature environment. Additionally, it is advisable to have a ruler or measuring tape to measure the length of the adhesive tape or glue required. With these materials in hand, you can start the re-sticking process with ease and efficiency.
Resticking LED light strips can be a bit of a challenge, especially if you don’t have the right materials. To start with, you’ll need a clean and dry surface for the strips to adhere to, so make sure you have some rubbing alcohol and a microfiber cloth on hand. Additionally, you’ll need some double-sided tape or adhesive foam tape to reattach the strips to the surface. If the original adhesive on the strips has completely worn off, you may want to consider using a hot glue gun or a silicone adhesive to secure them in place. Finally, a pair of scissors or a utility knife will come in handy for cutting the tape or foam to the correct size. With these materials, you’ll be able to revive your LED light strips and get them shining brighter than ever before.
Each material required to revive your LED light strips serves a crucial purpose in the process. The double-sided adhesive tape is necessary to ensure that the strips stick firmly to the surface without falling off. The rubbing alcohol is used to clean the surface of the strip and remove any dirt, oil, or residue that may prevent the tape from adhering properly. The cotton swabs are used to apply the rubbing alcohol and clean the surface of the strip without damaging the delicate LED lights. Finally, the scissors are required to cut the tape to the appropriate size and shape to fit the strip. Without these essential materials, the process of re-sticking LED light strips would not be possible or effective.
Clean the Surface
When it comes to rejuvenating your LED light strips, cleaning the surface is the first step you need to take. Over time, the adhesive of your LED light strips can weaken, causing them to fall off. Before you can re-stick them, it’s important to clean the surface they were stuck to thoroughly. You can use a damp cloth or a cleaning solution to get rid of any dirt, dust, or grime that has accumulated on the surface. Make sure that the surface is completely dry before you attempt to re-stick your LED light strips. Cleaning the surface is not only important for the re-sticking process, but it can also help prolong the life of your LED light strips. A clean surface ensures that the adhesive can bond properly to the surface, preventing the LED light strips from falling off again. Additionally, a clean surface reduces the risk of any damage to your LED light strips, as dirt and grime can cause scratches or other forms of damage. Therefore, it’s essential to clean the surface before attempting to re-stick your LED light strips.
Cleaning the surface is crucial when it comes to re-sticking LED light strips. Any residue or dirt on the surface can prevent the adhesive from properly sticking, leading to the LED lights falling off. Additionally, a dirty surface can cause the adhesive to weaken over time, causing the lights to fall off even if they initially stick. It is important to use a gentle cleaning solution that will not damage the surface or the LED lights themselves. By taking the time to properly clean the surface, you can ensure that the LED light strips will stick securely and provide the desired lighting effect for a long time.
Cleaning the surface where LED light strips will be re-stuck is crucial to ensure a strong adhesive bond. First, use a damp cloth with mild soap to remove any dirt, dust, or grease. Avoid using harsh chemicals or abrasive sponges that can damage the surface. Dry the surface thoroughly before applying the adhesive backing. For porous surfaces, such as brick or concrete, use a wire brush to remove any loose particles before cleaning. If the surface is too rough, consider using a mounting channel for a more secure hold. Remember to avoid touching the adhesive side of the light strip with your fingers to prevent oils from transferring to the strip. By following these tips, you can ensure that your LED light strips will stay in place and light up your space for years to come.
When attempting to revive your LED light strips, it’s important to exercise caution when using harsh chemicals. While it may seem like a quick fix to use a powerful adhesive remover or cleaner, these substances can actually do more harm than good. Not only can they damage the LED light strip itself, but they can also pose a risk to your health if inhaled or absorbed through the skin. Instead, opt for gentler cleaning solutions such as rubbing alcohol or warm soapy water. Always wear protective gloves and work in a well-ventilated area to minimize any potential risks. By taking these precautions, you can safely and effectively re-stick your LED light strips without causing any harm.
Apply the Adhesive
When it comes to re-sticking LED light strips, applying the adhesive is a crucial step that requires careful attention. First and foremost, you need to clean the surface where you want to re-stick the light strip thoroughly. Use a damp cloth to remove any dirt, dust, or debris that may hinder the adhesive’s effectiveness. Once the surface is clean and dry, you can apply the adhesive. There are different types of adhesives that you can use, such as double-sided tape, glue, or mounting brackets. The choice of adhesive will depend on the surface you want to stick the light strip on and the strength of the adhesive. Regardless of the adhesive you choose, make sure to apply it evenly and in a consistent manner to avoid any lumps or bumps that may affect the light strip’s adherence. As you apply the adhesive, ensure that you don’t use too much or too little. Using too much adhesive may cause the light strip to create bumps, which can be unsightly and affect the overall look of the installation. On the other hand, using too little adhesive may result in the light strip not sticking properly, leading to it falling off again. Additionally, ensure that the adhesive is applied in a straight line to avoid any wavy patterns that may be visible once the light strip is installed. Finally, once you have applied the adhesive, you can now stick the light strip onto the surface. Press firmly and hold it in place for a few seconds to ensure that it adheres properly. With this step, you should be able to enjoy your LED light strips’ beautiful illumination once more.
There are various types of adhesives available in the market that can be used for different purposes. One of the most common adhesives is the water-based adhesive, which is suitable for paper, cardboard, and other porous materials. Another type of adhesive is the solvent-based adhesive, which is ideal for non-porous surfaces like plastic, metal, and glass. There are also hot-melt adhesives, which are used in industries for bonding metals and plastics. Furthermore, pressure-sensitive adhesives are also available, which are used for labeling and packaging. Finally, cyanoacrylate adhesives are known for their quick-drying and strong bonding properties, making them ideal for fixing small objects. Depending on the material you’re working with, it’s essential to choose the right adhesive to ensure a secure and long-lasting bond.
When it comes to applying adhesive to your LED light strips, there are a few tips you should keep in mind to ensure a strong and long-lasting hold. First, make sure the surface you are applying the adhesive to is clean and free of any debris or dust. This will help the adhesive bond more effectively. Secondly, apply the adhesive evenly and sparingly, as too much can cause a messy and ineffective bond. Additionally, give the adhesive enough time to cure and set before handling or moving the light strips. Finally, consider using a high-quality adhesive specifically designed for LED light strips, as this will provide the best results and ensure your lights stay securely in place for years to come. By following these tips, you can easily revive your LED light strips and enjoy a beautifully illuminated space once again.
While adhesive can be a great tool for re-sticking LED light strips, it’s important to exercise caution when using it. Too much adhesive can create a mess and potentially damage the light strips. Additionally, excess adhesive can make it difficult to remove the strips in the future if necessary. It’s best to apply adhesive sparingly and strategically, focusing on areas where the strips need extra support or are prone to falling off. Remember, a little goes a long way, so resist the urge to overdo it. By using adhesive thoughtfully and carefully, you can ensure your LED light strips stay securely in place without causing any unintended damage.
Reattach the LED Light Strips

LED light strips are a popular lighting solution that can be used for various purposes, including home decor, accent lighting, and even automotive lighting. However, over time, the adhesive on the back of the LED light strips may wear off, causing them to fall off or become loose. To reattach the LED light strips, there are a few simple steps you can follow to ensure they stick securely. Firstly, make sure that the surface where you plan to reattach the LED light strips is clean and dry. Using a clean cloth and a mild cleaning solution, wipe down the surface to remove any dirt, dust, or residue. Once the surface is clean, dry it thoroughly with a clean cloth or towel. Next, carefully peel off the protective backing from the adhesive side of the LED light strips. Align the LED light strips with the surface and press down firmly, making sure that the strips are level and straight. Hold the strips in place for a few seconds to allow the adhesive to bond properly. With these simple steps, you can quickly and easily reattach your LED light strips and enjoy their bright and colorful glow once again.
To reattach LED light strips, first, clean the surface where the strips will be attached using a clean cloth and rubbing alcohol. Next, measure the length of the strip and cut it accordingly. Then, remove the adhesive backing from the strip and press it firmly onto the surface, smoothing out any bubbles or wrinkles. If the adhesive is not strong enough, use a hot glue gun or double-sided tape to secure the strip in place. Finally, connect the strip to the power source and test the lights. With these step-by-step instructions, reviving your LED light strips is a quick and easy process that will have your space glowing once again.
Ensuring that your LED light strips are properly attached is crucial if you want to enjoy their full benefits. Firstly, it’s important to clean the surface where you want to attach the strips to ensure that there is no dust or dirt that could hinder the adhesive’s effectiveness. Next, ensure that you’ve measured the length of the surface to avoid any wastage or cutting the strips short. You can also use additional adhesives like double-sided tape or glue to reinforce the strips’ adhesion. Additionally, avoid bending or twisting the strips excessively while installing them to prevent damage. Finally, let the strips sit for a few hours before turning them on to allow the adhesive to set properly. Following these tips will guarantee that your LED light strips are firmly attached and will provide optimal lighting performance.
If you’re looking to restick your LED light strips, there are several simple steps you can follow to ensure that they stay securely in place. First, you should clean the surface where the strips will be placed, using a mild cleaner and a soft cloth. Next, you can apply a double-sided tape or adhesive to the back of the strips, making sure to cut it to the appropriate length. Once the tape is applied, you can press the strips firmly onto the surface, taking care to align them properly. Finally, you can use a heat gun or hairdryer to activate the adhesive and ensure that the strips stay in place for the long haul. With these easy steps, you can easily revive your LED light strips and enjoy their bright, colorful glow once again.
It is important to exercise caution when using adhesives and cleaning materials on LED light strips. Adhesives that are too strong can damage the surface of the LED strip or leave a residue that is difficult to remove. Cleaning materials that are too harsh can also damage the surface of the strip, leading to discoloration or other issues. When selecting adhesives and cleaning materials, it is important to read the instructions carefully and choose products that are appropriate for the type of LED strip you have. Always test a small, inconspicuous area before applying any adhesive or cleaning solution to the entire strip. By taking these precautions, you can extend the life of your LED light strips and avoid costly damage.
Before you decide to give up on your LED light strips, consider trying the resticking process. It’s a simple and cost-effective solution that can save you money and time. The process involves using double-sided tape to reattach the strip to its mounting surface. Not only does this fix any issues with loose or falling strips, but it also ensures that your lights will continue to function properly. So, don’t give up on your LED strips just yet. Give the resticking process a try, and you might be surprised at how easy it is to revive your lights.
Conclusion
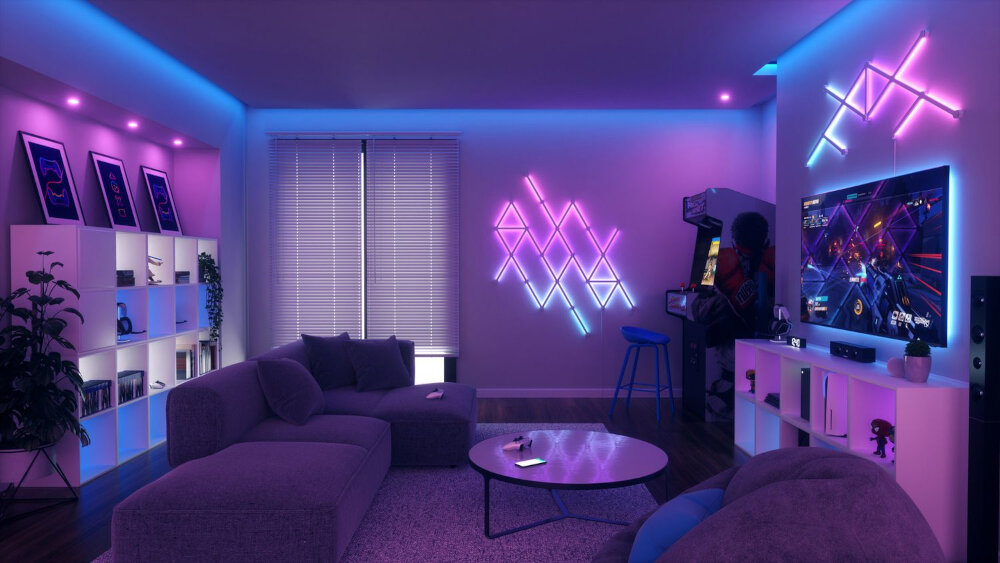
In conclusion, reusing LED light strips can be a great way to save money and reduce waste. Whether you’re looking to re-stick a single strip or an entire set, there are several methods you can use to get the job done quickly and easily. From using double-sided tape to applying a fresh adhesive layer, the key is to choose the right technique for your particular situation. By following the tips outlined in this quick guide, you can revive your LED light strips and enjoy their vibrant glow for years to come. So why wait? Get started today and bring new life to your old light strips!

