StepbyStep Guide: Changing LED Bulbs in Recessed Ceiling Lights with Cover

Recessed ceiling lights are a popular choice for modern homes and offices due to their sleek design and energy efficiency. However, changing the LED bulbs in these fixtures can be a bit tricky, especially if they have a cover. If you are unsure of how to change the LED bulbs in your recessed ceiling lights, don’t worry! In this step-by-step guide, we will take you through the process of changing LED bulbs in recessed ceiling lights with covers so that you can keep your space well-lit and looking great. Before you get started, it is important to note that safety should always be your top priority when working with electrical fixtures. Make sure that you turn off the power to the light fixture at the circuit breaker before you start working on it. Additionally, use caution when handling the light cover and bulb, as they may be hot if the light has been on recently. With that said, let’s get started on changing those LED bulbs!
Recessed ceiling lights are a popular lighting option that can be found in many homes and businesses. These lights are installed into the ceiling and provide a sleek and modern look to any room. Recessed ceiling lights with covers and LED bulbs are a smart choice for those looking for an energy-efficient and long-lasting lighting solution. The covers help to diffuse the light and create a softer, more even glow throughout the room. LED bulbs are a great choice for recessed ceiling lights as they consume less energy, have a longer lifespan, and emit less heat than traditional incandescent bulbs. Changing the LED bulbs in recessed ceiling lights with covers may seem daunting, but with this step-by-step guide, it can be done quickly and easily.
Changing LED bulbs in recessed ceiling lights is essential for maintaining a well-lit and energy-efficient home. Over time, LED bulbs can become dimmer and less effective, leading to a decrease in the amount of light emitted. This can adversely impact the aesthetics of the room and even make it difficult to perform tasks that require good lighting. Furthermore, LED bulbs can also consume more energy as they age, leading to higher electricity bills. Changing LED bulbs regularly can help ensure that your recessed ceiling lights remain bright and efficient, while also helping you save money on energy costs.
Tools Required
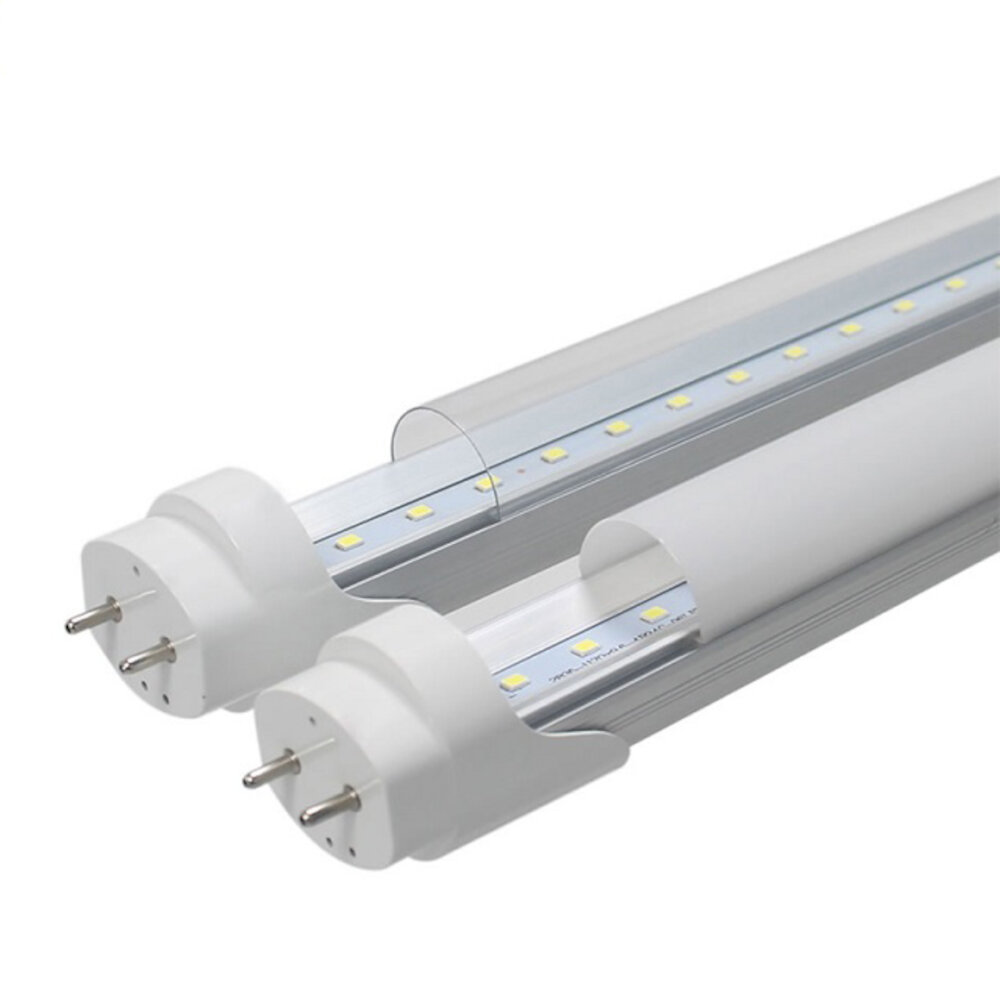
When it comes to changing LED bulbs in recessed ceiling lights with cover, it is important to have the necessary tools at hand. In order to do the job efficiently and safely, you will need a few items to get started. Firstly, you will need a ladder or step stool to reach the light fixture. It is important to make sure the ladder or step stool is stable and secure before climbing up. Secondly, you will need a pair of gloves to protect your hands from any hot surfaces or broken glass. This is especially important if the light fixture has been recently turned off, as the bulbs can still be very hot to the touch. Lastly, you will need the appropriate replacement LED bulbs for your light fixture. Make sure to check the wattage and size of the bulbs before purchasing to ensure they are compatible with your light fixture. In addition to the basic tools required, there are also some optional items that can make the job easier. A flashlight can be useful for illuminating the area around the light fixture, especially if it is located in a dimly lit area. A screwdriver may also be required to remove the cover or trim around the light fixture. Additionally, a vacuum or dustpan and brush can be helpful for cleaning up any debris or broken glass that may have fallen during the bulb replacement process. By having all of the necessary tools at hand before starting the job, you can ensure a smooth and hassle-free experience when changing LED bulbs in recessed ceiling lights with cover.
Changing LED bulbs in recessed ceiling lights with covers is a task that requires a few specific tools to be performed efficiently. A step-by-step guide to performing the task will be more effective if the necessary tools are listed. The primary tool needed is a ladder or step stool to reach the recessed ceiling light fixture. Other essential tools include a pair of gloves to protect your hands from the heat of the bulb, a screwdriver to remove the cover of the fixture, and a new LED bulb to replace the old one. A soft cloth can also be used to clean the fixture before and after the replacement. With these tools at hand, changing LED bulbs in recessed ceiling lights with covers becomes a straightforward task that can be completed quickly and safely.
The tools required for changing LED bulbs in recessed ceiling lights with a cover are quite simple and easy to find. A ladder or a stable stool is necessary to reach the light fixture. A screwdriver is necessary to remove the screws or clips holding the cover in place. A pair of gloves can be helpful to avoid getting burned by hot bulbs, and a clean cloth or tissue can be used to handle the bulb without leaving fingerprints or dirt. The new LED bulbs should be compatible with the light fixture and have the same wattage or lumens as the previous bulbs. A dimmer switch can also be used to adjust the brightness of the LED bulbs. Overall, the tools serve the purpose of ensuring safety, ease of access, and proper installation of the LED bulbs, resulting in efficient and long-lasting lighting.
StepbyStep Guide

A step-by-step guide is an essential tool for anyone looking to complete a task efficiently and effectively. Whether it’s changing LED bulbs in recessed ceiling lights or assembling a piece of furniture, a step-by-step guide breaks down the process into manageable steps, making it easier for the user to follow along. The guide provides clear instructions that are easy to understand and follow, which helps to reduce the likelihood of mistakes or errors. When it comes to changing LED bulbs in recessed ceiling lights with a cover, a step-by-step guide is particularly helpful. The process can be tricky, especially if you’re not familiar with the equipment or techniques involved. By breaking it down into individual steps, the guide makes it easier to follow along, ensuring that you don’t miss any important details or steps. Additionally, a step-by-step guide can help to build confidence, especially for those who may be attempting the task for the first time. Knowing that you have a set of clear instructions to follow can make a daunting task seem much more manageable, helping you to complete it with ease.
Before you begin changing LED bulbs in your recessed ceiling lights with cover, it’s crucial to ensure your safety. Step 1 requires you to turn off the power supply to the light fixture. This will prevent any electrical current from running through the wires, which could cause harm if you accidentally touch them. It’s important to locate the correct circuit breaker and turn off the power supply to the specific light fixture you’ll be working on. Once you’ve turned off the power supply, you can proceed with confidence knowing you’ve taken the necessary precautions to avoid any electrical hazards.
The second step in changing LED bulbs in recessed ceiling lights with cover involves removing the cover of the light fixture. This can typically be accomplished by gently pulling down on the cover or twisting it counterclockwise to release it from the fixture. It is important to handle the cover with care to avoid damaging it or the surrounding ceiling. Once the cover is removed, the LED bulb will be visible and ready to be replaced. It is crucial to turn off the power to the light fixture before attempting to remove the cover to ensure safety. Following this step-by-step guide will allow for a successful and safe LED bulb replacement process.
Step 3 of changing an LED bulb in recessed ceiling lights with a cover involves the removal of the old bulb. This step is crucial as it paves the way for the installation of the new bulb. To remove the old LED bulb, one should first switch off the power supply and allow the bulb to cool down. Next, the cover should be removed, and the bulb should be gently twisted and pulled out of its socket. It is important to note that LED bulbs are fragile and should be handled with care during removal. Once removed, the old bulb should be disposed of responsibly, and the socket should be examined for any damages before installing the new bulb.
With the previous bulb removed and the socket cleaned, you can now insert the new LED bulb into the recessed ceiling light fixture. Carefully align the pins or prongs of the LED bulb with the sockets in the fixture and gently push it into place. Make sure it is securely seated in the socket, and then twist the bulb clockwise until it locks into place. Take care not to apply too much pressure or force, as this could damage the bulb or the fixture. Once the bulb is in place, you can replace the cover and restore power to the fixture to test the new LED bulb.
Step 5 of the Step-by-Step Guide for Changing LED Bulbs in Recessed Ceiling Lights with Cover is the final step in the process of replacing your LED bulbs. It involves reattaching the cover of the recessed ceiling light. After you have replaced the bulb, it is essential to ensure that the cover is securely put back in place, as this will help to protect the light fixture and prevent any dust or debris from entering. To reattach the cover, you may need to use a screwdriver or follow specific instructions outlined by the manufacturer. Once you have successfully reattached the cover, you can turn on the power and enjoy your newly replaced LED lightbulbs.
Step 6 of the step-by-step guide on changing LED bulbs in recessed ceiling lights with cover is a critical phase that requires caution and adherence to safety measures. After successfully replacing the old LED bulbs with new ones, it is time to turn on the power supply. This step can be accomplished by flipping the switch on the circuit breaker or at the wall switch. Before doing so, ensure that the cover is securely fastened to prevent any hazards that may result from loose covers. Turning on the power supply will test the functionality of the new LED bulbs and determine if they are properly installed. It is essential to check if the bulbs are emitting the right amount of light and in the desired direction.
Tips and Precautions
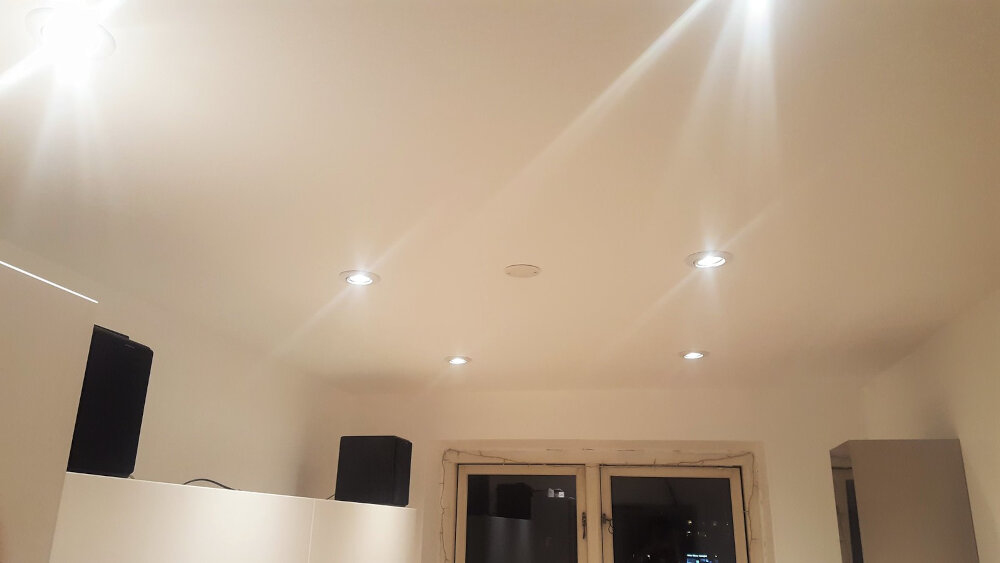
When it comes to changing LED bulbs in recessed ceiling lights with covers, there are several tips and precautions that can help make the process smoother and safer. Firstly, it is essential to turn off the power to the light fixture before attempting to change the bulb. This can be done by flipping the switch off, or turning off the circuit breaker that controls the light. Failure to do so can result in electric shock or injury, and can also cause damage to the light fixture itself. Another important tip is to handle the LED bulb with care. LED bulbs are more fragile than traditional incandescent bulbs and can be easily damaged if mishandled. It is important to avoid touching the glass part of the bulb with bare hands, as the oils from skin can shorten the lifespan of the bulb. Instead, use a clean cloth or gloves to handle the bulb. Additionally, make sure to choose the correct bulb size and wattage for the light fixture, as using the wrong bulb can cause damage to the fixture or even result in a fire. By following these tips and precautions, changing LED bulbs in recessed ceiling lights with covers can be a safe and easy task.
When changing LED bulbs in recessed ceiling lights with covers, it is important to take certain precautions to ensure safety and prevent damage to the fixture. First and foremost, make sure the power is turned off and the bulb is cool to the touch before attempting to replace it. Use a sturdy ladder or step stool placed on a level surface to reach the fixture. Remove the cover carefully, being mindful of any clips or screws that may be holding it in place. Avoid touching the LED bulb with bare hands, as oils from skin can shorten its lifespan. Instead, use a clean cloth or gloves to handle the bulb. When inserting the new LED bulb, make sure it is properly seated and secure before replacing the cover. By taking these precautions, you can ensure a safe and successful LED bulb replacement.
When it comes to installing LED bulbs in recessed ceiling lights, there are a few tips to keep in mind to ensure proper installation. Firstly, it’s important to choose the right size and type of bulb that fits the fixture. Secondly, make sure the power is turned off before installing the bulb to avoid any electrical accidents. Thirdly, check the wiring and socket of the fixture to make sure they are compatible with the LED bulb. Finally, gently and carefully insert the bulb into the fixture, making sure it’s securely in place. Following these tips will help ensure a safe and successful installation of LED bulbs in recessed ceiling lights.
When it comes to home lighting, LED bulbs have become increasingly popular due to their energy efficiency and longevity. However, changing a light bulb in a recessed ceiling fixture can be a bit tricky, especially if it’s covered by a lens. It’s crucial to change your LED bulbs when they start to flicker or dim, as this could be a sign of an impending burnout. Additionally, replacing your bulbs with LED options can save you money on your energy bills over time. It’s essential to maintain your lighting fixtures to ensure that your home is well-lit and energy-efficient. By following a step-by-step guide to changing LED bulbs in recessed ceiling lights with covers, you can ensure that your lighting remains effective and efficient for years to come.
In conclusion, replacing LED bulbs in recessed ceiling lights with covers may seem like a daunting task, but it is actually quite simple with the right tools and techniques. It is important to ensure the power is turned off before beginning any work, and to handle the bulbs with care to avoid breakage. Additionally, selecting the appropriate bulbs and covers will ensure optimal lighting and aesthetic appeal. Overall, this step-by-step guide provides a comprehensive approach to replacing LED bulbs in recessed ceiling lights with covers, and with these recommendations in mind, anyone can successfully complete this task with ease.
Conclusion

In conclusion, changing LED bulbs in recessed ceiling lights with cover can be a simple and straightforward process with the right tools and knowledge. By following the step-by-step guide, you can easily replace your old bulbs with new, energy-efficient ones, providing better lighting and saving money on your electricity bill. It’s important to remember to always turn off the power source before starting, use caution when working with electricity, and choose the right bulbs for your specific fixtures. With a little patience and care, you can successfully change your recessed ceiling light bulbs and enjoy bright, beautiful lighting in your home or office.

