StepbyStep Guide: Connecting LED Lights to a 12V Battery
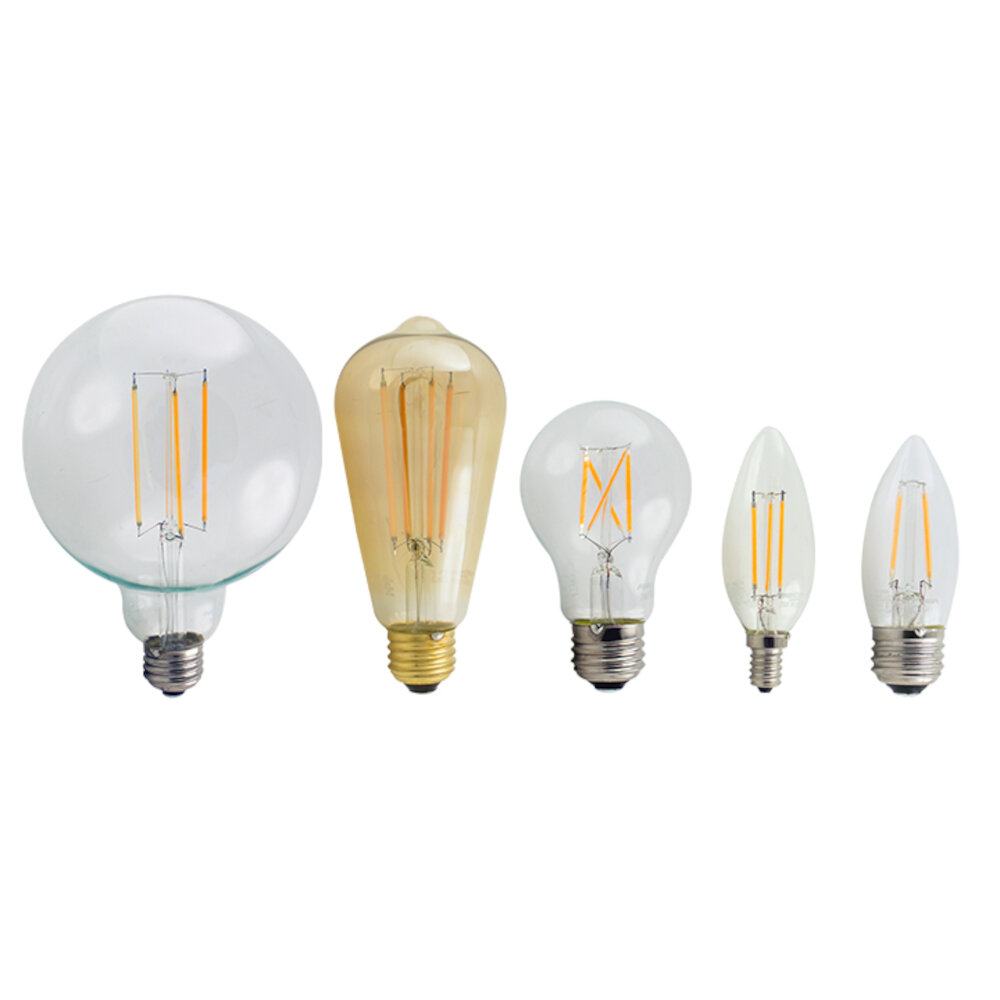
If you’re looking to add some illumination to your next project, LED lights are a great choice. They’re energy-efficient, long-lasting, and come in a wide range of colors and styles. Plus, they’re easy to connect to a 12V battery, which makes them perfect for use in cars, boats, RVs, or any other application where a portable power source is needed. In this step-by-step guide, we’ll show you how to connect LED lights to a 12V battery, so you can create your own custom lighting setup. Before we get started, it’s important to note that working with electricity can be dangerous if you’re not careful. Always make sure to disconnect the battery before starting any work, and wear protective gear such as gloves and safety glasses. Additionally, be sure to read and follow all instructions carefully, as failure to do so could result in damage to your equipment or injury to yourself or others. With that said, let’s get started!
LED lights are an efficient and popular lighting option in homes, businesses, and vehicles. LED stands for \light-emitting diode,\ which is a semiconductor device that emits light when an electric current passes through it. LED lights are known for their energy efficiency, longevity, and versatility. They come in a variety of colors and can be dimmed or brightened as needed. They are commonly used for accent lighting, task lighting, and decorative lighting. LED lights can also be used in vehicles for interior and exterior lighting, as well as for safety purposes such as brake lights and turn signals. Connecting LED lights to a 12V battery is a simple and cost-effective way to power these lights, making them an attractive option for a variety of applications.
Using a 12V battery to power LED lights offers several benefits. One of the major advantages is that 12V batteries are readily available and affordable. They can be found in various sizes, including small and portable ones that are perfect for powering LED lights on the go. Additionally, 12V batteries are reliable and durable, ensuring that your LED lights will remain functional for extended periods. Another benefit of using a 12V battery is that they are relatively safe and easy to handle, making them an ideal power source for DIY projects. With these advantages, using a 12V battery to power LED lights is an excellent choice for anyone looking for a reliable and cost-effective solution for lighting needs.
Materials Needed

When it comes to connecting LED lights to a 12V battery, having the right materials is crucial. The first item on your list should be the LED lights themselves. Make sure to choose lights that are compatible with a 12V battery, and that have the brightness and color temperature you desire. You will also need a 12V battery, of course, as well as a battery holder to keep it secure. A battery holder will protect the battery from damage and make it easier to connect to the LED lights. Other materials you may need include wire cutters, wire strippers, crimp connectors, and electrical tape. These tools will help you connect the LED lights to the battery and ensure a secure and reliable connection. In addition to these materials, it is important to consider the environment in which you will be using the LED lights. If you plan to install them outdoors, for example, you may need to purchase materials such as waterproof wire connectors or a weather-resistant housing for the battery. Similarly, if you plan to use the lights in a vehicle, you may need to purchase materials such as a fuse or a voltage regulator to protect the battery and ensure that the lights function properly. Taking the time to carefully consider your needs and select the right materials will ensure that your LED lights are safe, reliable, and effective.
To successfully connect LED lights to a 12V battery, you will need a few essential materials. Firstly, you will require an LED strip, which is a flexible circuit board with LED bulbs attached, that can be cut to the desired length. Additionally, you will need a 12V battery, either a rechargeable or non-rechargeable one, depending on your preference. You will also need a soldering iron, wire cutters, and electrical tape to attach the wires to the LED strip. Moreover, you will require a power source for the battery, such as a battery charger or a solar panel. Finally, you will require a switch to turn the lights on and off, and a multimeter to check the voltage and current of the circuit. With these materials, you can easily and safely connect LED lights to a 12V battery.
Each material used in the process of connecting LED lights to a 12V battery serves a specific purpose. The LED lights are the main components, providing illumination when connected to the battery. The wires act as the medium of transmission of the electric current from the battery to the LED lights. The electrical tape is used to insulate and secure the wires, preventing any electrical short circuits. The battery connector, on the other hand, is used to connect the battery to the wires and ensure a secure and stable power supply. The switch is used to control the flow of electricity, allowing the user to turn the LED lights on or off. Lastly, the fuse serves as a safety device, protecting the LED lights and the battery from any electrical damage due to overloading or short circuits. Each material plays a crucial role in the process, ensuring a safe and effective connection of the LED lights to the 12V battery.
Steps to Connect LED Lights to a 12V Battery

LED lights have become a popular choice for lighting solutions in various applications due to their energy efficiency and long lifespan. Connecting LED lights to a 12V battery can be a great way to power them, whether you want to use them for camping, outdoor lighting, or DIY projects. Here are the steps to connect LED lights to a 12V battery:Firstly, gather all the necessary materials for the project, including a 12V battery, LED strip lights, wire cutters, and electrical tape. Next, cut the LED strip lights according to the desired length and connect the positive (+) and negative (-) wires to the battery terminals. Make sure to match the polarity of the wires to the corresponding terminals to avoid any potential electrical hazards. Once the wires are connected, use electrical tape to secure them and prevent any accidental short circuits. Finally, turn on the battery and test the LED lights to ensure they are working correctly. With these simple steps, you can easily connect LED lights to a 12V battery and enjoy the benefits of energy-efficient lighting on the go. In conclusion, connecting LED lights to a 12V battery is a straightforward process that anyone can do with the right tools and knowledge. With the increasing popularity of LED lighting solutions, this method has become a go-to choice for many people looking for a portable and efficient lighting solution. By following the steps outlined above, you can create your own DIY LED lighting system without the need for complicated wiring or professional installation. Whether you’re camping, working on a DIY project, or simply looking to save on energy costs, LED lights powered by a 12V battery are an excellent option.
Before connecting LED lights to a 12V battery, it is crucial to determine their wattage. This step is important because it will help you understand the amount of power the LED lights will consume, which in turn will help you choose the right battery for your project. LED lights come in different wattage ratings, and the wattage determines the brightness of the light. In general, higher wattage LED lights will produce brighter light, but they will also consume more power. Therefore, it is important to strike a balance between brightness and power consumption. To determine the wattage of LED lights, you can check the label on the lights or consult the manufacturer’s website. Once you know the wattage, you can move on to the next step of connecting the LED lights to a 12V battery.
Once you have determined the voltage requirements of your LED lights, it’s time to select the appropriate battery size. The size of the battery you choose will depend on the amount of power your LED lights require and the duration of time you want them to stay on. It’s important to select a battery with enough capacity to power your lights for the desired amount of time without running out of juice. Consider factors such as the number of lights, their wattage, and the length of time they will be in use when choosing the battery size. Additionally, you may want to consider the physical size of the battery and its weight if you plan on carrying it with you on the go. Once you have decided on the appropriate battery size, you can move on to the next step of connecting your LED lights to the 12V battery.
Step 3 is a crucial part of the process when it comes to connecting LED lights to a 12V battery. At this stage, you need to ensure that you have the correct wiring and connectors to connect the LED lights to the battery, as well as the appropriate tools to do so. It is important to pay close attention to the polarity of the LED lights as you connect them to the battery, as connecting them incorrectly can lead to damage to the lights or the battery. Once the LED lights are securely connected to the battery, you can test them to ensure that they are functioning properly. This step requires a certain level of technical knowledge and attention to detail, but with the right approach, it can be a straightforward process.
Once you’ve successfully wired the LED lights to the 12V battery, it’s time to add a switch to control them. This step is crucial, as it allows you to turn the lights on and off without having to constantly disconnect and reconnect the battery. A switch can come in various forms, such as a toggle switch or a push button switch. Regardless of the type, the switch should be rated for 12V to ensure it can handle the voltage. Once you’ve selected the appropriate switch, you can install it in-line with the positive wire of the LED lights. This will allow you to easily turn the lights on and off at your convenience, saving you time and energy in the long run.
Step 5 is the final phase of connecting LED lights to a 12V battery, and it involves testing the connection. This step is critical because it ensures that the system is safe and functional. To test the connection, switch on the battery and observe the LED lights. If they light up, it means that the connection is successful, and the system is operational. However, if the lights fail to light up, it could indicate a problem with the wiring or a faulty component. In such cases, the connections should be re-checked, and if necessary, the problem component should be replaced. Once the connection is tested and found to be functioning correctly, the LED lights can be used for their intended purpose.
Tips and Precautions

When it comes to connecting LED lights to a 12V battery, there are a few tips and precautions you should keep in mind to ensure a safe and successful installation. First and foremost, always make sure to use the correct gauge wire for your LED lights. Using wire that is too thin can cause a voltage drop, which can lead to dim or flickering lights. On the other hand, using wire that is too thick can be difficult to work with and may not fit properly in your connectors. Another important tip is to use a fuse or circuit breaker in your wiring setup. This will help protect your LED lights and battery from potential short circuits or other electrical hazards. Additionally, be sure to use waterproof connectors and a waterproof housing for your battery to prevent any damage from moisture or other environmental factors. By following these tips and taking these precautions, you can ensure a safe and reliable connection between your LED lights and 12V battery.
When working with electrical components, it is crucial to take important safety precautions to avoid any potential harm or accidents. Firstly, ensure that the power source is turned off before handling any electrical components. Always wear protective gear such as gloves and goggles to protect yourself from any electrical shock or burns. Be cautious of any exposed wires or damaged insulation and replace immediately if necessary. Additionally, avoid working in wet or damp conditions and keep all electrical components away from water. Lastly, always follow manufacturer instructions and seek professional assistance if you are unsure about any electrical work. By taking these safety precautions, you can ensure a safe and successful project.
When connecting LED lights to a 12V battery, it’s essential to troubleshoot common issues that may arise during the process. Firstly, ensure that the battery has enough charge to power the LED lights. Secondly, check the wiring connections and ensure that they are correctly installed and insulated to avoid short-circuiting. Thirdly, verify that the LED lights are compatible with the 12V battery and that the voltage rating matches. Fourthly, inspect the LED lights for any damage or defects that may cause them not to work correctly. Lastly, test the LED lights by turning them on and off to confirm that they are functioning correctly. By following these tips, you can troubleshoot any issues that may arise when connecting LED lights to a 12V battery, ensuring that they work correctly and safely.
Connecting LED lights to a 12V battery is a simple and easy process that requires a few steps. First, gather all the necessary materials, including LED lights, a 12V battery, a fuse, wires, and a switch. Then, connect the positive wire of the LED lights to the positive terminal of the battery, and the negative wire to the negative terminal of the battery. Be sure to insert a fuse between the positive wire and the battery to protect the circuit. Finally, connect the switch to the positive wire of the LED lights and the positive terminal of the battery. Once everything is properly connected, turn on the switch to activate the LED lights. With these easy steps, you can connect LED lights to a 12V battery in no time.
Completing this project of connecting LED lights to a 12V battery can have numerous benefits. Firstly, it can enhance the aesthetics of your space by providing a soft and ambient lighting effect. Secondly, it can also serve as a practical solution for illuminating areas where traditional lighting fixtures are not feasible. Moreover, this DIY project can help you save energy and money as LED lights are energy-efficient and have a longer lifespan. Additionally, it can also be a fun and engaging activity to undertake, allowing you to unleash your creativity and improve your DIY skills. Overall, completing this project can be a rewarding experience with several benefits that can improve the ambiance and functionality of your space.
If you’re looking to add some extra flair to your vehicle or home, connecting LED lights to a 12V battery can be a fun and rewarding project to take on. With just a few simple steps and some basic tools, you can create a customized lighting setup that perfectly fits your style and needs. Don’t be intimidated if you’re new to DIY projects – this guide breaks down the process into easy-to-follow steps and includes helpful tips along the way. So why not give it a try? You might just surprise yourself with what you’re capable of creating.
Conclusion
In conclusion, connecting LED lights to a 12V battery is a simple and straightforward process that can be completed in just a few steps. With the right tools and equipment, anyone can successfully install LED lights and enjoy their benefits. From enhancing the aesthetic appeal of your space to providing energy-efficient lighting, LED lights offer a wide range of advantages that make them a popular choice among homeowners and businesses alike. By following the step-by-step guide outlined above, you can easily connect LED lights to a 12V battery and transform your space with beautiful, efficient lighting. So why wait? Get started today and experience the benefits of LED lighting for yourself!

