StepbyStep Guide: Connecting Two LED Light Strips for Brighter and Better Illumination
In today’s world, lighting is not just a practicality but has become a crucial element in interior design. With the advent of LED light strips, the possibilities for creative lighting solutions have increased exponentially. Whether you want to add a pop of color to your living room or create a cozy ambiance in your bedroom, LED light strips are an excellent choice. However, using a single LED light strip may not always suffice, especially if you want brighter and better illumination. In such cases, connecting two LED light strips can do the trick. Connecting two LED light strips may seem daunting, especially if you don’t have any technical expertise. But fear not, this step-by-step guide will walk you through the process, making it easy and simple. By following the instructions and using the right tools, you can create a brighter and better lighting solution in no time. So, whether you’re looking to light up your workspace, highlight your favorite artwork, or add drama to your home, this guide will help you achieve your goal.
LED light strips, also known as LED tape lights, are flexible circuit boards that are embedded with small, light-emitting diodes (LEDs). These strips are popular due to their ability to produce bright, vibrant colors and their flexibility, making them perfect for illuminating tight spaces such as cabinets, shelves, and under-cabinet areas. LED light strips come in various lengths, colors, and brightness levels, and can be cut to fit specific sizes. They are energy-efficient, long-lasting, and easy to install. By following the step-by-step guide for connecting two LED light strips, you can achieve brighter and better illumination in any space.
Connecting two LED light strips can bring numerous benefits, such as brighter and better illumination, increased flexibility in lighting design, and improved energy efficiency. By combining two light strips, users can achieve a more even distribution of light, reducing the likelihood of dark spots or shadows. This also allows for greater customization of lighting schemes, creating a more personalized ambience. Additionally, connecting two LED light strips can reduce energy consumption by using one power source for both strips, making it a more environmentally friendly and cost-effective solution. Overall, connecting two LED light strips can provide a seamless and efficient lighting experience.
Materials Needed
When embarking on the task of connecting two LED light strips, it is essential to have all the necessary materials at hand. This will ensure that you complete the project successfully and without any unnecessary delays. The primary materials you will need include a soldering iron, solder wire, a wire stripper, a wire cutter, and a multimeter. A soldering iron is essential for melting the solder wire and fusing the wires together. The wire stripper and wire cutter will help you prepare the wires for soldering by removing the insulation and cutting them to the right size. A multimeter is useful for testing the voltage and current of the LED light strips to ensure that they are working correctly. In addition to the primary materials, you will also need some secondary materials. These include heat shrink tubing, electrical tape, and a heat gun. Heat shrink tubing is useful for insulating the soldered wires and protecting them from damage. Electrical tape is also useful for insulating the wires and holding them together. The heat gun is used to shrink the heat shrink tubing to fit snugly around the wires. With all these materials at hand, you are ready to embark on the task of connecting two LED light strips for brighter and better illumination.
In order to connect two LED light strips for brighter and better illumination, there are several materials that you will need. First and foremost, you will need the LED light strips themselves, which can be purchased from a variety of retailers both online and in-store. You will also need a power source, such as a battery or a wall adapter, as well as a soldering iron and soldering wire to connect the two strips together. Additionally, you may need a wire stripper to remove the insulation from the wires, and heat shrink tubing to protect the soldered connections. It is important to ensure that all of the materials you use are of high quality and suited to the type of LED light strips you are working with, in order to create a safe and effective lighting system.
Images of the materials are an essential aspect of any DIY project, including connecting two LED light strips. They provide a visual reference for the materials required for the project, making it easier for the user to identify and gather the necessary components. Images also help to ensure that the user selects the correct components, as they can see the parts in context and understand how they fit together. In addition, images can be used as a reference during the project, helping the user to ensure that they are on the right track and aiding in troubleshooting any issues that may arise. Overall, images of the materials are a useful tool for anyone undertaking a DIY project, making the process more accessible and ensuring a successful outcome.
StepbyStep Guide

A step-by-step guide is an essential tool for anyone looking to perform a task with precision and accuracy. In the context of connecting two LED light strips, a step-by-step guide is especially useful, as it can help ensure that the lights are properly connected and functioning as they should be. A good step-by-step guide should be clear and easy to follow, with each step explained in detail and accompanied by visual aids where necessary. By following a well-crafted guide, anyone can learn to connect two LED light strips and enjoy brighter, more efficient illumination in their home or workplace. The process of connecting two LED light strips may seem daunting at first, but with the right guidance, it can be a simple and rewarding experience. A step-by-step guide can help break down the process into manageable stages, from selecting the right materials to wiring the lights together and testing their functionality. With each step clearly explained and demonstrated, even those with little to no experience in electronics can successfully connect LED light strips and create a brighter, more inviting space for themselves and others. Whether for practical or aesthetic reasons, the ability to connect LED light strips is a valuable skill that anyone can learn with the help of a good step-by-step guide.
Before you start connecting two LED light strips, you must measure the space where you want to install them. This is a crucial first step in ensuring that you have the correct length of LED light strips for your project. Measuring the space will help you determine the exact length of LED light strips you need, so you don’t end up with too much or too little. It’s important to measure the length of the area where you want to install the LED light strips accurately. You can use a tape measure to get an accurate measurement of the space, and then mark the measurements on the LED light strips to cut them to the right size. By measuring the space first, you’ll save time and money by purchasing the correct amount of LED light strips necessary for your project.
In the second step of connecting two LED light strips, it is essential to cut the strips to the desired length. This process requires precision and accuracy to ensure that the strips fit perfectly in the designated space. It is important to note that cutting the LED light strips must be done at specific intervals, which are usually marked on the strip. These intervals dictate where the strip can be cut without damaging the circuitry inside. Thus, it is crucial to measure the length accurately and use the appropriate tools, such as a sharp pair of scissors or a cutting tool, to avoid any damage. Cutting the LED light strips is a crucial step that determines the success of the overall installation process.
Step 3 involves the connection of the LED light strips, which is an essential part of the process. Firstly, it is important to ensure that the power switch is turned off before proceeding with the installation. Then, the LED light strips need to be connected by aligning the positive and negative terminals of the two strips. This can be done by using wire cutters to strip the ends of the wires and then twisting them together. A soldering iron can also be used to fuse the wires together, providing a more secure connection. Once the connection is made, it is important to test the lights to ensure they are working correctly. With this step complete, the installation of two LED light strips for brighter and better illumination is well underway.
Once you have completed the process of connecting the two LED light strips, it is important to test the connection to ensure that both strips are working properly. To test the connection, turn on the power source and observe both LED strips to see if they are illuminating at the same time and with the same intensity. If there is any discrepancy in the illumination, check for loose connections or damaged wires that may be causing the problem. Additionally, test the dimming and color-changing features (if applicable) to ensure that they are functioning correctly. A thorough testing of the connection will ensure that your LED light strips are working efficiently and providing the desired illumination for your space.
After preparing the LED light strips and power supply, it’s time to install the LED light strips. First, measure the length of the area you want to install the LED light strips and cut the strips accordingly. Next, clean the surface where you will install the LED light strips and remove the protective layer on the back of the LED strip. Carefully align the LED strip to the surface, making sure it’s straight and secure. You can use clips or double-sided tape to hold the LED strip in place. Once the LED strip is installed, connect the power supply to the strip and turn it on to test if it’s working properly. With these easy steps, you can enjoy brighter and better illumination in any space.
Troubleshooting
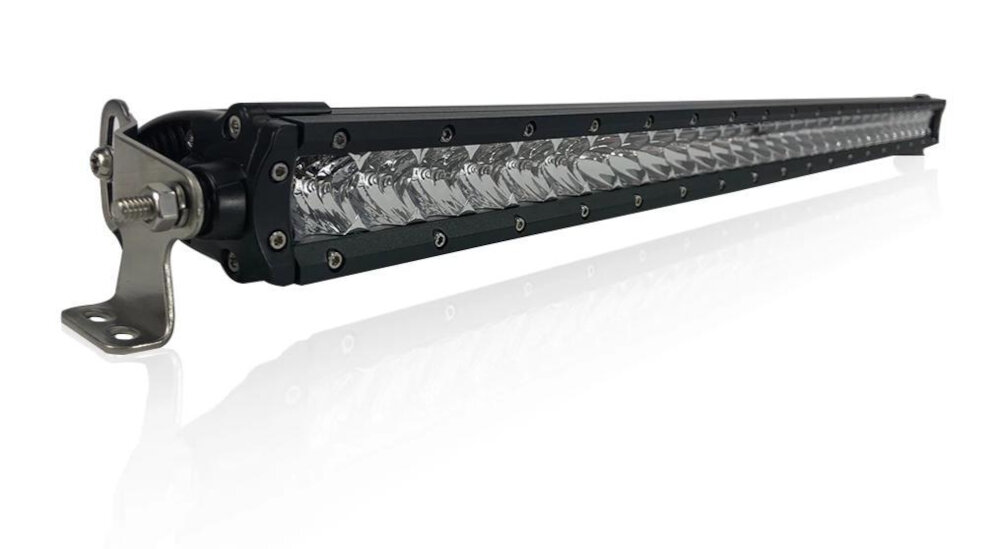
Troubleshooting is an essential process in any DIY project, including connecting two LED light strips. It involves identifying and resolving any issues that arise during or after the project. If the lights fail to work correctly or produce dim light, it is essential to troubleshoot the problem to identify the root cause and find a solution. Troubleshooting may involve checking the power source, verifying the connections, and inspecting the wiring to ensure it is correctly installed. It may also involve testing the LED light strips to determine if they are faulty, and if so, replacing them with new ones. Overall, troubleshooting is a critical process that ensures the project is completed successfully and that the LED light strips operate correctly. When troubleshooting the LED light strips, it is crucial to follow a step-by-step process to identify and resolve any issues. This process may involve checking the power source, verifying the connections, and inspecting the wiring to ensure it is correctly installed. It may also involve testing the LED light strips to determine if they are faulty, and if so, replacing them with new ones. If the lights still fail to work correctly after troubleshooting, it may be necessary to seek professional help or consult the manufacturer for assistance. Ultimately, troubleshooting is a crucial process that ensures the LED light strips are connected correctly and operate correctly, providing brighter and better illumination for any room or space.
One common issue that people face while connecting two LED light strips is the difference in the color of both strips. This can happen due to the manufacturing process or the difference in the age of the lights. To resolve this issue, one can use a light color controller or a color matching app to adjust the color of the LED strips. Another issue that people face is the difficulty in connecting the strips due to their location or the lack of knowledge about the wiring. To resolve this, one can refer to the instruction manual or watch online tutorials to understand the wiring and connections better. Additionally, using extension cords, connectors, and adapters can make the process much easier and allow for a more flexible setup.
Tips and Recommendations

When it comes to connecting two LED light strips, there are some tips and recommendations that can help you achieve a brighter and better illumination. Firstly, make sure that you have the right tools and equipment for the job, such as wire cutters, a soldering iron, and electrical tape. It’s also important to have a clear understanding of the wiring diagram for your LED light strips, so you can connect them properly and avoid any potential hazards. Another important tip is to test your LED light strips before you start the installation process. This will help you identify any issues with the wiring or the LED strips themselves, so you can address them before you start connecting them together. Additionally, it’s a good idea to use high-quality connectors and wiring to ensure a secure and reliable connection. By following these tips and recommendations, you can connect your LED light strips with confidence and create a beautiful and functional lighting system for your home or business.
In addition to the steps outlined in this guide, there are a few additional tips that can help ensure a successful project when connecting two LED light strips. Firstly, it’s important to measure and cut the strips accurately to avoid any unnecessary gaps or overlaps. Secondly, make sure to clean the area where the strips will be attached to ensure a strong and long-lasting bond. Finally, consider using a soldering iron for a more secure connection between the strips, especially if they will be subjected to frequent movement or bending. By following these additional tips, you can be confident in your ability to create a professional-grade lighting setup that will enhance any space.
When it comes to purchasing LED light strips, there are a few key factors to keep in mind. First and foremost, consider the brightness of the strips, as this will directly impact the overall illumination of the space. Additionally, look for strips with a wide range of color options, as this will allow for greater customization and flexibility in the lighting scheme. It’s also important to consider the length of the strips and any additional accessories or connectors needed to connect multiple strips together. Finally, pay attention to the quality of the adhesive backing, as a strong and durable adhesive will ensure that the strips stay in place over time. By taking these factors into account, you can ensure that you select LED light strips that will provide the best possible illumination and meet your specific needs.
To recap the steps of connecting two LED light strips, start by measuring the length of the area where you want to install the lights and choose the appropriate length of LED strips. Then, cut the strips to size and attach them to a power source using a soldering iron or connector clips. Make sure the polarity is correct to avoid damaging the LEDs. Next, connect the two strips together using a connector cable or soldering iron. Finally, test the lights to ensure they are functioning properly and mount them in the desired location. With these simple steps, you can achieve brighter and better illumination in any space.
In conclusion, connecting two LED light strips can significantly enhance the quality of illumination in any space. The benefits of combining two strips include brighter lighting, better coverage, and a more even distribution of light. Additionally, linking multiple strips allows for greater flexibility and customization of lighting design, making it easy to create a unique ambiance for any setting. By following the step-by-step guide, anyone can easily connect two LED light strips and enjoy the many benefits of improved lighting. From creating a cozy atmosphere in a living room to illuminating a workspace for improved productivity, the possibilities are endless with connected LED light strips.
Conclusion
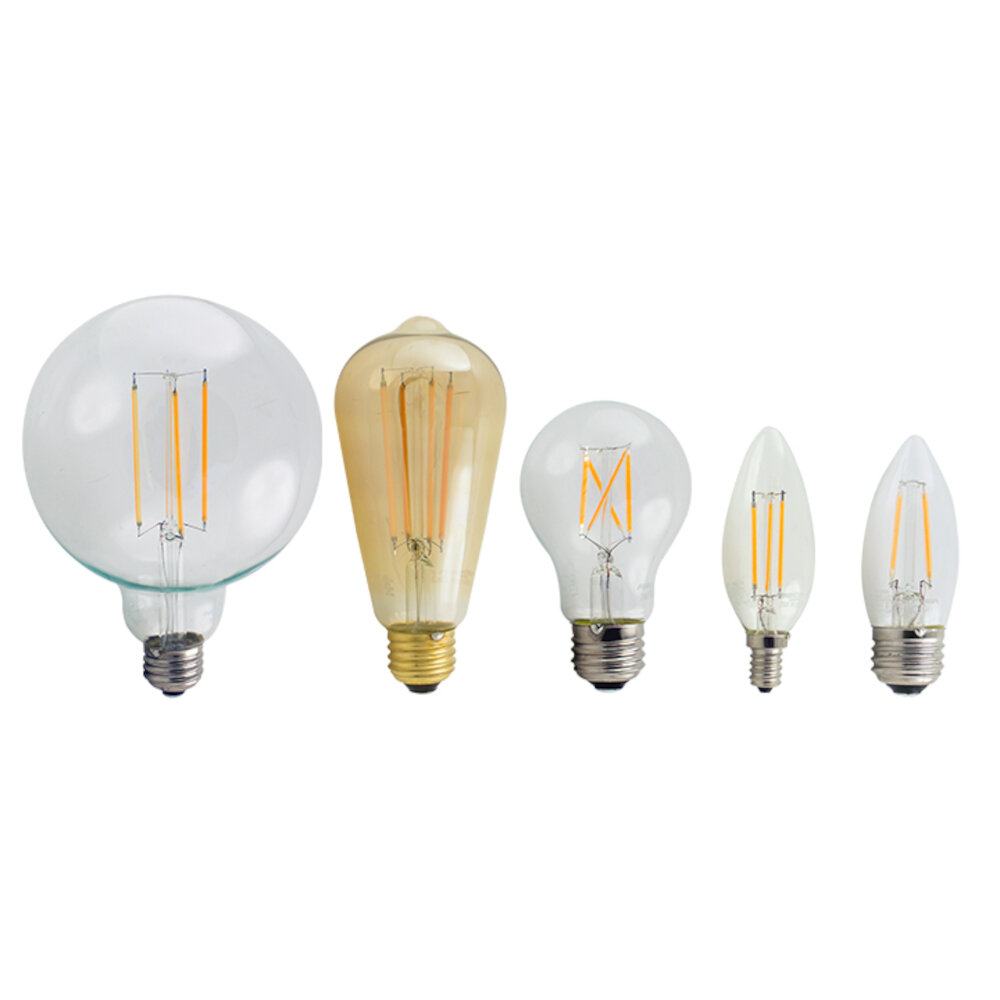
In conclusion, connecting two LED light strips is a simple and effective way to enhance the illumination of your living space. By following the step-by-step guide provided, you can achieve a brighter and more vibrant lighting scheme that helps to create a warm and welcoming atmosphere. Whether you’re looking to improve the lighting in your home, office, or outdoor area, this technique is a cost-effective and energy-efficient solution that’s easy to implement. So don’t hesitate to give it a try and enjoy the benefits of a brighter and better-lit environment today!


