StepbyStep Guide: How to Easily Change a LED Ceiling Light
Are you tired of staring up at that old, outdated ceiling light fixture? If you’re looking to add a bit of modern flair to your home or office, switching out your current lights for sleek and stylish LED options is an excellent choice. Not only do LED lights use less energy and last longer than traditional bulbs, but they also provide a brighter, more pleasant illumination. However, the idea of changing out a ceiling light fixture can seem daunting, especially if you’re not particularly handy. But fear not! With the right tools and a little know-how, you can easily swap out your old light for a new LED option in no time. In this step-by-step guide, we’ll walk you through the process of changing a LED ceiling light, from gathering the necessary tools to installing the new fixture. So, let’s get started and light up your space in style!
Knowing how to change a LED ceiling light is an essential skill to have as a homeowner or renter. LED lights are energy-efficient, long-lasting, and require minimal maintenance. However, when they eventually burn out, replacing them can be a daunting task, especially if you have never done it before. Having the knowledge and confidence to change a LED ceiling light can save you time and money, as well as prevent accidents from attempting to do it without proper guidance. Additionally, it can give you a sense of independence and satisfaction in being able to take care of your own home. This step-by-step guide will provide you with all the necessary information to easily change a LED ceiling light and empower you to tackle this task on your own.
Before proceeding with changing a LED ceiling light, it is crucial to take some safety precautions. Firstly, ensure that the electricity to the room where the light fixture is located is switched off at the circuit breaker. This will prevent any electrical shock or electrocution during the installation process. Secondly, use a sturdy ladder or step stool to reach the ceiling light fixture, and ensure that it is placed on a level surface. Wearing non-slip shoes is also recommended to prevent any accidents while climbing the ladder. Additionally, use a voltage tester to check that there is no electricity flowing to the fixture before beginning work. By taking these safety precautions, you can ensure a safe and successful installation of your new LED ceiling light.
Step 1: Turn Off Power Supply
In any electrical installation process, safety should always be the top priority. Turning off the power supply is a critical step that must be observed before starting any work on a LED ceiling light. Failure to do so could result in electric shock, injury, or damage to the light itself. To turn off the power supply, locate the circuit breaker or fuse box that powers the light. Carefully switch off the circuit breaker or remove the fuse that powers the light before proceeding with the installation process. In some cases, turning off the wall switch may not be enough to cut off the power supply. Therefore, ensure that you take adequate measures to avoid electrical shock or injury. Turning off the power supply is also an important step that helps prevent damage to the LED ceiling light. Electrical surges and power fluctuations can cause damage to the light, which may require costly repairs or replacements. By turning off the power supply, you ensure that the light’s circuitry is protected from any power surge or fluctuation that may occur during the installation process. Additionally, it eliminates the risk of short circuits that could result in irreversible damage to the light. Therefore, always take the necessary precautions and turn off the power supply before starting any work on your LED ceiling light to avoid any potential damage or injury.
Before starting any work on the LED Ceiling Light, it is vital to turn off the power supply to avoid electrocution. To do this, locate the circuit breaker box in your home and flip the switch that corresponds to the room where the light is located to the \off\ position. If you’re unsure which switch controls the power to the room, turn off the main power supply. This is usually a large switch at the top of the circuit breaker box. Once the power supply is turned off, use a voltage tester to double-check that there is no electrical current present in the wires. Only then can you begin to safely change the LED ceiling light.
Before attempting to change a LED ceiling light, it is important to remember some safety precautions to avoid any accidents or injuries. Firstly, turn off the electricity supply to the light fixture at the circuit breaker or fuse box. Secondly, use a sturdy ladder or step stool with a stable base to avoid any falls or slips. It is also recommended to wear rubber-soled shoes for better traction. Lastly, handle the LED light bulb with care as it can become hot when in use. By following these safety measures, you can change your LED ceiling light with ease and without any mishaps.
Step 2: Remove the Old LED Ceiling Light
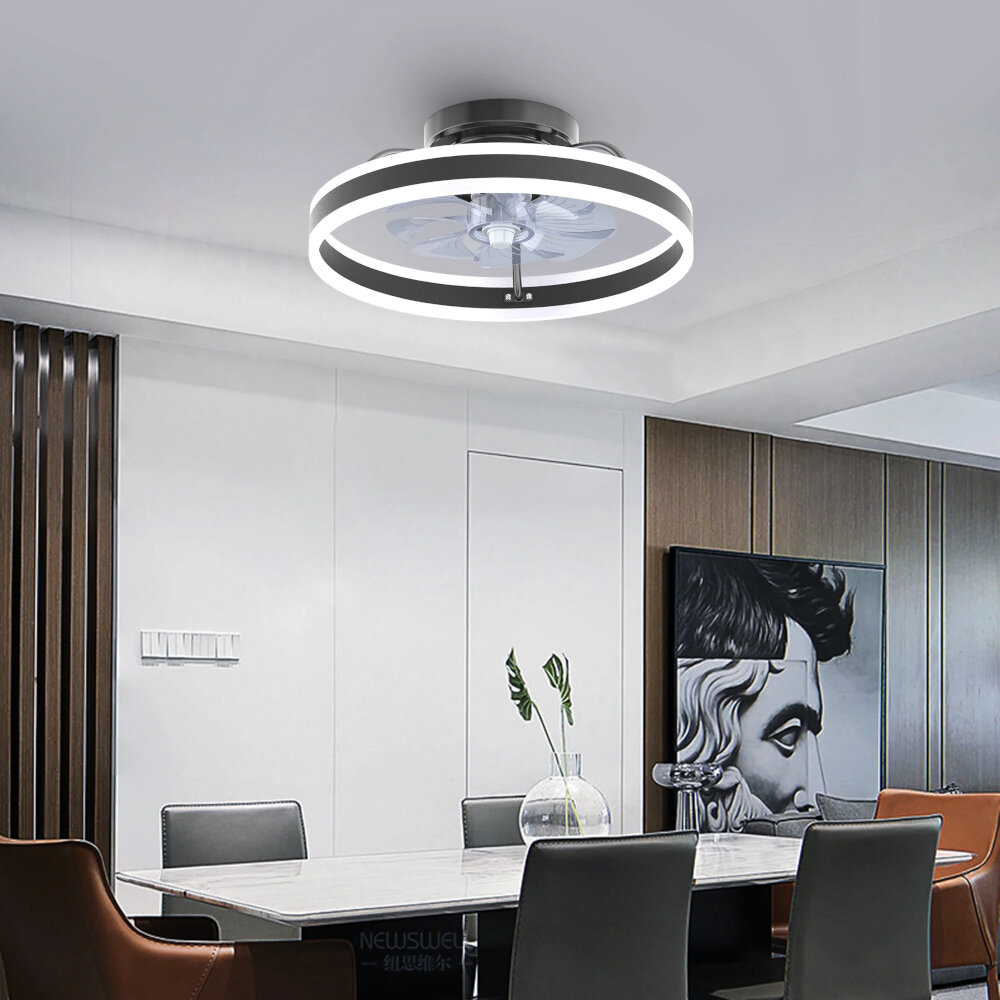
Removing the old LED ceiling light is a crucial step in replacing it with a new one. Before doing anything, turn off the power supply to the ceiling light at the circuit breaker. To remove the old LED ceiling light, first, remove any cover or casing that may be present. This will expose the screws that hold the fixture in place. Unscrew these screws and gently remove the fixture from the ceiling. Be careful not to damage any wires or connections that may be present. If the fixture is hardwired, disconnect any wires by removing the wire nuts that connect them. If the fixture is connected with a plug, simply unplug it from the socket. Once the fixture is removed, inspect the wiring to ensure there is no damage or wear. If the wiring looks damaged, it may be necessary to call an electrician for repairs. If the wiring looks good, label each wire with tape or a marker to ensure proper reconnection later on. It is also a good idea to take a picture of the wiring before disconnecting anything for future reference. With the old fixture removed, you can now proceed to install the new LED ceiling light.
Removing an old LED ceiling light requires a few steps to ensure a safe and hassle-free process. Firstly, turn off the power supply at the circuit breaker to avoid electrocution. Then, remove the screws or clips that hold the light fixture in place. Carefully pull down the fixture to expose the wiring connections. Disconnect the wires by unscrewing the wire nuts and pulling them apart. Use a voltage tester to verify that the wires are not live before proceeding to remove the mounting bracket. Once the bracket is removed, the old LED ceiling light can be safely taken down and disposed of. It is important to handle the old fixture with care and dispose of it properly according to local regulations.
When handling an old LED ceiling light, there are a few important tips to keep in mind. Firstly, always turn off the power supply before attempting to remove the old light fixture. It’s also important to handle the light fixture with care, as LED bulbs can be fragile and easily damaged. If the fixture is difficult to remove, try using a screwdriver or pliers to help loosen any stubborn screws or bolts. Additionally, it’s a good idea to have a spare set of hands to help support the fixture while it’s being removed. Finally, be sure to dispose of the old light fixture safely and responsibly, as some components may be hazardous and require special disposal methods.
Step 3: Choose the Right Replacement LED Ceiling Light
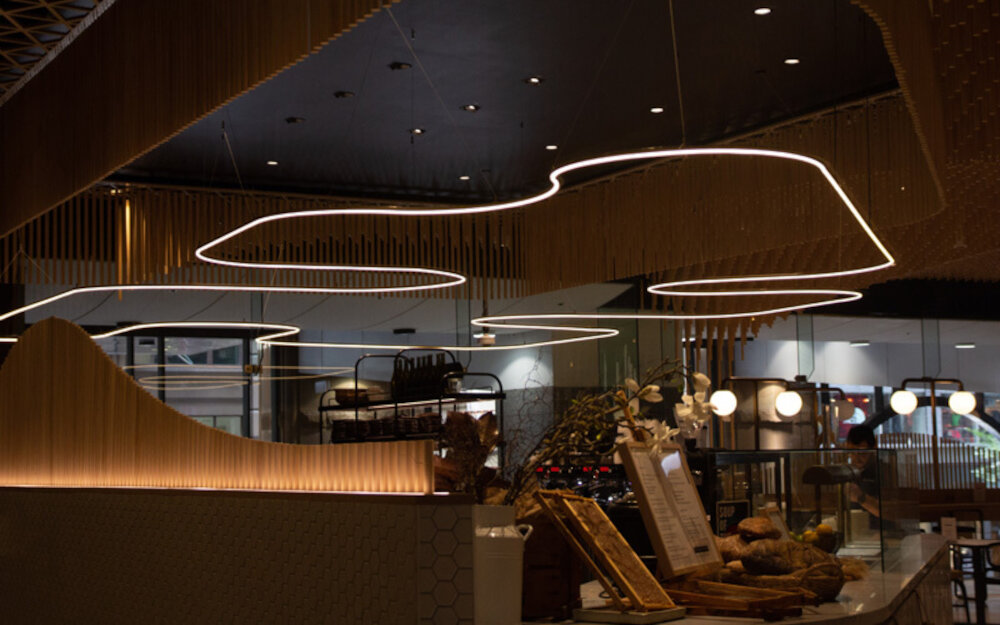
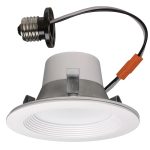
Choosing the right replacement LED ceiling light is crucial to ensure that your new light fixture will function properly and look great in your space. When selecting a new LED ceiling light, there are several factors to consider. First, you’ll want to think about the size of the light fixture and whether it will fit in the space where you want to install it. Additionally, you’ll want to consider the style of the light fixture and whether it matches the decor of your room. You may also want to think about the color temperature of the LED bulbs, as this can affect the ambiance of your space. Finally, you’ll want to make sure that the LED ceiling light you choose is compatible with your existing wiring and electrical system. Another important factor to consider when choosing a replacement LED ceiling light is the brightness level of the bulbs. LED bulbs come in a variety of brightness levels, measured in lumens. The brightness you need will depend on the size of your room and the intended use of the light fixture. For example, you may want a brighter LED ceiling light in a kitchen or workspace, while a lower brightness level may be sufficient for a bedroom or living room. Finally, you’ll want to consider the energy efficiency of the LED bulbs you choose. Look for bulbs with a high lumens-to-wattage ratio, as this will ensure that you are getting the most light output for the least amount of energy consumption.
Choosing the right replacement LED ceiling light is crucial for several reasons. Firstly, it can affect the overall ambiance and mood of your room. LED lights come in different shapes, sizes, and color temperatures, and selecting the wrong one can make your space feel too cold or too warm. Secondly, it can impact your energy bills and the environment. Opting for an LED light that consumes less energy can help you save money in the long run and reduce your carbon footprint. Lastly, selecting a high-quality LED light can ensure that it lasts longer and requires less maintenance, saving you time, effort, and money. Therefore, it’s essential to consider factors such as brightness, color temperature, and energy efficiency before purchasing a replacement LED ceiling light.
When choosing the right LED ceiling light, there are a few things to consider. First, determine the size of the room and the amount of light needed. This will help determine the wattage and lumens required for the fixture. Second, consider the style and design of the fixture to ensure it matches the decor of the room. Third, choose the right color temperature to create the desired ambiance. Cool white is ideal for task-oriented areas such as kitchens and bathrooms, while warm white is better suited for relaxing spaces like bedrooms and living rooms. Lastly, look for energy-efficient options that will save on electricity costs and have a longer lifespan, such as those with an ENERGY STAR® certification. Keep these factors in mind when choosing the right LED ceiling light for your space.
Step 4: Install the Replacement LED Ceiling Light

The fourth and final step of the process involves installing the replacement LED ceiling light. Once you have removed the old light fixture, you need to take the new one and attach it to the ceiling. Make sure that the wiring is connected properly and the screws are tightened securely. You can now turn on the power and test the new LED light to ensure that it is working correctly. It is important to note that LED lights are much more energy-efficient than traditional incandescent bulbs, which means that they can save you a lot of money on your energy bills. Not only do they use less energy, but they also last longer and produce less heat, which makes them a safer option for your home. So, if you are looking to update your lighting fixtures and want to save money in the long run, then consider installing LED ceiling lights. With this step-by-step guide, you can easily change your old light fixtures and enjoy the benefits of LED lighting in your home.
Installing a replacement LED ceiling light is a simple process that can be easily accomplished with the right tools and steps. To start, turn off the power supply to the existing light fixture by switching off the circuit breaker or removing the fuse. Next, remove the old light fixture by unscrewing it from the ceiling or disconnecting the wires. Then, attach the mounting bracket for the new LED light fixture to the ceiling using screws and a drill. Connect the wires from the ceiling to the wires on the new fixture, making sure to match the colors correctly. Finally, attach the LED light fixture to the mounting bracket and turn on the power supply to test the new light. With these steps, anyone can easily change their LED ceiling light and enjoy the benefits of energy-efficient and long-lasting lighting in their home or office.
If you need to replace your LED ceiling light, there are a few things you should keep in mind to ensure a smooth and safe process. Firstly, make sure you have the right replacement LED light for your fixture. Turn off the power to the fixture before attempting any work and use a voltage tester to confirm that there is no power running through the wires. Remove the old LED light by unscrewing it from the fixture and carefully disconnecting any wires. Install the new LED light by connecting the wires and securing the fixture back in place. Finally, turn the power back on and test the light to make sure it is working properly. Remember to always prioritize safety when working with electrical fixtures.
Step 5: Turn On Power Supply and Test the Light
Step 5 in the process of changing a LED ceiling light is crucial as it involves turning on the power supply and testing the light fixture. This step should be approached with caution and careful attention to detail to avoid any potential hazards or damages. It is essential to ensure that the power supply is turned off before replacing the old light fixture with the new LED one. Once the new fixture is installed, it is necessary to turn on the power supply and check the light’s functionality. This step is important to make sure that the wiring has been correctly connected, and there are no issues with the power supply. Testing the light fixture will also help you determine if the installation has been successful and if any further adjustments are required. It is recommended to switch on the light for a few minutes to observe its brightness and color temperature. If the light appears dim or has a yellowish tinge, it may indicate that the LED bulb needs to be replaced. Additionally, checking the light fixture’s stability is crucial to ensure that it is securely mounted and will not fall. Overall, Step 5 is the final and most critical stage of changing a LED ceiling light, and it should be performed with care and attention to detail to ensure a successful installation.
Before starting any electrical work, ensure that the power supply is turned off to avoid any accidents. Locate the electrical panel in your house and find the switch that controls the power supply to the room where the LED ceiling light is installed. Flip the switch to the \off\ position. If you are unsure which switch controls the power supply, turn off the main power supply to the entire house to be safe. Once the power supply is switched off, you can proceed with changing the LED ceiling light. Remember to exercise caution when handling electrical components and to always prioritize safety.
Before starting any electrical work, it’s important to ensure your safety. Always turn off the power at the main circuit breaker or fuse box to avoid electrocution. Use a voltage tester to confirm that the power is off before touching any wires. Wear safety goggles and gloves to protect your eyes and hands from potential hazards. Be cautious when working on a ladder and make sure it’s stable and secure. If you’re not confident in your ability to safely complete the task, it’s best to hire a professional electrician. Remember, safety should always be your top priority when dealing with electricity.
Before installing a new LED ceiling light, it’s crucial to test the light to ensure it’s working correctly. One tip to test the light is to connect it to a portable battery or a small power supply to check if it turns on. Another method is to use a voltage tester to check if the electrical supply is working correctly. It’s also vital to check the wiring connections and make sure they are secure and correctly attached to prevent any electrical hazards. Testing the light before installation can save time and ensure a safe and successful installation process.
Changing a LED ceiling light is a simple and straightforward process that can be done in just a few steps. First, turn off the power supply to the light to ensure safety. Then, remove the old light fixture by unscrewing it from the ceiling and disconnecting any wires. After that, attach the mounting bracket to the ceiling and connect the wires from the new LED light to the corresponding wires in the ceiling. Finally, screw the new light fixture onto the mounting bracket and turn on the power supply to test the new light. With these easy-to-follow steps, you can easily change your LED ceiling light and enjoy bright, energy-efficient lighting in your home or office.
As a final safety reminder, it is important to remember to turn off the power source to the room before attempting to change a LED ceiling light. This can be done by switching off the circuit breaker or removing the fuse in the main electrical panel. It is also recommended to use a voltage tester to ensure that there is no electrical current flowing through the wires before starting the installation process. Additionally, it is important to use proper safety equipment, such as gloves and safety glasses, to protect yourself from any potential hazards. By following these safety precautions, you can ensure a successful and safe LED ceiling light installation.
If you are unsure or uncomfortable with the process of changing a LED ceiling light, it is important to seek professional help. Don’t be afraid to ask for assistance from a qualified electrician or handyman. Attempting to change a light fixture without proper knowledge or experience can lead to serious injury or damage to your home’s electrical system. Seeking the help of a professional ensures that the job is done safely and correctly. Remember, it’s always better to be safe than sorry when dealing with potentially hazardous electrical work. So, if you’re not confident in your ability to change a LED ceiling light, don’t hesitate to call in the experts.
Conclusion

In conclusion, changing a LED ceiling light is a simple and straightforward process that can be easily accomplished with the right tools and knowledge. By following the step-by-step guide outlined in this article, you can successfully replace your old or damaged ceiling light with a new and energy-efficient LED fixture. Remember to turn off the power supply, use appropriate safety measures, and follow the instructions carefully to ensure a smooth and successful installation. With this new skill under your belt, you can confidently tackle any future lighting projects and enjoy a brighter and more eco-friendly home.

