StepbyStep Guide: How to Easily Replace Your LED Light Fixture
Light fixtures play a crucial role in creating a warm and welcoming ambience in your home or office space. They not only illuminate your surroundings but also add an aesthetic appeal to your interiors. However, with the advent of LED technology, traditional light fixtures are slowly becoming obsolete. LED lights are energy-efficient, long-lasting, and eco-friendly, making them a popular choice among homeowners and businesses alike. If you’re planning to upgrade your lighting system and replace your old fixtures with LED ones, then you’ve come to the right place. In this step-by-step guide, we’ll walk you through the process of replacing your LED light fixture easily and hassle-free. Before we dive into the nitty-gritty of the installation process, let’s first understand why LED lights are a better choice than traditional ones. Firstly, LED lights consume less energy and last longer than incandescent bulbs, making them a cost-effective option in the long run. Secondly, LED lights emit less heat, which means they’re safer to use and won’t damage your fixtures. Thirdly, they come in a variety of colors and designs, allowing you to customize your lighting according to your preferences. With these benefits in mind, let’s get started on replacing your old light fixtures with LED ones.
Replacing LED light fixtures is important for several reasons. Firstly, LED technology is more energy-efficient than traditional lighting options, which means that replacing outdated fixtures can help reduce energy consumption and lower electricity bills. Additionally, LED lights have a longer lifespan, meaning that they need to be replaced less frequently, reducing maintenance costs and inconvenience. Furthermore, LED lights are available in a range of colors and brightness levels, providing greater flexibility and customization options for different lighting needs. Overall, replacing LED light fixtures is a cost-effective and environmentally-friendly way to upgrade your lighting and improve the aesthetics and functionality of your space.
Replacing an LED light fixture may seem daunting, but it can be done easily with the right tools and knowledge. The first step is to turn off the power supply to the fixture by switching off the circuit breaker. Next, remove the existing fixture by unscrewing it from the ceiling or wall and disconnecting the wiring. Then, attach the new fixture by connecting the wiring and screwing it into place. Finally, turn the power supply back on to test the new fixture. It is important to follow safety precautions and consult an electrician if necessary. With these steps, you can replace your LED light fixture and enjoy a fresh new look in your space.
Choosing the Right Replacement Fixture
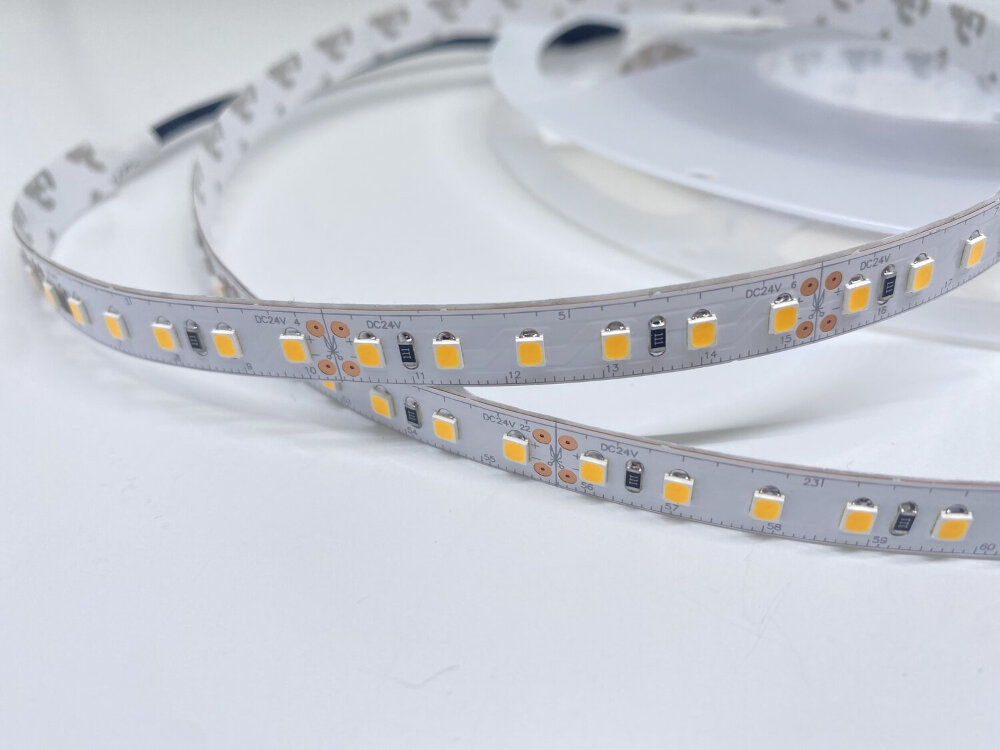
When it comes to replacing your LED light fixture, it is crucial to choose the right replacement fixture. This will not only ensure that the new fixture is compatible with your existing wiring and electrical system but also enhance the overall aesthetics of your space. There are several factors that you need to consider when choosing the right replacement fixture. First, you need to ensure that the new fixture is the right size and shape for your space. This will depend on the size of the room and the height of the ceiling. A fixture that is too small will look out of place and may not provide enough light, while a fixture that is too large may overwhelm the space and be difficult to install. Secondly, you need to consider the style and design of the new fixture. This will depend on your personal taste and the overall décor of your space. If you are replacing a fixture that is outdated or no longer suits your style, you may want to opt for a more modern or contemporary fixture. On the other hand, if you are replacing a fixture in a traditional or classic space, you may want to choose a fixture that complements the existing décor. Additionally, you need to ensure that the new fixture is energy-efficient and provides the right amount of light for your needs. LED fixtures are a popular choice for their energy efficiency and long lifespan, but you also need to consider the brightness and color temperature of the fixture to ensure that it meets your needs.
Choosing the right fixture is crucial when replacing your LED light fixture as it can greatly affect the functionality and aesthetics of your space. The right fixture ensures that your LED light will fit securely and work efficiently, while also enhancing the overall design and ambiance of the area. Additionally, selecting the appropriate fixture can also impact the energy consumption and cost-effectiveness of your LED light. Opting for an incompatible fixture may cause safety hazards, such as electrical problems or fire hazards. Therefore, it is essential to invest time and effort in selecting the right fixture to guarantee a successful and safe LED light replacement.
When selecting a compatible fixture for your LED light replacement project, it’s important to consider a few key factors. First, make sure the fixture is rated for the correct voltage and wattage to support your LED bulbs. Additionally, consider the size and shape of the fixture to ensure it will fit in the space where you plan to install it. Look for fixtures with compatible mounting options to ensure a secure and stable installation. Finally, consider the style and design of the fixture to ensure it complements your existing decor and provides the desired level of illumination for your space. Taking the time to carefully select a compatible fixture will help ensure a successful LED light replacement project that meets your needs and exceeds your expectations.
LED fixtures come in a variety of shapes, sizes, and designs to suit different lighting needs. Some common types of LED fixtures include recessed lights, track lights, pendant lights, chandeliers, wall sconces, and outdoor fixtures. Recessed lights are ideal for providing ambient lighting and can be installed in ceilings or walls. Track lights are perfect for highlighting specific areas or objects and can be adjusted to direct light where it is needed. Pendant lights and chandeliers are popular for adding a touch of elegance or style to a room. Wall sconces are great for creating a warm and inviting ambiance, while outdoor fixtures are designed to withstand the elements and provide security lighting. With so many options available, it’s easy to find an LED fixture that fits your aesthetic and functional lighting requirements.
Gathering the Necessary Tools and Materials
Before you begin replacing your LED light fixture, it is important to gather all the necessary tools and materials required for the task. You will need a ladder, wire cutters, wire strippers, a screwdriver, pliers, electrical tape, and a new LED light fixture. It is important to ensure that you have the right tools to make the replacement process smooth and stress-free. To ensure that you have the correct replacement LED light fixture, it is important to take note of the model number of your old fixture. This information will help you to select the right replacement fixture that will fit perfectly into the space left by the old fixture. Additionally, you should ensure that you have the correct voltage LED light fixture to avoid any electrical issues. Once you have all the necessary tools and materials, you can then proceed to replace your LED light fixture with ease.
Before proceeding with the replacement process of your LED light fixture, it is essential to ensure that you have all the necessary tools. Having the right tools will not only make the process easier, but it will also ensure that the fixture is installed correctly. The list of tools required for the replacement process includes a screwdriver, wire cutters, wire strippers, electrical tape, a voltage tester, and a ladder. The screwdriver is used to remove the screws holding the old fixture in place. The wire cutters and strippers are used to cut and strip the wires. The electrical tape is used to secure the wires and prevent any electrical shock. The voltage tester is used to ensure that the power supply is turned off before starting the replacement process. Lastly, a ladder is required to reach the fixture if it is installed at a high location.
Having the right tools is crucial when replacing an LED light fixture. Without them, the task can become frustrating, time-consuming and even dangerous. The right tools not only make the job easier but also ensure that it is done correctly, efficiently and safely. Using the wrong tools or improvising with household items can result in damage to the fixture, injury to the installer or even a fire hazard. Therefore, it is important to have the appropriate tools at hand before starting any DIY project, especially when it involves electrical work. By having the right tools, you will save yourself time, hassle and potential harm, while achieving a successful outcome.
Before starting the replacement process of an LED light fixture, it’s essential to have all the necessary materials ready. Firstly, you will need a new LED light fixture that fits the dimensions of the previous one. You will also require a screwdriver to remove the old fixture, wire strippers, and wire connectors to connect the new fixture to the electrical wiring. Additionally, it’s recommended to have a voltage tester to ensure that the power is off before starting the replacement process. Finally, a ladder or step stool may be necessary to reach the light fixture if it’s installed high up. Having all these materials ready beforehand will make the replacement process smoother and more efficient.
Removing the Old Fixture
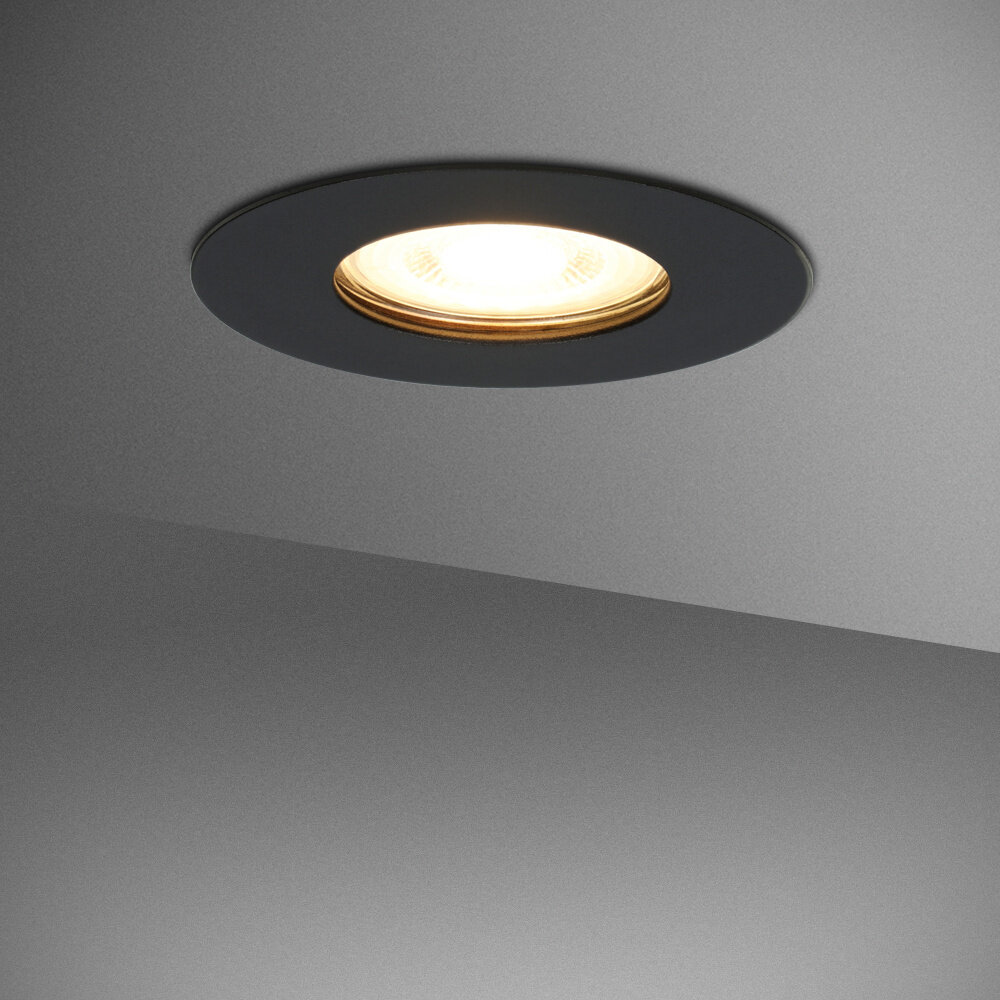
When it comes to replacing your LED light fixture, the first step is to remove the old fixture. This can be a bit tricky, depending on the type of fixture you have. Before you begin, make sure you have all the necessary tools and equipment, such as a screwdriver, wire cutters, and wire strippers. You should also turn off the power to the fixture at the breaker box to avoid any electrical hazards. Once you have everything you need, you can start by removing the light bulb and any decorative parts of the fixture. Next, remove the screws or bolts that hold the fixture to the ceiling or wall. Be sure to hold onto the fixture as you remove the screws so it doesn’t fall. Once the screws are removed, gently pull the fixture away from the wall or ceiling, being careful not to damage any wires. If the fixture is hardwired, you will need to cut the wires and strip the ends to prepare for installation of the new fixture. With the old fixture removed, you’re now ready to install the new LED light fixture.
To safely replace your LED light fixture, it is crucial to turn off the power supply to the fixture. First, locate the circuit breaker box and switch off the corresponding breaker for the fixture. If you are unsure which breaker controls the power to the fixture, turn off the main breaker to the entire house. Next, use a non-contact voltage tester to confirm that there is no electricity running to the fixture. Once you have verified that the power is off, proceed with the replacement of the fixture. Remember, safety should always be your top priority when working with electricity.
Before installing a new LED light fixture, it is important to safely remove the old one. To do this, turn off the power supply to the fixture by flipping the circuit breaker switch or removing the fuse. Use a voltage tester to ensure that the wires are not carrying any electrical current. Then, carefully remove the fixture’s cover or shade and unscrew the mounting screws that hold it in place. Once the fixture is loose, gently disconnect the wires by undoing the wire nuts or twisting the fixture’s wires to the house’s wires. If the fixture is heavy or awkward to handle, have someone assist you in holding it while you remove it from the ceiling or wall. Finally, dispose of the old fixture properly, either by recycling it or disposing of it according to your local regulations.
Handling old fixtures can be a tricky task, but with a few simple tips, the process can be smooth and easy. Firstly, make sure to turn off the power supply to the fixture before attempting to remove it. Use a voltage tester to ensure that there is no live current flowing to the fixture. Secondly, use gloves and safety glasses to protect yourself from any sharp edges or debris that may be present. If the fixture is particularly heavy or difficult to remove, enlist the help of a friend or family member to assist you. Finally, dispose of the old fixture in an environmentally friendly way, either by recycling or taking it to a designated waste disposal facility. By following these tips, you can ensure a safe and efficient removal of your old LED light fixture.
Installing the New Fixture
After you have removed the old fixture, it’s time to install the new one. Start by reading the manufacturer’s instructions carefully to ensure that you have all the necessary parts and tools. Turn off the power to the fixture at the circuit breaker before you start the installation process. Begin by mounting the mounting bracket to the electrical box. Install the electrical box if you are not using an existing one. Connect the wiring from the fixture to the wiring in the electrical box. Make sure you match the colors of the wires to ensure that they are connected correctly. Use wire connectors to connect the wires and twist them tightly. Once you have connected the wires, tuck them carefully into the electrical box, ensuring that they are not pinched or trapped. Finally, attach the fixture to the mounting bracket, following the manufacturer’s instructions. Once you have the fixture in place, it’s time to turn on the power and test it. Flip the circuit breaker back on and turn on the light switch. Make sure the fixture turns on and that the wiring is not loose or exposed. If the fixture does not turn on, turn off the power and double-check your wiring connections. It’s essential to ensure that the wiring is secure and correctly installed to avoid any electrical hazards. Finally, clean up the area around the fixture and dispose of any packaging materials. With a new LED light fixture installed, you can enjoy energy-efficient lighting and a modern look in your home.
Installing a new LED light fixture is a simple process that can be completed with the right tools and following a few easy steps. First, turn off the power supply to the old light fixture at the circuit breaker. Next, remove the old fixture by unscrewing the mounting screws and disconnecting the wires. Then, attach the mounting bracket for the new fixture to the electrical box and connect the wires according to the manufacturer’s instructions. Finally, attach the new fixture to the mounting bracket and turn on the power supply to test the new LED light. With these step-by-step instructions, you can easily replace your old light fixture with a new, energy-efficient LED fixture.
Wiring the new fixture correctly is an essential step when replacing your LED light fixture. Firstly, make sure to turn off the power supply before beginning any electrical work. Secondly, read the instructions carefully and ensure that you have the right tools and equipment for the job. Thirdly, carefully strip the wires and connect them according to the manufacturer’s instructions. Lastly, use wire nuts to secure the connections and wrap them with electrical tape for added safety. Remember, if you are unsure about any step in the process, seek the assistance of a qualified electrician to avoid any potential hazards.
After successfully installing a new LED light fixture, it is important to test it to ensure it is working properly. The first step is to turn on the switch and see if the light turns on. If it does not turn on, check the wiring connections and make sure they are properly connected. If the wiring is correct, check the LED driver and make sure it is functioning properly. Additionally, it is important to check the brightness and color temperature of the light to ensure it matches the desired specifications. If any issues arise, it is recommended to consult the manufacturer’s instructions or seek the assistance of a qualified electrician.
Replacing LED light fixtures is an important step in improving the quality of lighting in your home or workspace. Not only do LED lights provide brighter, more efficient illumination, but they also have a longer lifespan and use significantly less energy than traditional incandescent bulbs. By upgrading your lighting fixtures, you can save money on your energy bills and reduce your carbon footprint. Additionally, replacing outdated fixtures with modern LED designs can enhance the aesthetic appeal of your space and improve overall functionality. Whether you are looking to improve the lighting in your home or upgrade your workspace, replacing LED light fixtures is a smart investment that can provide numerous benefits.
It is important to remember that when replacing your LED light fixture, you must dispose of the old fixture properly. Many people make the mistake of simply throwing it in the trash, which can be harmful to the environment. Instead, consider recycling the old fixture or taking it to a local electronics recycling center. This will ensure that the materials are disposed of in an environmentally friendly way and will not contribute to pollution or waste. By taking this small step, you can contribute to a greener planet and help protect our natural resources.
Congratulations on successfully replacing your LED light fixture! Now that the installation is complete, it’s important to think about maintenance. To get the most out of your new fixture, make sure to clean it regularly with a soft cloth to prevent dust buildup. Additionally, check the wiring connections periodically to ensure they are secure and not frayed. If you notice any issues with the fixture or its functionality, don’t hesitate to seek professional assistance. With proper care and attention, your new LED light fixture will provide energy-efficient lighting for many years to come.
Conclusion
In conclusion, replacing your LED light fixture may seem like a daunting task, but with this step-by-step guide, it can be done easily and efficiently. From gathering the necessary tools to safely disconnecting the old fixture and connecting the new one, each step should be taken with caution and attention to detail. With proper installation, an LED light fixture can significantly improve the lighting in your home while also saving you money on energy costs. So, don’t be afraid to tackle this DIY project and enjoy the benefits of a well-lit and energy-efficient space.


