Troubleshooting Guide: Why Your LED Light Refuses to Turn On Tips to Fix the Issue

LED lights are an efficient and cost-effective lighting solution that has become increasingly popular in recent years. They offer a range of benefits, including energy savings, long lifespan, and reduced maintenance costs. However, despite their many advantages, LED lights can sometimes fail to turn on, leaving you in the dark. This can be frustrating, especially if you don’t know what’s causing the issue. Fortunately, troubleshooting the problem is usually straightforward and can often be resolved with a few simple steps. If you’re experiencing difficulties with your LED light, don’t panic. There are several reasons why your light may not be turning on, from faulty wiring to incorrect installation. In this troubleshooting guide, we will provide you with tips and tricks to help you identify and fix the issue. We’ll cover some of the most common causes of LED lights not turning on, and provide you with actionable advice to help you get your lights up and running again. Whether you’re a homeowner, business owner, or DIY enthusiast, this guide is sure to come in handy when your LED light refuses to turn on.
When it comes to LED lights, they have become a popular choice for their energy efficiency, durability and long lifespan. However, these lights can be frustrating when they refuse to turn on. There are several reasons why your LED light may not turn on, from a faulty bulb or switch, to a damaged power supply or wiring. Troubleshooting the issue can be overwhelming, but with a few simple tips, you can identify and fix the problem with ease. By understanding the common causes of LED lights not turning on, you can take the necessary steps to ensure your lights are working efficiently, and the ambiance of your space is restored.
It is imperative to fix the issue when your LED light refuses to turn on. Not only does it prevent you from using the light, but it could also indicate a larger electrical problem. Ignoring the issue could potentially lead to damage to the LED light and even cause a fire hazard. Additionally, a malfunctioning LED light could result in wasted energy, negatively impacting your electricity bill and the environment. Taking the time to troubleshoot and fix the issue will not only provide a functional LED light but also ensure the safety of your home and reduce energy consumption.
Check the Power Source

When your LED light refuses to turn on, the first thing you need to do is check the power source. This is because the issue is most likely caused by a problem with the electrical supply. First, ensure that the power outlet you are using is functional. You can do this by testing the outlet with another appliance to see if it works. If the outlet doesn’t work, try plugging your LED light into a different outlet. If the outlet is working fine, check the power cord of the LED light. Ensure that the cord is properly and securely plugged into both the light and the power outlet. Also, make sure that the cord is not damaged or frayed in any way. If the cord is damaged, it may need to be replaced. Another possible issue could be the power supply of the LED light itself. Check the power supply to see if it is properly connected and functional. If it is not, you may need to replace the power supply. In conclusion, checking the power source is an important step when troubleshooting your LED light that refuses to turn on. This will help you identify the source of the problem and take necessary steps to fix it. Remember to check both the power outlet and the power cord, as well as the LED light’s power supply.
If your LED light is refusing to turn on, the first thing you should inspect is the power source. Ensure that the light is properly plugged into a functioning outlet or that the batteries are charged and inserted correctly. Check for any loose connections or frayed wires. Don’t forget to check for any circuit breakers that may have tripped, preventing power from reaching the light. If you find any issues with the power source, troubleshoot them accordingly. A faulty power source could be the reason why your LED light is not turning on, so it’s important to rule this out before moving on to other possible solutions.
Before trying any other solution, the first thing to do is to check the outlet. Make sure that the LED light is plugged in properly and that the outlet is functioning. To do this, you can plug in another device and see if it works. If it does, then the outlet is not the problem. However, if the outlet is not working, then you may need to check the circuit breaker or fuse box to ensure that power is flowing to the outlet. It is also important to check for any loose wires or connections in the outlet or plug. By checking the outlet, you can eliminate the possibility of a power issue and move on to other potential solutions.
If your LED light refuses to turn on, one of the simplest things you can do is try a different outlet. Sometimes, an outlet can simply stop working, either due to a loose connection or some other issue. By plugging your LED light into a different outlet, you can quickly determine whether the problem lies with the light itself or with the outlet. If the light turns on when plugged into a new outlet, you can be sure that the original outlet is the problem. On the other hand, if the light still refuses to turn on, you’ll need to continue troubleshooting to determine the root cause of the issue.
Check the Wiring
The first step in troubleshooting an LED light that refuses to turn on is to check the wiring. Wiring problems can occur due to a variety of reasons, such as loose connections, damaged wires, or incorrect wiring. If the wiring is not properly connected, the current may not flow through the circuit, and the LED light may not turn on. Loose connections can also cause the same problem, as they can disrupt the flow of electricity in the circuit. In addition, damaged wires can also prevent the LED light from turning on, as they can interrupt the flow of electricity. To check the wiring, start by turning off the power to the LED light. Then, inspect the wiring to see if there are any loose connections or damaged wires. If you find any loose connections, tighten them with pliers or a screwdriver. If you find any damaged wires, you may need to replace them. Additionally, make sure that the wiring is correctly connected according to the manufacturer’s instructions. If you are unsure about how to do this, consult a professional electrician. By checking the wiring, you can quickly identify and fix any problems that may be preventing your LED light from turning on.
If your LED light is refusing to turn on, one of the first things to inspect is the wiring. Check for any loose connections, frayed wires, or damaged cables that may be causing the issue. It’s essential to ensure that the wiring is correctly installed and securely connected to the power source. You may need to use a multimeter to test the voltage and identify any faulty wiring components. If you’re unsure about how to inspect the wiring, it’s best to seek the help of a professional electrician who can diagnose and fix the problem safely and efficiently. By taking the time to inspect the wiring, you can potentially avoid more significant issues and ensure that your LED light works correctly.
If you’re experiencing issues with your LED light not turning on, checking for loose connections is a crucial step in the troubleshooting process. Loose connections can cause interruptions in the circuit and prevent the light from functioning properly. It’s important to inspect all connections, including the power source, wiring, and any connectors, to ensure they are secure and free from damage or corrosion. If you notice any loose or damaged connections, it’s essential to address them promptly to prevent further issues and restore power to your LED light. Taking the time to check for loose connections can save you time and frustration in the long run and ensure your LED light functions as it should.
If your LED light refuses to turn on, one possible culprit could be damaged wiring. This can occur due to a variety of reasons, such as exposure to extreme temperatures or physical damage. To check for damaged wiring, start by unplugging the light and visually inspecting the wires for any signs of fraying, discoloration, or other abnormalities. You can also use a multimeter to test the continuity of the wires and ensure that there are no breaks or shorts. If you do find damaged wiring, it’s important to replace it promptly to avoid any potential safety hazards or further damage to the light.
If your LED light refuses to turn on, it could be due to faulty wiring. Faulty wiring can cause a short circuit, which disrupts the flow of electricity to the LED light. To replace faulty wiring, you will need to first identify the location of the faulty wiring. This can be done using a voltage tester to check for continuity in the wiring. Once you have identified the location of the faulty wiring, you will need to remove the damaged wire and replace it with a new wire of the same gauge. It is important to make sure that the connections are tight and secure to prevent future issues. Additionally, it is recommended to have a professional electrician handle any electrical repairs to ensure safety and proper installation.
Check the Switch
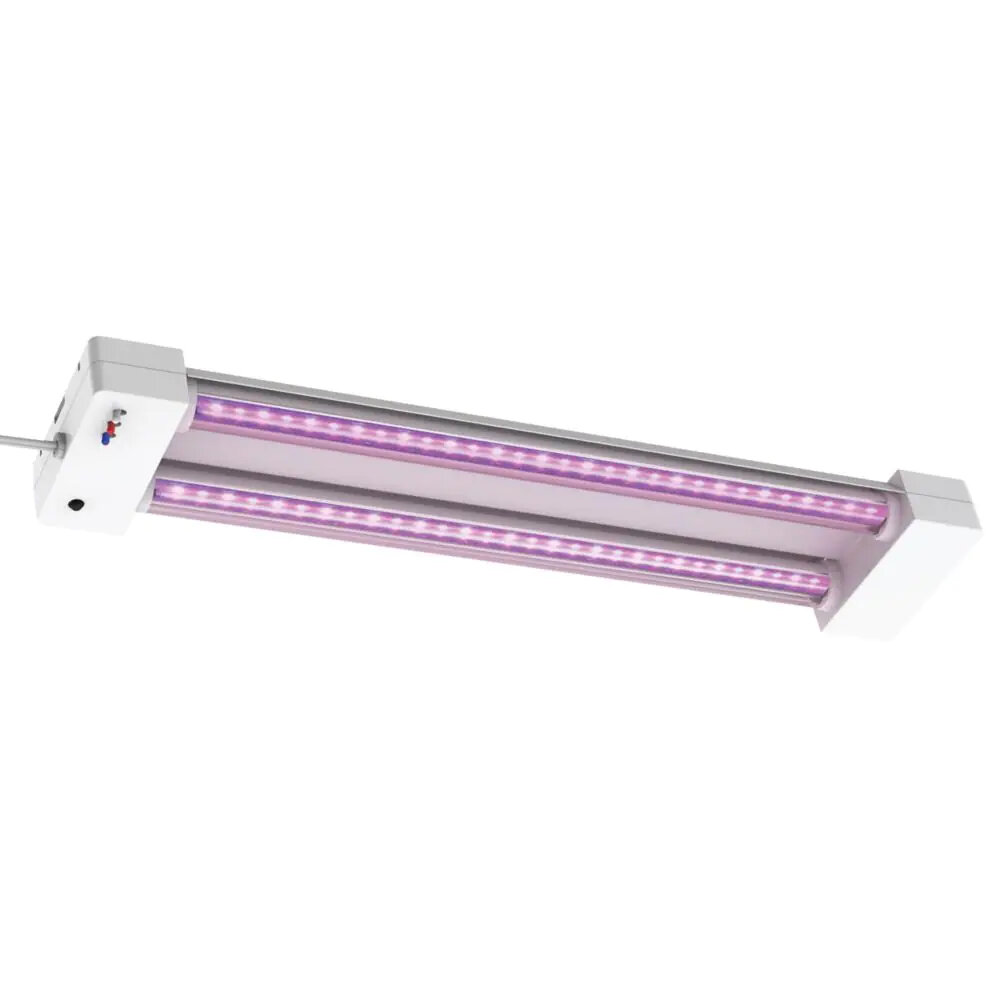
The switch is one of the most common culprits for LED lights not turning on. Before jumping to conclusions and assuming that something is wrong with the LED light, it’s important to check the switch. Make sure that the switch is turned on and that there aren’t any loose connections. Sometimes, the switch can be accidentally bumped and turned off without the user realizing it. Additionally, the switch may be faulty or damaged, leading to a complete lack of power to the LED light. In this case, it’s important to replace the switch to restore power to the LED light. When checking the switch, it’s also important to look for any signs of damage or wear and tear. Over time, switches can become damaged or corroded, which can lead to a lack of power or intermittent power to the LED light. Additionally, make sure that the switch is compatible with the LED light. Some switches may not be designed to handle the power requirements of certain LED lights, which can lead to a lack of power or damage to the switch itself. By taking the time to check the switch, users can identify and fix the issue quickly and easily, without having to replace the entire LED light.
If your LED light refuses to turn on, it could be due to a faulty switch. Inspect the switch thoroughly, checking for any loose connections or damage. If the switch is damaged, it may need to be replaced. Additionally, make sure the switch is in the \on\ position and that it is connected to a power source. It’s also important to check the wiring leading up to the switch, as damaged wiring can prevent the switch from functioning properly. Once you have inspected the switch and wiring, you can move on to other potential causes of the issue.
One of the most common reasons why LED lights refuse to turn on is due to loose connections. These can be caused by many factors such as improper installation, wear and tear, or simply moving the fixture around. To fix this issue, start by checking all the connections carefully. Look for any signs of damage or wear, such as frayed wires or loose connections. If you find any, try tightening the connections or replacing any damaged parts. Additionally, make sure that the power supply to the fixture is turned off before attempting any repairs to avoid any electrical hazards. Taking the time to check for loose connections can save you time and money in the long run, and ensure that your LED light functions properly for years to come.
If your LED light refuses to turn on, one possible culprit could be a damaged switch. Over time, switches can wear out or become damaged due to regular use or exposure to environmental factors like moisture or extreme temperatures. When this happens, the switch may fail to connect the circuit that powers the LED light, preventing it from turning on. To check for a damaged switch, start by inspecting the switch itself for any visible signs of wear or damage, such as cracks, breaks, or loose connections. You can also test the switch with a multimeter to see if it is still providing continuity to the circuit. If you determine that the switch is indeed damaged, you may need to replace it in order to get your LED light working again.
If your LED light refuses to turn on, there could be a number of reasons why, but one common issue is a faulty switch. A faulty switch can prevent power from flowing to the LED light, rendering it useless. To replace a faulty switch, start by turning off the power to the light at the breaker box. Then, remove the switch cover plate and unscrew the switch from the box. Disconnect the wires from the old switch and connect them to the new switch in the same order. Screw the new switch into the box and replace the cover plate. Finally, turn the power back on and test the LED light to see if the issue has been resolved.
Check the LED Bulb
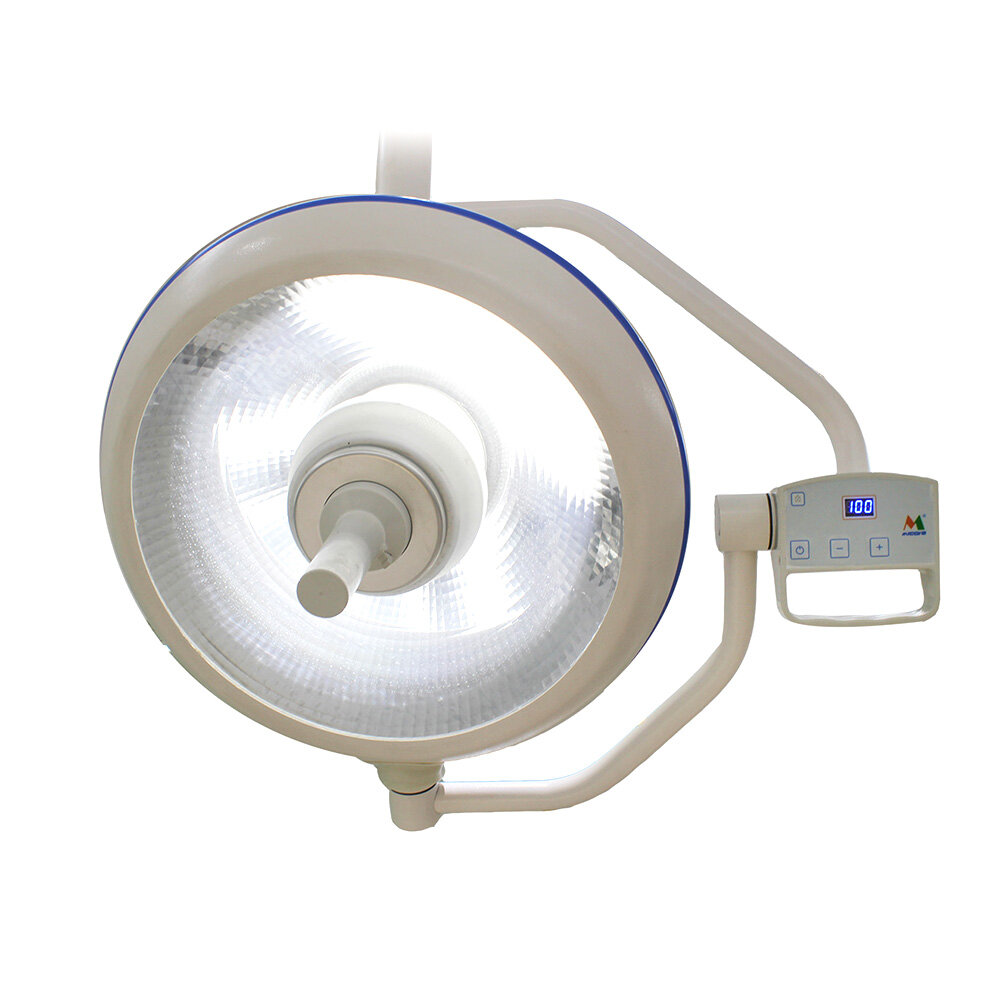
If your LED light refuses to turn on, one of the first things you should check is the LED bulb itself. LED bulbs are known for their long lifespan, but they can still fail unexpectedly. One common issue is that the bulb may not be screwed in tightly enough. Make sure the bulb is securely screwed into the socket, but be careful not to overtighten it as this can damage the bulb or the socket. If the bulb is loose, it may not make proper contact with the electrical circuit and prevent the light from turning on. Another issue that can cause LED bulbs to fail is a problem with the electrical circuit. If the circuit is overloaded or there is a short circuit, the bulb may not receive enough power to turn on. Check the circuit breaker or fuse box to make sure that the circuit is not tripped or blown. If you suspect that there is a problem with the wiring, it is best to call a professional electrician to diagnose and fix the issue. Additionally, if the LED bulb is old or damaged, it may need to be replaced. Make sure to purchase the correct replacement bulb for your fixture and follow the manufacturer’s installation instructions.
If your LED light is not turning on, it could be due to a faulty bulb. Inspect the LED bulb carefully for any signs of damage or wear and tear. Check for any cracks or chips on the surface of the bulb or the socket. Make sure the bulb is securely screwed into the socket and has a good connection. Also, check the wattage of the bulb and make sure it is compatible with the fixture. If you notice any issues with the bulb, replace it with a new one to see if that resolves the issue. Remember to handle the bulb carefully and avoid touching the glass surface as oil from your skin can damage the bulb.
If your LED light refuses to turn on, one of the first things you should check is whether the bulb is damaged. A damaged bulb can cause issues with the electric current, preventing the light from turning on. To check for a damaged bulb, first, turn off the power supply and carefully remove the bulb from the fixture. Examine the bulb for any visible cracks, chips, or other signs of damage. If you notice any damage, replace the bulb with a new one. Additionally, make sure the bulb is fitted correctly in the socket and that the socket is clean and free of debris. By checking for a damaged bulb, you can easily troubleshoot and fix the problem of your LED light not turning on.
One of the most common issues with LED lights is a faulty bulb. If your LED light refuses to turn on, it might be due to a bulb that has burnt out or has become faulty. A faulty bulb can be identified by the flickering or dimming of the light. To replace a faulty bulb, you need to turn off the power supply and then remove the damaged bulb carefully. Ensure that the new bulb you install is compatible with your LED light fixture and has the same wattage as the previous bulb. Once the new bulb is in place, turn on the power and test the light. If the light still does not turn on, then there may be an issue with the fixture or wiring that requires further investigation.
In summary, there are several steps to take in troubleshooting an LED light that refuses to turn on. Firstly, check if the power source is working correctly, and if the outlet is functioning correctly. Secondly, inspect the LED light for any visible damage, such as loose wires or broken parts. Thirdly, ensure that the switch or remote control is working accurately, and the batteries are not depleted. Fourthly, try resetting the LED light by turning it off and on again or using the reset button. Lastly, seek professional help if none of the above steps resolves the issue. By following these tips, you can quickly fix the issue and have your LED light shining brightly once again.
After attempting all the troubleshooting steps, if the LED light still refuses to turn on, it might be time to call in an electrician. The issue could be a faulty electrical connection or a more complex wiring problem that requires professional expertise to fix. However, before making that call, make sure to check for any loose connections or damaged wires that could be causing the problem. Additionally, if the LED light is still under warranty, consider reaching out to the manufacturer for assistance. Remember, it’s always better to prioritize safety and seek professional help when dealing with electrical issues to avoid any potential hazards.
If you have tried all the troubleshooting tips and your LED light still refuses to turn on, don’t worry, there are additional resources available to help you. First, check the manufacturer’s website for any specific troubleshooting guides or FAQs related to your LED light model. You can also contact their customer support team for further assistance. Another option is to consult with a licensed electrician who can diagnose and fix any electrical issues that may be causing the problem. Finally, online forums and communities dedicated to LED lights and home lighting can provide valuable insights and advice from fellow users who have experienced similar issues. Don’t give up, with a little persistence and the right resources, you can get your LED light shining bright once again.
Conclusion

In conclusion, troubleshooting your LED light may seem like a daunting task, but with the right approach, you can easily identify and fix the issue. Whether it’s a loose connection, a faulty power source, or a damaged bulb, following the tips outlined in this guide can help you get your LED light up and running in no time. Remember to always prioritize safety, unplug the light before attempting any repairs or replacements, and seek professional assistance if necessary. With patience and persistence, you can enjoy the benefits of a properly functioning LED light for years to come.

