Upgrade your Lighting: Learn How to Convert 4ft Fluorescent Light to LED
Lighting is an essential aspect of any space, whether it’s your home or your workplace. With the advancement of technology, traditional fluorescent lights are slowly being replaced by LED lights due to their energy efficiency and cost-effectiveness. If you’re tired of your old fluorescent light fixtures and want to upgrade to LED lighting, you’ve come to the right place. In this article, we’ll guide you through the process of converting your 4ft fluorescent lights to LED, allowing you to save money on energy bills while improving the overall ambiance of your space. LED lights are the future of lighting, and there are several reasons why. Unlike fluorescent lights, LED lights are environmentally friendly, and they consume very little energy. They also have a longer lifespan, which means you’ll save money in the long run by not having to replace them as often. Additionally, LED lights are available in a wide range of colors and brightness levels, making them perfect for any space. If you’re interested in learning how to convert your 4ft fluorescent lights to LED, keep reading to discover the benefits of this upgrade and how to do it yourself.
Converting to LED lights can bring numerous benefits to both residential and commercial settings. LED lights are highly energy-efficient, consuming up to 80% less energy than traditional fluorescent lights, resulting in significant cost savings on electricity bills. They also have a longer lifespan, lasting up to 25 times longer than traditional lights, which means fewer replacements and less maintenance needed. LED lights emit less heat than traditional lights, making them safer to use and reducing the load on air conditioning systems. Additionally, they offer a wider range of color options, improved lighting quality, and are more environmentally friendly, as they contain no toxic materials and are fully recyclable. Overall, converting to LED lights is a smart choice for anyone looking to save money, reduce their carbon footprint, and enjoy better lighting quality.
Fluorescent lights have been a popular choice for decades, but now with the advancements in LED technology, converting to LED lights is a more energy-efficient and cost-effective option. The process of converting 4ft fluorescent lights to LED is relatively simple and can be completed in a few steps. First, the ballast, which regulates the electrical current to the fluorescent lights, needs to be removed. Then, the LED lights need to be wired into the fixture, ensuring that the polarity is correct. Once the wiring is complete, the LED lights can be snapped into place, and the fixture cover can be replaced. The result is a brighter, longer-lasting light that consumes less energy and requires less maintenance.
Gather Your Supplies
Upgrading your fluorescent light fixtures to LED is a great way to save energy and reduce your electricity bills. Before you start the conversion process, you need to gather your supplies. This includes a LED retrofit kit, wire cutters, wire strippers, pliers, and a screwdriver. The LED retrofit kit should include all the necessary components such as LED tubes, ballast bypass wiring, and end caps. Make sure to purchase a kit that is compatible with your existing fluorescent fixture. It is important to gather your supplies before you start the conversion process to avoid any delays or interruptions. Ensure that you have all the tools and materials that you need to complete the project, and that they are of good quality. Using inferior tools or components can compromise the safety and quality of the installation, and may lead to problems down the line. Once you have gathered your supplies, you are ready to move on to the next step of the conversion process.
Upgrading your lighting fixtures from fluorescent to LED can be an excellent way to save energy and money. To convert a 4ft fluorescent light to LED, you will need several tools and materials. First, you will need a new LED retrofit kit designed specifically for 4ft fluorescent lights. Additionally, you will need a screwdriver, wire strippers, wire nuts, and electrical tape. It’s also recommended to have safety equipment such as gloves and safety glasses. Depending on the existing wiring, you may also need a voltage tester and wire connectors. With these tools and materials, you can successfully upgrade your lighting fixtures and enjoy the benefits of energy-efficient LED lighting.
When it comes to converting your 4ft fluorescent light to LED, it is important to purchase the right supplies for the job. There are a variety of retailers that offer LED conversion kits, including hardware stores like Home Depot and Lowe’s, as well as online retailers like Amazon and eBay. It is important to ensure that the kit you purchase includes all of the necessary components, such as LED tubes, ballasts, and wiring harnesses. Additionally, you may want to consider purchasing a dimmer switch to adjust the brightness of your new LED lights. By taking the time to research and purchase the right supplies, you can ensure a successful and efficient conversion process.
Remove the Fluorescent Bulbs
If you’re considering upgrading your lighting, one of the first things you should do is remove your old fluorescent bulbs. Fluorescent bulbs are not only outdated, but they also consume a lot of energy, emit harmful UV rays, and have a shorter lifespan compared to LED lights. Removing fluorescent bulbs is a simple process that can be done without the help of an electrician. To remove the fluorescent bulbs, you’ll need to turn off the power supply to the fixture. This can be done by either turning off the circuit breaker or removing the fuse that powers the fixture. Once the power is off, locate the ballast cover and remove it. This will expose the fluorescent bulbs and the ballast. Carefully remove the bulbs by pressing them inward and twisting them counterclockwise. Dispose of the bulbs properly, as they contain mercury and can be harmful to the environment. Once the bulbs are removed, you can disconnect the ballast and discard it as well. Removing the ballast is necessary for converting to LED lights since LED lights do not require a ballast to operate.
When upgrading your lighting from fluorescent to LED, one crucial step is to safely remove the bulbs. First, ensure that the power supply to the fixture has been turned off. Next, let the bulbs cool down before attempting to remove them, as they can become very hot during use. Wear gloves when handling the bulbs to avoid any potential cuts or injuries, and carefully twist the bulbs out of their sockets. If the bulbs are difficult to remove, use a gentle back-and-forth motion to loosen them before pulling them straight out. Once the old bulbs have been safely removed, you can begin the process of installing your new LED bulbs.
Proper disposal of fluorescent bulbs is crucial in ensuring safe and responsible environmental practices. When disposing of fluorescent bulbs, it is important to handle them with care, as they contain small amounts of mercury, a toxic substance that can harm the environment and human health. It is recommended to contact your local waste management facility for proper disposal instructions, as they may have specific guidelines in place. Additionally, some retailers may offer recycling programs for fluorescent bulbs. By disposing of fluorescent bulbs properly, we can reduce the risk of mercury pollution and promote a cleaner, healthier environment.
Install the LED Light Tubes
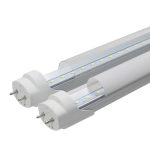
Upgrading your lighting system can be a great way to save energy and money in the long run. One way to accomplish this is by converting your 4ft fluorescent light to LED. This process is relatively simple and can be completed in just a few steps. One of the essential steps in this process is installing the LED light tubes. To begin the installation process, you will need to turn off the power source to the fluorescent light fixture. Next, you will need to remove the old fluorescent tubes and dispose of them properly. Once this is done, you can then install the LED light tubes by inserting them into the sockets and gently twisting them into place. It is important to note that some LED tubes may require a ballast bypass or removal, depending on the type of fixture you have. Once the tubes are securely in place, you can turn the power back on to the fixture and enjoy your new, energy-efficient lighting system.
The process of installing LED tubes in place of fluorescent lights may seem daunting at first, but with proper guidance, it can be a straightforward and seamless experience. First, turn off the power supply to the fixture and remove the fluorescent bulbs and ballast. Next, connect the LED driver to the power supply and screw the LED tubes into place. Ensure that the pins on the tubes align with the slots in the fixture and that the tubes are securely fastened. Finally, turn the power back on and enjoy the energy efficiency and enhanced lighting capabilities of your new LED system. With just a few simple steps, you can upgrade your lighting and save money on energy costs in the long run.
When upgrading your lighting from fluorescent to LED, it’s essential to ensure proper installation to get the best results. Firstly, make sure that the LED tube is compatible with the fixture, and the ballast is removed or bypassed. Secondly, follow the manufacturer’s instructions and ensure that the wiring is done correctly. Thirdly, check that the LED tube is installed securely and straight. Fourthly, test the new LED light to ensure that it works correctly and that there are no flickers or dimming issues. Finally, it’s crucial to always follow safety guidelines and turn off the power before installing any new lighting. By following these tips, you can ensure that your lighting upgrade is successful, and you can enjoy the many benefits of LED lighting.
Test and Enjoy Your New Lighting
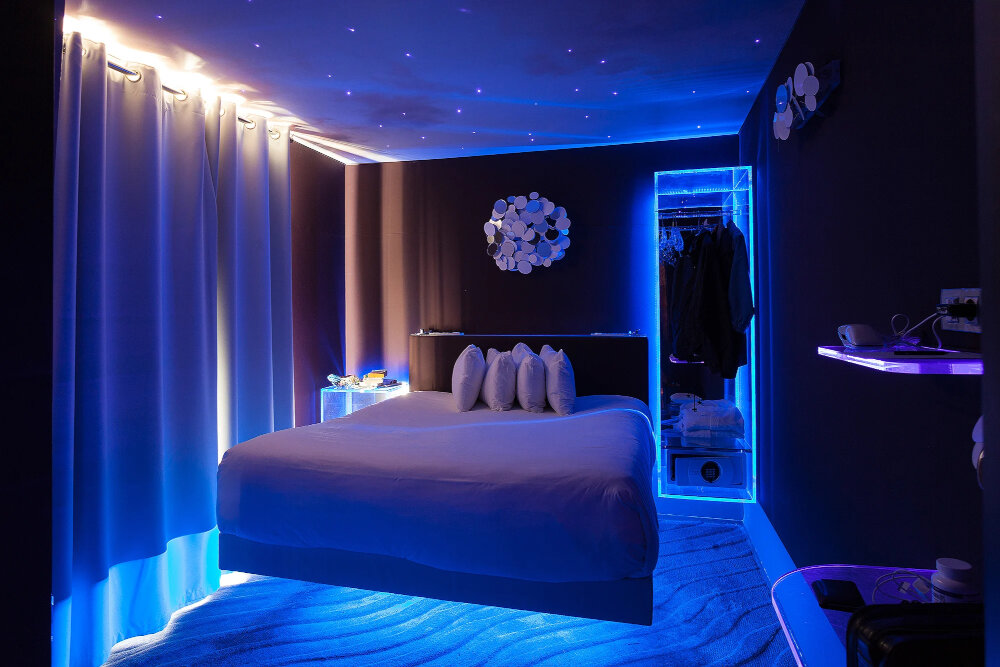
After successfully converting your 4ft fluorescent light to LED, it’s time to test and enjoy your new lighting. The first thing you should do is turn on the power and verify that all the LED tubes are working correctly. Check for any flickering or dimming of the lights and adjust them as necessary. Also, ensure that the brightness and color temperature of the LED lights are suitable for your needs. If you feel they are too bright or too dull, you can adjust the settings accordingly. It’s always good to keep in mind that LED lights consume less power and have a longer lifespan than fluorescent lights, so you can expect to save money on your electricity bill in the long run. Once you’ve completed the testing phase, it’s time to enjoy your new lighting. You can now experience the benefits of LED lighting, such as a brighter and more vibrant environment, reduced glare, and improved energy efficiency. You’ll also enjoy the fact that LED lights don’t emit harmful UV radiation, making them safer for your eyes and skin. Furthermore, LED lights have a longer lifespan than fluorescent lights, so you won’t have to worry about replacing them as frequently. Overall, converting your 4ft fluorescent light to LED is a smart investment that will provide you with better lighting and save you money in the long run.
Testing the lighting is crucial to ensure that it’s functioning properly. One way to do this is by checking the power source and connections. Make sure that the power switch is turned on and that the electrical outlet is working. Next, examine the LED light fixture and ensure that it’s securely connected to the wiring. Turn on the light and observe the brightness and color temperature. If the lighting appears dim or has a yellowish tint, it may indicate that the LED tubes are not installed correctly or that they’re of low quality. It’s also important to check that the lighting is evenly distributed and that there are no dark spots or flickering. By testing the lighting, you can ensure that it’s working correctly and that you’ve successfully converted your 4ft fluorescent light to LED.
LED lighting offers numerous benefits over traditional fluorescent lighting. Firstly, LED lights are extremely energy-efficient, consuming up to 90% less power than fluorescent lights. This translates to lower electricity bills and reduced carbon footprint, making LED lighting an eco-friendly option. Secondly, LED lights have a longer lifespan, typically lasting up to 50,000 hours, which is up to 5 times longer than fluorescent lights. This means less frequent replacements and reduced maintenance costs. Additionally, LED lights are more durable, resistant to shock, vibration, and temperature fluctuations. They also emit less heat, making them safer to use. With all these advantages, upgrading to LED lighting is a wise investment in terms of cost savings, environmental impact, and convenience.
Converting to LED lights has a multitude of benefits. Firstly, LED lights are more energy-efficient, which means they use less electricity than traditional fluorescent lights, resulting in lower electricity bills. Additionally, LED lights have a longer lifespan, which means you’ll spend less money on replacements and maintenance costs. LED lights also emit less heat, making them safer and more comfortable to use. They are also more environmentally friendly, as they don’t contain harmful chemicals like mercury. Lastly, LED lights offer a brighter and more natural-looking light, which can improve productivity and overall mood. Overall, converting to LED lights is a smart investment that can save you money, improve safety, and enhance the aesthetic and ambiance of your space.
Upgrading to LED lighting is a smart choice for those looking to reduce energy consumption and save money. LED lights use significantly less energy than traditional fluorescent bulbs, which translates to lower electricity bills and a reduced carbon footprint. Additionally, LED lights have a longer lifespan, meaning they require less frequent replacement and maintenance. While the initial cost of LED bulbs may be slightly higher than traditional bulbs, the long-term savings make it a worthwhile investment. By upgrading to LED lighting, you can not only improve energy efficiency and reduce costs, but also contribute to a more sustainable future.
Conclusion
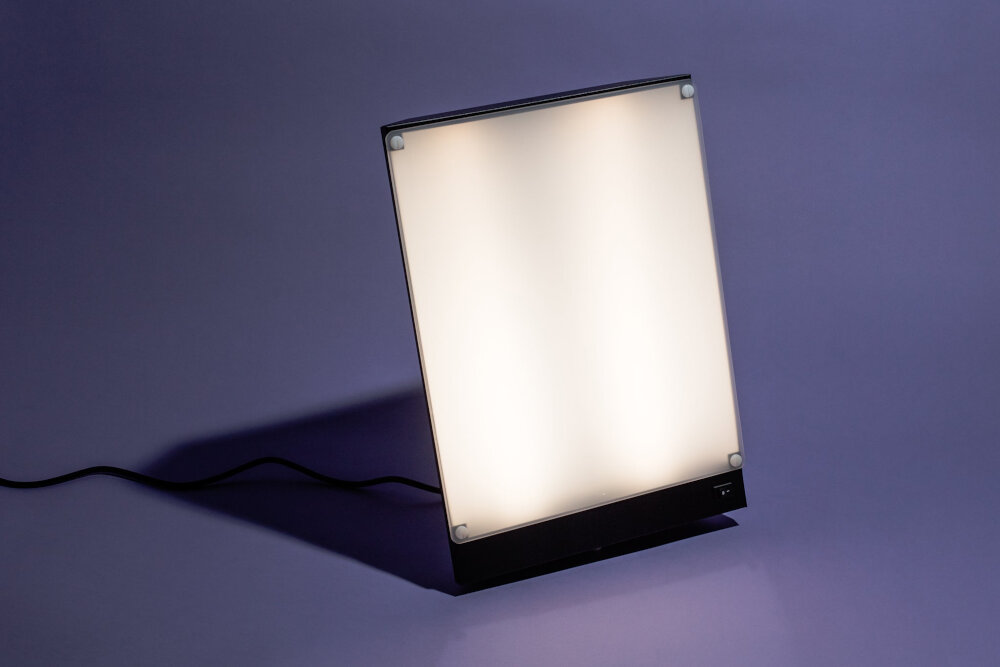
In conclusion, upgrading your lighting system from fluorescent to LED is a wise investment that not only saves energy but also enhances the aesthetics and overall ambiance of your space. By learning how to convert your 4ft fluorescent light to LED, you can enjoy brighter, more uniform, and flicker-free lighting that boosts productivity and reduces eye strain. With the numerous benefits that LED lighting offers, including durability, long lifespan, and eco-friendliness, it makes sense to make the switch and enjoy a more efficient and sustainable lighting solution for your home or business. So, don’t wait any longer, upgrade your lighting today and experience the difference!

