Upgrade Your Lighting: A StepbyStep Guide on How to Rewire Fluorescent Lights to LED
Lighting is an essential aspect of any home or commercial space. It can transform the ambiance of a room, making it more inviting and comfortable. Over the years, technology has advanced, and lighting has become more energy-efficient and cost-effective. One such development is the switch from traditional fluorescent lights to LED lights. LED lights use less energy and have a longer lifespan than traditional fluorescent lights. This switch can help you save money on your energy bills while also being more environmentally friendly. In this guide, we will go through the step-by-step process of how to rewire fluorescent lights to LED lights, allowing you to upgrade your lighting system easily. Before delving into the rewiring process, it is essential to understand the differences between fluorescent and LED lights. Fluorescent bulbs contain a gas that creates ultraviolet light when electricity passes through it. This ultraviolet light then interacts with the phosphor coating inside the bulb, creating visible light. In contrast, LED lights use a semiconductor to convert electricity into light. This process is much more efficient and produces less heat than fluorescent lights. LED lights also have a longer lifespan, making them a more cost-effective option in the long run. With this understanding, let’s dive into the step-by-step guide on how to rewire fluorescent lights to LED lights.
LED lighting has numerous benefits over traditional lighting options. First and foremost, LED lights are incredibly energy-efficient, using up to 90% less energy than incandescent bulbs. This can translate to significant savings on your electricity bill. Additionally, LED lights have a much longer lifespan, lasting up to 25 times longer than traditional bulbs. LED lights are also much safer than other options, as they emit less heat and contain no hazardous materials. They are also highly customizable, with a wide range of colors and brightness levels available. Overall, upgrading to LED lighting can provide improved energy efficiency, cost savings, and a safer and more customizable lighting solution for your home or workspace.
Upgrading your fluorescent lights to LED can be a cost-effective and energy-efficient solution that provides better illumination while reducing your monthly utility bills. The process of rewiring fluorescent lights to LED involves several steps, including removing the fluorescent bulbs, ballasts, and starters, wiring the LED driver to the circuit, and connecting the LED light bulbs to the driver. It is essential to follow the manufacturer’s instructions and safety guidelines when performing the rewiring process. Once the rewiring is complete, you can enjoy the benefits of LED lighting, such as longer lifespan, brighter illumination, and reduced maintenance costs, while also contributing to a greener environment.
Gather Materials

The first step in upgrading your lighting from fluorescent to LED is to gather all the necessary materials. You will need a screwdriver, wire strippers, wire nuts, a voltage tester, and of course, LED tubes. It’s important to ensure that the LED tubes are compatible with your fixture, so be sure to check the specifications before purchasing. If you’re unsure, consult with a lighting specialist for guidance. Additionally, it’s important to turn off the power to the fixture before beginning any work, so make sure to locate the circuit breaker and switch it off. Once you have all the materials, it’s time to get started. Begin by removing the old fluorescent tubes from the fixture and then remove the ballast cover. The ballast is the small box that regulates the electrical current to the fixture. To rewire the fixture, you will need to bypass the ballast, so it’s important to disconnect it from the circuit. Use the voltage tester to ensure that there is no electrical current running to the ballast before disconnecting any wires. Once the ballast is removed, you can then connect the LED tubes directly to the fixture using the wire nuts. Be sure to follow the manufacturer’s instructions for wiring to ensure a safe and effective installation. Finally, replace the ballast cover and turn the power back on to the fixture. Your upgraded LED lighting is now ready to use!
When it comes to upgrading your fluorescent lights to LED, you’ll need a few essential tools and supplies. Firstly, you’ll need a voltage tester to ensure that the power is off before you begin. Additionally, you’ll need wire strippers, pliers, and a screwdriver to disconnect the old ballast and rewire the LED driver. It’s also important to have wire nuts, electrical tape, and zip ties to secure the wires and connections. Finally, you’ll need the LED tubes themselves, so be sure to measure your existing fixtures to ensure you purchase the correct size and color temperature. With these tools and supplies, you’ll be well-equipped to tackle this lighting upgrade project.
When it comes to choosing LED bulbs to replace your fluorescent lights, there are a few things to keep in mind. First, consider the color temperature of the bulb. A warmer, more yellow-toned light is usually best for living spaces, while a cooler, blue-toned light is better for work areas. Next, look at the lumens rating to determine how bright the bulb will be. It’s important to choose a bulb with enough lumens to adequately illuminate the space. Finally, consider the bulb’s dimming capabilities if you want to be able to adjust the light level. Make sure the bulb is compatible with your dimmer switch, if you have one. By taking these factors into account, you can choose the best LED bulbs for your lighting upgrade.
Turn Off Power
One of the most important steps in rewiring fluorescent lights to LED is to turn off the power. This step is crucial for your safety and the success of the project. Before you start, make sure you have the right tools, including a voltage tester, screwdriver, wire stripper, and wire nuts. Once you have everything you need, locate the circuit breaker that controls the power to your fluorescent lights. Turn off the breaker and test the wires to make sure there is no voltage running through them. You can use a voltage tester to do this. Simply touch the tester to the wires and if it beeps, there is still power flowing through them. Wait until the tester shows no voltage before proceeding with the project. It’s important to note that turning off the power is not just about your safety. It’s also about protecting the wiring and the LED lights. If you try to rewire the fluorescent lights to LED without turning off the power, you risk damaging the wiring and the lights themselves. This can lead to costly repairs and even more dangerous situations, such as electrical fires. So remember, always turn off the power before you start rewiring your fluorescent lights to LED. It’s a small step that can save you a lot of trouble in the long run.
Before beginning the rewiring process to upgrade your fluorescent lights to LED, taking safety precautions is essential. Firstly, make sure to turn off the power supply to the lights and double-check that there is no electricity flowing through the wires by using a voltage tester. Wear protective gear such as gloves and safety glasses to avoid any potential injuries. It is also advisable to work with a partner to ensure that any heavy fixtures can be safely handled. Additionally, make sure to have a fire extinguisher nearby in case of any unforeseen accidents. By taking these safety measures, you can ensure that the rewiring process is completed safely and without any mishaps.
Before rewiring fluorescent lights to LED, it is crucial to turn off the power supply to the existing fixtures. To do so, you need to locate the circuit breaker that controls the fluorescent lights and switch it off. You can verify if the power is off by attempting to turn on the lights. If they don’t turn on, it means you have successfully disconnected the power supply. Alternatively, you can use a voltage tester to check the power supply. It is important to take this step to ensure your safety while you work on the rewiring process.
Remove Fluorescent Lights
Fluorescent lights have been the go-to lighting solution for indoor spaces for a long time. However, these traditional lights are gradually being replaced by more energy-efficient LED lights. If you are planning to upgrade your lighting system and replace your fluorescent lights with LED lights, the first step is to remove the old lights. Removing fluorescent lights may seem like a daunting task, but it is relatively easy and can be done in a few simple steps. To remove fluorescent lights, start by turning off the power supply to the lights. This is crucial for your safety and to avoid any electrical hazards. Once the power is off, you can remove the light cover and expose the bulbs. Next, remove the bulbs from the fixture and set them aside. Be sure to handle the bulbs with care as they are fragile and can break easily. After removing the bulbs, locate the clips or screws that hold the fixture in place. Unscrew or unclip the fixture and carefully remove it from the ceiling. Finally, disconnect the wires that connect the fixture to the electrical box and remove the fixture completely. With the fixture removed, you are now ready to proceed with rewiring the lights to LED.
Removing a fluorescent light fixture is a relatively simple process that requires a few basic tools and some care. First, turn off the power to the fixture by flipping the breaker switch. Then, remove the bulbs and gently twist the fixture cover to release it from the ceiling or wall. Once the cover is removed, you can access the wiring and unscrew the fixture from its mounting bracket. Be sure to carefully disconnect the wiring, noting which wires are connected to which screws or connectors. Dispose of the old fixture safely and securely.
When upgrading your lighting by rewiring fluorescent lights to LED, it is important to take precautions to avoid damaging the ceiling or walls. Firstly, turn off the power supply at the breaker before beginning any work. Secondly, use a stud finder to locate the ceiling joists or wall studs before drilling any holes. This will prevent damage to pipes, wiring or structural elements. Thirdly, use a level to ensure that your fixtures are straight, and don’t overtighten screws or bolts as this can cause cracking or damage to the mounting surface. Finally, be careful not to scratch or dent the surface of the ceiling or wall when installing the new fixtures. By following these tips, you can upgrade your lighting without causing any unnecessary damage to your home.
Install LED Lights
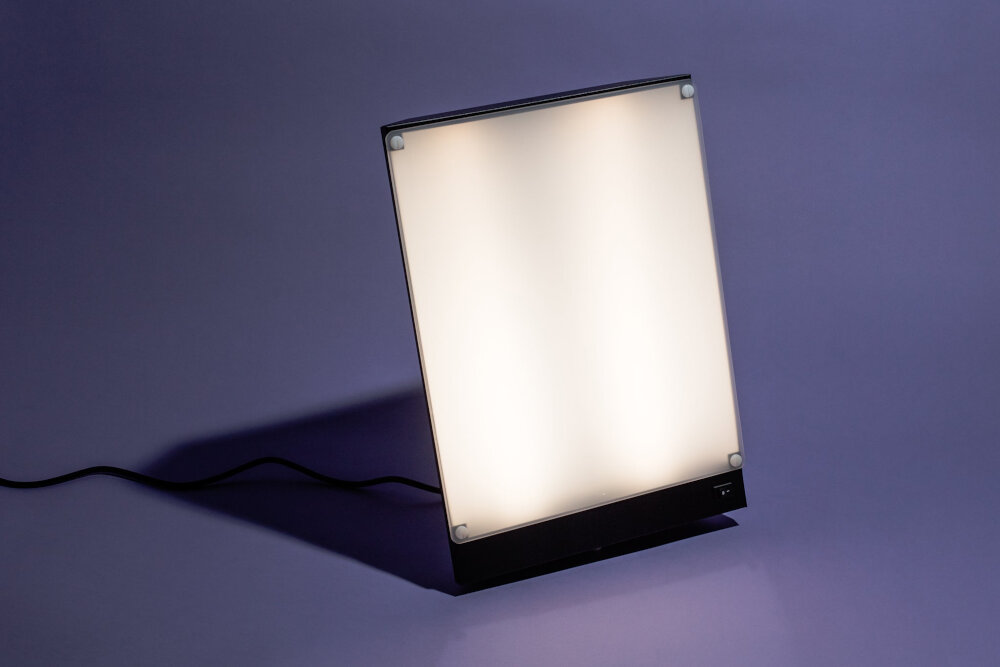
Upgrading your lighting system by installing LED lights is a smart move that will not only improve your home’s aesthetic but also reduce your energy costs. To begin the installation process, start by turning off the power supply to the fluorescent lights. This will prevent any accidents or electric shock while handling the wiring. Next, remove the fluorescent bulbs and the fixture cover. Then, disconnect the ballast and remove it from the fixture. The ballast is the component responsible for regulating the amount of power supplied to the fluorescent bulbs. Since LED lights do not require a ballast, it needs to be removed. After removing the ballast, connect the wires of the LED driver to the fixture’s wires. The LED driver is the component that regulates the amount of power supplied to the LED lights. It is essential to follow the manufacturer’s instructions for wiring to ensure that the installation is done correctly. Next, attach the LED bulb to the fixture and replace the fixture cover. Finally, turn on the power supply and test the LED lights to ensure they are functioning correctly. By following these simple steps, you can upgrade your lighting system to LED and enjoy the benefits of energy-efficient lighting.
Installing LED light fixtures is a great way to upgrade your lighting and save energy. To begin, turn off the power to the light fixture and remove the fluorescent bulbs and ballast. Next, connect the wires from the new LED driver to the wires from the fixture, making sure to match the colors. Then, attach the LED light strips to the fixture and secure them in place. Finally, turn the power back on and test the new LED lights to ensure they are working properly. With these simple steps, you can easily rewire your fluorescent lights to LED and enjoy the benefits of improved lighting and energy efficiency.
When it comes to wiring LED lights, there are a few important tips to keep in mind to ensure that the installation is done correctly. First, make sure that you have the right tools for the job, including wire strippers, electrical tape, and wire nuts. Before starting the wiring process, it’s also important to turn off the power supply to the fluorescent lights to avoid any risks of electric shock. When connecting the wires, make sure to match the correct colors and tighten the wire nuts securely. It’s also a good idea to test the LED lights before fully installing them to ensure that they are working properly. By following these tips, you can ensure a safe and successful LED light installation.
LED lighting is a rapidly growing technology that offers numerous benefits over traditional lighting options such as fluorescent lights. LED lights are energy efficient and can reduce energy costs by up to 80%. They also have a long lifespan, with some LED lights lasting up to 25 years. LED lights are also environmentally friendly, as they contain no harmful chemicals such as mercury, which is often found in fluorescent lights. In addition, LED lights are highly durable and can withstand extreme temperatures and vibrations. They also provide better quality lighting, with a more natural and bright light that is easier on the eyes. Overall, upgrading to LED lighting is a smart investment that can save money, reduce environmental impact, and improve the quality of lighting in any space.
Upgrading your lighting system from fluorescent lights to LED can be a cost-effective and energy-efficient solution for both residential and commercial spaces. The rewiring process involves several steps that require basic electrical knowledge and tools. To begin, turn off the power supply and remove the fluorescent bulbs and ballast. Next, connect the LED driver to the power source and the LED tube lights to the driver. It’s important to ensure that the wiring is correctly connected and that the wattage of the LED lights matches the driver. Finally, test the new wiring and turn the power back on to enjoy the benefits of brighter, longer-lasting LED lighting. With some patience and attention to detail, rewiring fluorescent lights to LED can be a simple and rewarding DIY project.
In conclusion, upgrading your lighting system from fluorescent to LED can bring numerous benefits such as increased energy efficiency, cost savings, and improved lighting quality. It is a relatively simple process that can be done by following the step-by-step guide outlined in this article. However, it is important to remember to take safety precautions when rewiring the lights and to ensure that the LED bulbs are compatible with the existing ballasts. Additionally, investing in high-quality LED bulbs and fixtures will ensure longer-lasting and more reliable performance. Overall, upgrading to LED lighting is a smart investment that can improve the aesthetics and functionality of your space while also reducing your environmental impact.
Conclusion

In conclusion, upgrading your lighting from fluorescent to LED can bring numerous benefits to your home or workspace. The step-by-step guide provided in this article offers a straightforward and accessible approach to rewiring your existing fixtures. By making the switch to LED lighting, you can enhance the quality of your lighting, reduce energy consumption and costs, and improve the overall aesthetic of your space. With the right tools, materials, and guidance, you can successfully rewire your fluorescent lights to LED and reap the rewards of a more efficient and eco-friendly lighting solution. So why wait? Make the upgrade today and enjoy the many benefits of LED lighting.


