Why Your LED Light Remote Is Not Working and How to Fix It
LED lights have become a popular lighting solution due to their energy efficiency and long lifespan. They have also become increasingly convenient with the introduction of remote controls for easy on and off switching, dimming, and color changing. However, there are times when your LED light remote control may not work, leaving you in the dark, literally. This can be frustrating, especially when you don’t know what the problem is or how to fix it. In this article, we will explore some common reasons why your LED light remote may not be working and provide some solutions to help you get your lighting system back up and running. One of the primary reasons why your LED light remote may not be working is a weak battery. Just like any other electronic device, the remote control requires a power source to function properly. If the battery is weak or has died, the remote will not be able to send signals to your LED lights, rendering it useless. Fortunately, this is an easy fix. Simply replace the battery with a fresh one and test the remote to see if it is working correctly. If the battery was the problem, your LED lights should respond to the remote commands without any issues.
LED light remotes are handy devices used to control the brightness, color, and mode of LED lights. They are equipped with infrared technology that allows users to communicate with the LED light controller from a distance. However, the remote may not work due to various reasons such as dead batteries, blocked signal, or a faulty remote. To fix it, one can replace the batteries, check for any obstacles that may be blocking the signal, or try resetting the LED light controller. By understanding the proper use and maintenance of LED light remotes, users can enjoy the convenience and flexibility that these devices offer.
LED light remotes are a convenient way to control the lighting in your home, but they can come with their fair share of issues. One common issue is that the remote may not work at all. This could be due to a number of reasons, such as a dead battery, a faulty remote, or a problem with the receiver. Another issue is that the remote may work intermittently, causing frustration and inconvenience. This could be caused by interference from other devices, a weak signal, or a problem with the receiver. Additionally, some users may find that the remote is not able to control all of the features of their LED lights, such as color or brightness. This could be due to compatibility issues or a lack of programming options. Overall, it is important to troubleshoot any issues with your LED light remote in order to ensure that it is functioning properly and providing the desired level of control over your lighting.
Check the Batteries
In order to troubleshoot your LED light remote, the first thing you should do is check the batteries. A remote control that is not functioning properly is often due to a dead or low battery. It is important to ensure that the batteries are inserted correctly, and that they are not corroded or leaking. If the batteries are indeed dead, replace them with new ones and test the remote again. In addition, it is a good idea to keep spare batteries on hand so that you can easily replace them when needed. If the batteries are not the issue, the remote control itself may be malfunctioning. In this case, you can try resetting the remote by removing the batteries and leaving them out for a few minutes. This will allow the remote’s internal memory to reset and can often solve any issues. If this does not work, you may need to purchase a new remote control or contact the manufacturer for assistance. By checking the batteries first, you can save time and money by easily fixing the issue yourself.
Batteries are a vital component of any remote-controlled device, including LED light remotes. A weak or dead battery can cause the remote to malfunction, resulting in a frustrating experience for the user. When the battery loses its charge, it can affect the signal strength and transmission of the remote, causing the LED light to not respond to commands. Additionally, if the batteries have been inserted incorrectly or if there is corrosion on the battery terminals, this can also lead to remote control failure. Therefore, it is important to regularly check and replace the batteries in your LED light remote to ensure its proper functioning.
If you’re having trouble with your LED light remote, one of the first things to check is the batteries. A step-by-step guide to checking and replacing batteries can help you get your remote working again. First, locate the battery compartment on the back of the remote. Open it up and remove the old batteries. Make sure to dispose of them properly. Next, insert new batteries according to the polarity markings. Double-check that the batteries are inserted correctly, then close the battery compartment. Test the remote to see if it’s working properly. If it still isn’t working, you may need to try a different set of batteries or consider other troubleshooting options.
Check the Signal Receiver
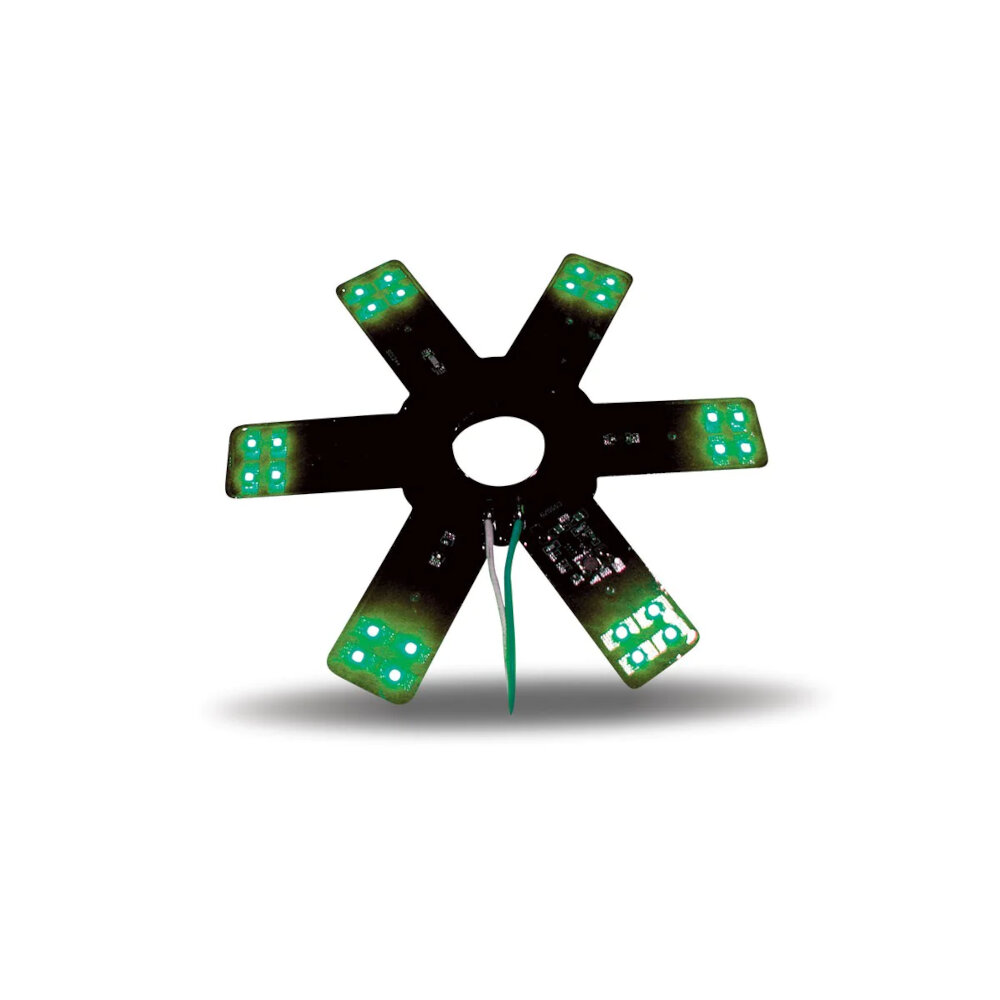
The signal receiver is an essential component of LED light remote controls, as it receives the signals from the remote and interprets them to produce the desired action. However, signal receivers can sometimes get damaged due to various reasons, such as electrical surges or physical impact, leading to a malfunctioning remote. Therefore, it is crucial to check the signal receiver to ensure that it is functioning correctly. To do this, you can use a digital camera or smartphone camera to see if the signal receiver is emitting infrared light when you press the remote’s buttons. If the receiver is not emitting light, it may be damaged and need to be replaced. Another reason why the signal receiver may not be working correctly is interference from other electronic devices, such as televisions or other LED lights. This interference can disrupt the signal’s transmission from the remote to the receiver, leading to a malfunctioning remote. To avoid this issue, try to keep your remote away from other electronic devices and ensure that there are no obstacles between the remote and the signal receiver. Additionally, you can try changing the remote’s batteries or resetting the LED light system to see if this resolves the issue. Overall, checking the signal receiver is an essential step in troubleshooting a malfunctioning LED light remote, and ensuring that it is functioning correctly can save you time and money in the long run.
Signal receivers are devices that receive information or signals from a remote control, allowing the device to perform an action. In the case of an LED light remote, the signal receiver is typically built into the light fixture itself. When the user presses a button on the remote, it sends a signal to the receiver, which then activates the corresponding function of the light. The receiver typically uses infrared technology to receive signals, which means that the remote must be aimed directly at the light fixture for it to work properly. If the remote is not working, there could be a number of issues, including dead batteries, interference from other electronic devices, or a faulty receiver.
If you’ve tried to turn on your LED light with the remote but it’s not responding, you need to locate and check the signal receiver. The signal receiver is the small device located inside the light fixture that receives the signal from the remote. To locate it, you need to remove the cover of the light fixture and look for a small circuit board. Once you locate it, check if there are any visible damages or loose connections. You can also use a multimeter to test the voltage to ensure that the signal receiver is receiving the signal properly. If there are any damages or loose connections, you can try to fix them or replace the signal receiver altogether.
Reset the Remote and the Light
If your LED light remote is not working, one of the first steps you should take is resetting both the remote and the light. This can often solve the problem and get your light working again in no time. To reset the remote, start by removing the batteries and holding down any button on the remote for at least five seconds. Then, replace the batteries and try using the remote again. To reset the light, start by turning it off and unplugging it from the power source. Wait at least 30 seconds before plugging it back in and turning it back on. This can help to reset any internal components that may have become stuck or malfunctioned. If resetting the remote and light does not solve the issue, there may be a more complex problem at play and it may be necessary to seek professional assistance or replace the remote or light altogether.
Resetting is a common troubleshooting technique used to fix various issues with electronic devices, including LED light remotes. This process involves restoring the device to its original factory settings, which can eliminate any software glitches or errors that might be causing the problem. Resetting may also clear any stored data, such as faulty configurations or corrupted files, that could be interfering with the device’s functionality. This method is often recommended as the first step in resolving issues with LED light remotes, as it is relatively easy to perform and can often solve the problem without requiring any additional troubleshooting. By resetting their LED light remote, users can often restore its functionality and continue using it as intended.
If you’re experiencing issues with your LED light remote, resetting it might be the solution. To do so, start by removing the batteries from the remote and unplugging the LED light from the power source. Wait for a few seconds before plugging the LED light back in and putting the batteries back into the remote. Press and hold the power button on the remote for around five seconds until the light turns on. You may need to repeat this process a few times until the remote and light are fully reset. If this doesn’t solve the issue, check the batteries and make sure they are fully charged. You may also need to replace the remote or contact the manufacturer for further assistance.
Contact the Manufacturer
If you have tried all the troubleshooting tips to fix your LED light remote and it’s still not working, it’s time to contact the manufacturer. The manufacturer is the best source of information on their products and can guide you through the process of fixing your remote. They can also provide you with replacement parts or a new remote if necessary. To contact the manufacturer, start by checking the documentation that came with your LED light. Look for a phone number, email address or a website where you can submit a support ticket. If you can’t locate any contact information, try searching online for the manufacturer’s website or customer support page. Once you’ve found the contact details, reach out to the manufacturer and explain the issue you are having with your LED light remote. They may ask you for additional information or request that you send the remote in for repairs. Remember to be patient and courteous when dealing with the manufacturer’s customer support team as they are there to help you.
If you have tried all the troubleshooting steps and your LED light remote is still not working, it may be time to contact the manufacturer. This is especially true if you have recently purchased the remote or if it is still under warranty. The manufacturer will have a better understanding of their product and can provide you with more specific instructions on how to fix the issue. They may also be able to offer a replacement remote if necessary. It is important to have all the necessary information about your remote, such as the model number and purchase date, before contacting the manufacturer. This will help them assist you more efficiently and effectively.
If you’ve exhausted all troubleshooting options and your LED light remote still isn’t working, it may be time to contact the manufacturer for assistance. You can typically find the manufacturer’s contact information on the product packaging or instruction manual. Alternatively, you can search online for the manufacturer’s website and look for a customer support or contact section. Once you’ve located the appropriate contact information, reach out to the manufacturer and provide them with a detailed description of the issue you’re experiencing. They may be able to offer repair or replacement options, depending on the severity of the problem and the terms of the product warranty. Don’t hesitate to reach out for help if you need it – the manufacturer is there to support you and ensure that you have a positive experience with their product.
In summary, there are several common issues that can cause an LED light remote to stop working. These include dead batteries, signal interference, faulty connections, and defective remotes. Thankfully, there are also several solutions to these problems. Replacing the batteries, resetting the remote, checking for signal interference, and repairing or replacing faulty connections are all effective ways to get your LED light remote working again. Additionally, purchasing a new remote or contacting the manufacturer for support may be necessary if the remote is defective. By identifying the issue and taking the appropriate action, you can enjoy the convenience and efficiency of your LED light remote once again.
In order to avoid the inconvenience and frustration of a malfunctioning LED light remote, it is important to take steps to properly maintain and troubleshoot it. This includes regularly replacing the batteries, ensuring that the remote is pointed directly at the light source, and checking for any visible damage or debris that may be obstructing the infrared signal. If these measures do not solve the issue, further troubleshooting may involve resetting the remote and/or the light itself. It is also important to consider the quality and compatibility of the remote when purchasing a replacement, as using a low-quality or incompatible remote can lead to further problems down the line. By taking these steps, you can ensure that your LED light remote continues to function properly and provide convenient control over your lighting setup.
Conclusion
In conclusion, a malfunctioning LED light remote can be a frustrating experience. However, by following the troubleshooting steps outlined above, you may be able to identify and resolve the issue quickly and easily. From replacing the batteries to resetting the remote, there are several possible solutions that can get your LED light remote working again. Remember to also consider the possibility of interference from other devices or poor connectivity. By addressing the problem systematically, you can enjoy the full benefits of your LED lighting system without any interruptions or inconveniences.


