Easy DIY Steps for Installing Running Boards on Your Mercedes: A Comprehensive Guide

Are you looking for a way to upgrade your Mercedes and add some extra functionality? Installing running boards might just be the perfect solution for you! Running boards not only add a sleek and stylish look to your vehicle but also make it easier to enter and exit. While it may seem like a daunting task, installing running boards on your Mercedes is a fairly simple DIY project that can be completed with just a few tools and some basic knowledge. In this comprehensive guide, we will walk you through the easy DIY steps for installing running boards on your Mercedes. With our step-by-step instructions and helpful tips, you’ll be able to complete the installation process in no time. Whether you’re a seasoned DIYer or a first-time installer, our guide is designed to be easy to follow and understand. So, let’s get started and take your Mercedes to the next level with stylish and functional running boards!
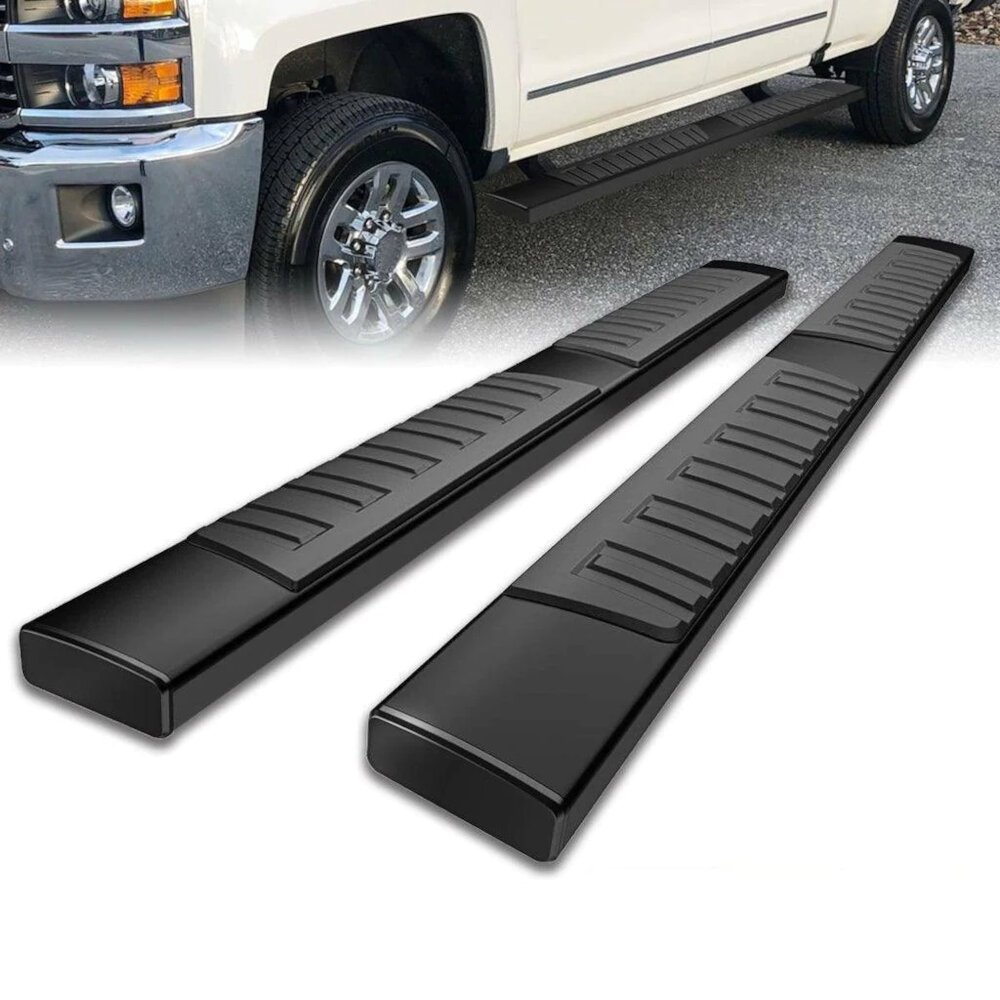
Running boards are a popular aftermarket accessory for SUVs, trucks, and other off-road vehicles. These boards are attached to the side of the vehicle and offer several benefits to the driver and passengers. First and foremost, they provide a convenient step up into the vehicle, making it easier to get in and out. Additionally, running boards can help protect the vehicle’s body from scratches, dings, and other damage. They also add a stylish look to the vehicle, enhancing its overall appearance. Whether you’re looking for added functionality or simply want to upgrade your ride’s appearance, installing running boards is a smart choice. With a little elbow grease and a few basic tools, you can easily install running boards on your Mercedes and enjoy all the benefits they have to offer.
Proper installation is crucial when it comes to installing running boards on your Mercedes. Not only does it ensure the safety of the driver and passengers, but it also enhances the overall appearance of the vehicle. Incorrect installation can result in the running boards becoming loose or detached, causing potential hazards to those entering or exiting the car. Additionally, an improperly installed running board can create unnecessary noise and vibration while driving, which can be both annoying and distracting. By following the easy DIY steps outlined in this comprehensive guide, you can ensure that your running boards are installed correctly, giving you peace of mind and a stylish look for your Mercedes.
Before beginning the installation process for running boards on your Mercedes, it is important to gather all the necessary tools to ensure a smooth and successful installation. The tools needed may vary depending on the specific running board model and the year and make of your Mercedes, but generally, some of the essential tools include a drill, a socket wrench, a torque wrench, a measuring tape, a level, a pencil, and a screwdriver. It is also recommended to have safety equipment such as gloves and safety glasses to protect yourself during the installation process. Having these tools and equipment handy will help you complete the installation process with ease and without any unnecessary delays.
Preparing Your Mercedes for Installation
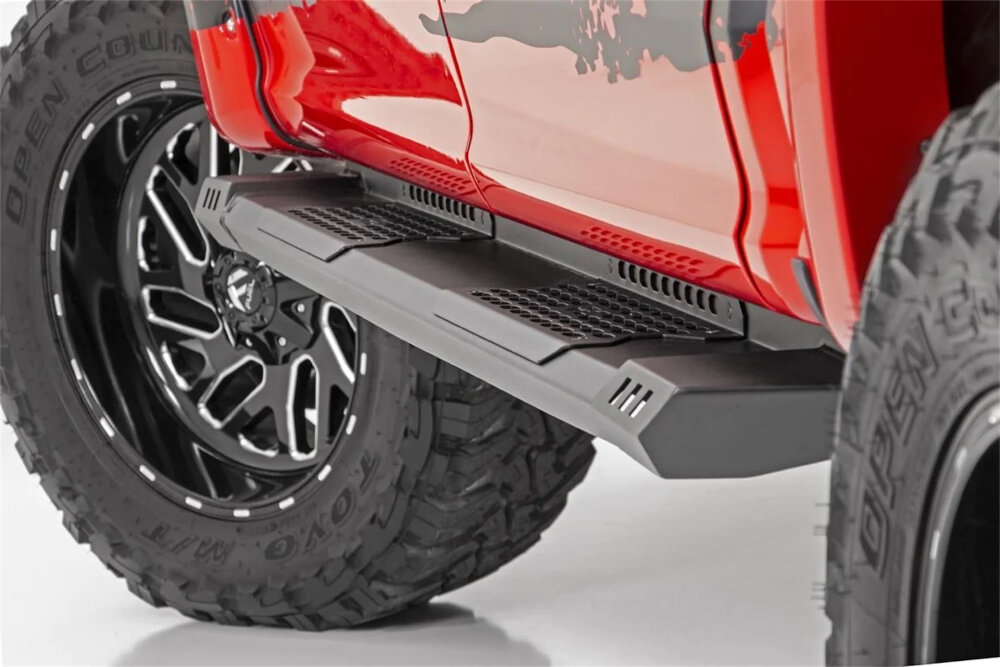
Preparing your Mercedes for installation is an essential step in ensuring that the running boards fit perfectly and function accordingly. Firstly, you need to make sure that the vehicle is clean and dry before starting the installation process. Dirt and debris can interfere with the mounting process, leading to an unstable fit. Therefore, use soapy water and a clean cloth to clean the area where the running board will be installed. Dry the area with a microfiber towel or let it air dry. Secondly, inspect the mounting points and brackets to ensure that they are in good condition. Check for any signs of rust, wear, or damage and replace them accordingly. This is crucial as it determines the stability of the running board, which is necessary for safety purposes. Make sure that the mounting points and brackets are tightened to the manufacturer’s specifications to avoid any problems during the installation process. Doing so will ensure that the running board fits firmly and securely, preventing any accidents or injuries.
Before installing the running boards on your Mercedes, it is essential to clean the area thoroughly where the installation will take place. This step is crucial as it will ensure that the running boards adhere correctly to the surface and offer a firm grip. You can start by wiping the area with a clean, dry cloth to remove any dust or debris. If there is any oil or grease present, use a degreaser to clean it off. Afterward, use a mild detergent or soapy water and a soft-bristled brush to scrub the area gently. Rinse it thoroughly with water and let it dry completely before proceeding with the installation process. By taking these simple steps, you can ensure that the running boards attach firmly to your vehicle, providing a safe and secure step for you and your passengers.
Before beginning the installation process of running boards on your Mercedes, it is crucial to inspect the underside of the vehicle to check for any pre-existing damage or rust. This step is critical as it ensures that the running boards are installed on a clean and stable surface, and it also helps to prevent any further damage to your vehicle. Rust can weaken the metal, leading to structural problems and unsafe driving conditions. Therefore, thoroughly check the undercarriage for any signs of rust, including discoloration, flaking, or bubbling. If any rust is found, it is essential to remove it before proceeding with the installation process. A rust converter can be used to neutralize the rust, and sandpaper can be used to remove any remaining rust before applying a rust inhibitor. By taking this step, you can ensure that your Mercedes is in the best condition possible and that the running boards are securely installed.
Measuring and marking the placement of the running boards is a crucial step in installing them on your Mercedes. To start, ensure that the vehicle is on a level surface and place the running board on the side of the vehicle. Measure the distance from the bottom of the door to the ground to determine the height of the running board. Then, measure the distance from the front wheel well to the rear wheel well to determine the length of the running board. Once you have determined the appropriate measurements, use a tape measure and a level to mark the placement of the running board on the vehicle. Precise measurements and markings will ensure that the running board is installed correctly and securely, providing both function and style to your Mercedes.
Installing the Brackets
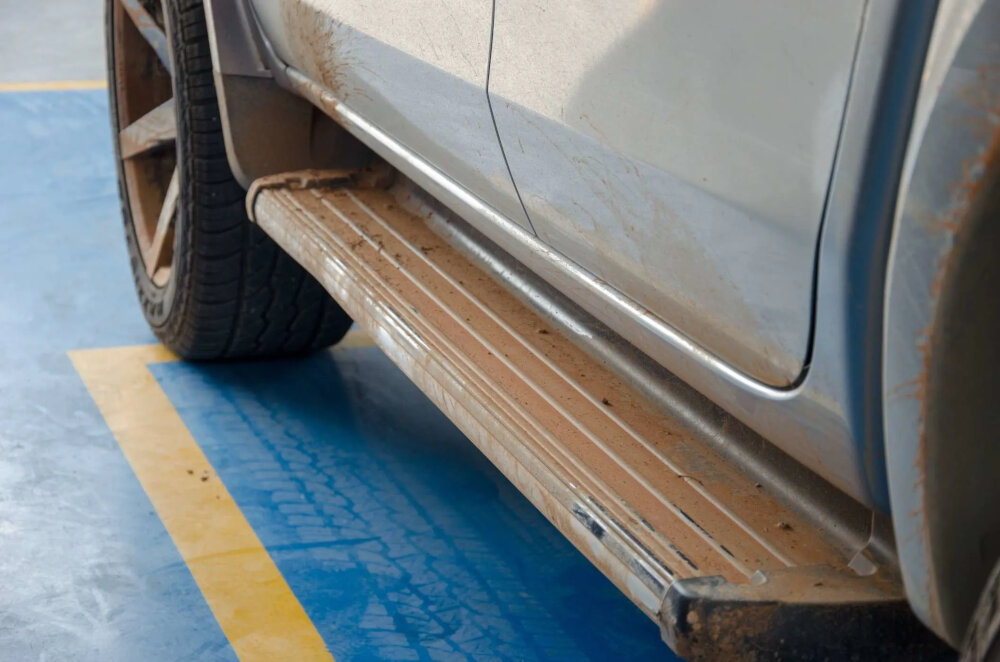
Installing brackets is a crucial step in the process of installing running boards on your Mercedes. The brackets are responsible for supporting the weight of the running boards, ensuring that they are securely attached to your car’s frame. To begin the installation process, you will need to remove any existing brackets that may be attached to your car. This step is necessary to ensure that the new brackets are installed in the correct location and that they are properly aligned with your car’s frame. When installing the brackets, it is essential to follow the manufacturer’s instructions carefully. Failure to do so can result in an improper fit and could lead to the running boards becoming loose or even falling off while in use. The brackets should be securely fastened to your car’s frame with bolts or screws, and you should ensure that they are tightened to the manufacturer’s recommended torque specifications. Once the brackets are securely installed, you can proceed with attaching the running boards to your Mercedes.
Attaching the brackets to the frame of the Mercedes is a crucial step in installing running boards onto your vehicle. These brackets act as the foundation for the running boards, providing the necessary support and stability. To start, it’s important to ensure that the brackets are securely fastened to the frame using the provided hardware. This involves aligning the brackets in the correct position and tightening the bolts to the manufacturer’s specifications. Once the brackets are securely attached, you can then proceed to install the running boards onto the brackets. It’s important to follow the manufacturer’s instructions carefully to ensure that the running boards are installed correctly and securely. With the brackets securely attached, you can have peace of mind knowing that your running boards are safely installed and ready to use.
When it comes to installing running boards on your Mercedes, ensuring the brackets are secure and level is crucial. This step ensures that the running boards are properly fastened, and there is no risk of them falling off while in use. To achieve this, you need to use a level to ensure the brackets are in the correct position, and then tighten the bolts and nuts securely. Additionally, you should double-check the brackets’ position to ensure that they are symmetrical and leveled. Proper installation of the brackets guarantees the running boards’ stability and enhances the overall aesthetic of your Mercedes.
Before proceeding with the installation of the running boards on your Mercedes, it is crucial to double-check the placement of the brackets. This step is often overlooked, but it is essential to ensure that the running boards are installed correctly and securely. Failure to do so can lead to a wobbly or unstable installation, which can pose a safety hazard to you and your passengers. Therefore, take the time to carefully measure and mark the placement of the brackets, align them correctly, and tighten them securely to ensure a stable and safe installation of your running boards. By following this step, you can enjoy the benefits of your new running boards while ensuring the safety of your Mercedes and its occupants.
Attaching the Running Boards
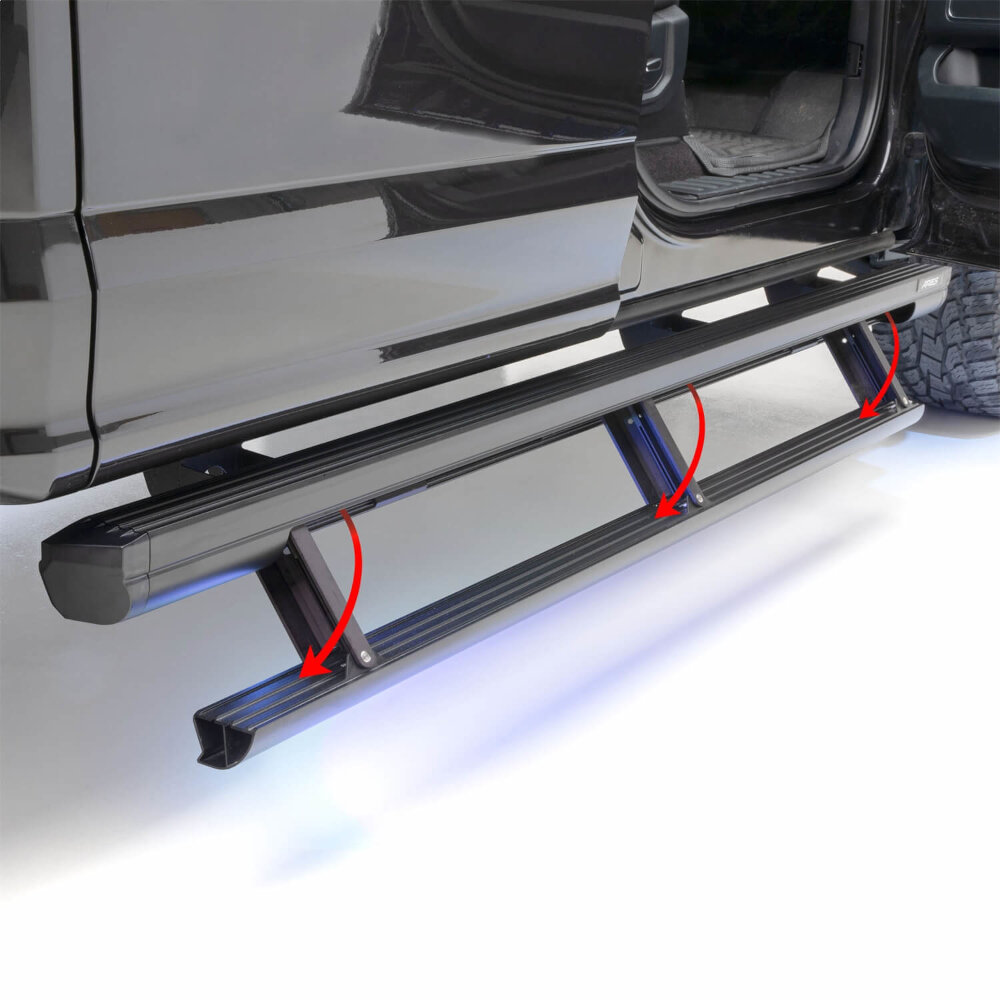
Installing running boards on your Mercedes is a simple and effective way to improve the appearance and functionality of your vehicle. Attaching the running boards is a crucial step in the installation process, and it requires precision and attention to detail to ensure a secure and stable fit. Before attaching the running boards, you need to prepare the mounting brackets by following the manufacturer’s instructions carefully. You must make sure that the brackets are properly aligned and securely fastened to the vehicle’s frame. Once the brackets are in place, you can attach the running boards by sliding them onto the brackets and tightening the bolts and nuts. It is essential to use the correct torque settings to avoid damaging the brackets or the running boards. When attaching the running boards, it is essential to check that they are level and properly aligned with the vehicle’s body. You can use a spirit level to ensure that the running boards are straight and parallel to the ground. It is also crucial to check that the running boards do not interfere with the operation of any of the vehicle’s components, such as the doors or the wheels. You should test the running boards by standing on them and applying pressure to ensure that they are stable and secure. Once you have attached and tested the running boards, you can tighten the bolts and nuts and apply any additional finishing touches, such as cleaning and polishing the running boards. With these simple steps, you can install running boards on your Mercedes and enhance its appearance and functionality.
Attaching the running boards to the brackets is a crucial step in the process of installing running boards on your Mercedes. After ensuring that all the necessary tools are available, the next step is to align the running boards with the brackets and ensure that they fit perfectly. This is followed by tightening the bolts to secure the running boards firmly to the brackets. It is essential to pay attention to the manufacturer’s specifications to ensure that the running boards are installed correctly. Once the running boards are firmly attached to the brackets, the next step is to test them by stepping on them to ensure they can support your weight. If everything is in order, then congratulations! You have successfully installed running boards on your Mercedes.
When installing running boards on your Mercedes, it’s essential to make sure they’re level and properly aligned. This not only ensures that they look aesthetically pleasing, but also prevents any accidents from occurring. To achieve this, begin by carefully measuring and marking the positions where the brackets will be attached. Afterward, use a level to ensure that the brackets are straight and in line with each other. Once the brackets are secured, attach the running boards and make any necessary adjustments to ensure they’re level. Taking the time to properly align and level your running boards will not only enhance the overall look of your Mercedes, but also provide a safe and secure footing for yourself and your passengers.
When it comes to installing running boards on your Mercedes, one critical step is to ensure that the bolts are tightened securely. This is necessary to prevent any unnecessary wobbling or movement of the running boards. To achieve a secure fit, it’s important to use a torque wrench and follow the manufacturer’s specifications for the appropriate torque setting. It’s also important to double-check the tightness of the bolts after a few days of use, as they may loosen over time due to vibration and regular wear and tear. By taking the time to tighten the bolts properly, you can ensure that your running boards will not only look great but also perform effectively and safely.
Finishing Touches
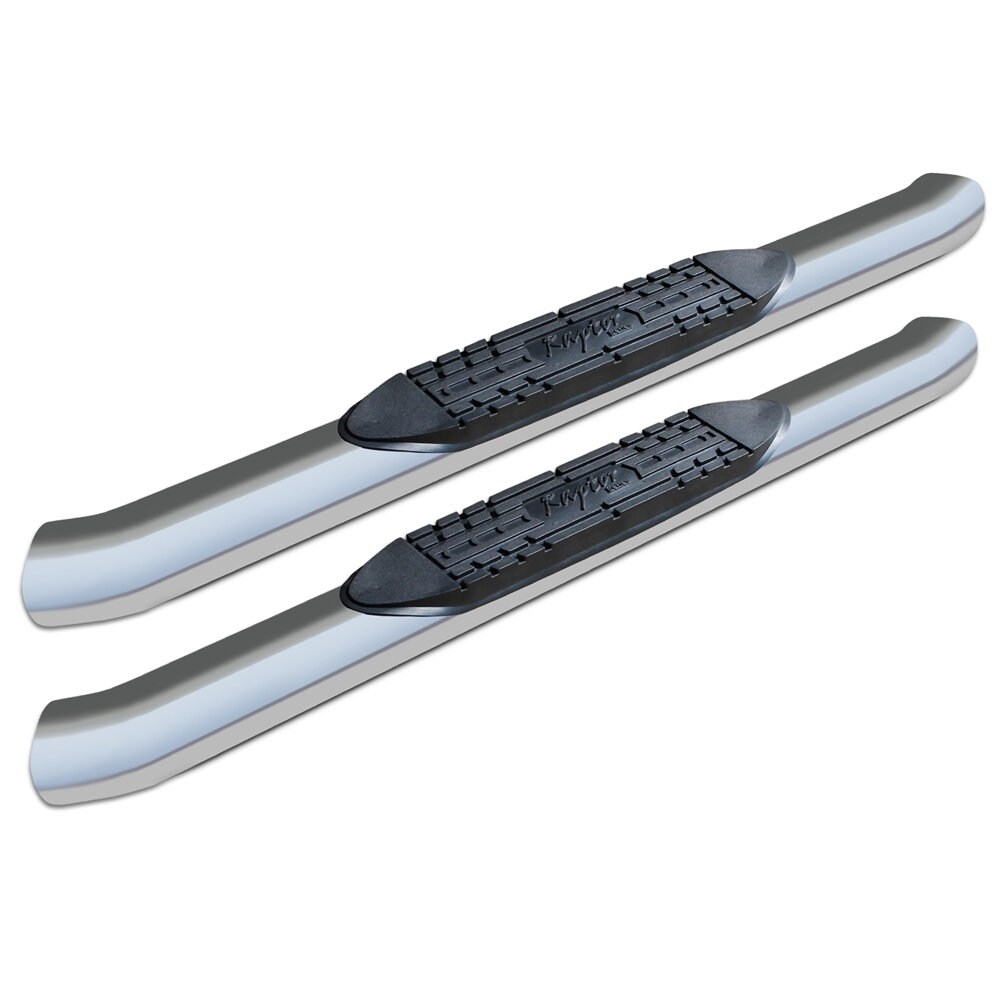
The finishing touches of installing running boards on your Mercedes are critical to ensure a seamless and professional look. Once the running boards are firmly attached to the car, you need to take time to clean up any excess adhesive or debris. Use a solvent to remove any leftover glue or adhesive, making sure to wipe it off completely before it dries. This will give your Mercedes a neat and polished appearance. Additionally, you can add a layer of protective coating to the running boards to prevent scratches and damage from the elements. This will help preserve the life of the running boards and keep them looking new for years to come. Another important finishing touch is ensuring that the running boards are secure and stable. After installing the running boards, make sure to tighten all bolts and screws thoroughly. This will prevent any rattling or shaking while driving. Additionally, you can add rubber seals to the edges of the running boards to prevent water and debris from getting underneath. This will protect the running boards and the car from damage caused by corrosion and rust. With these finishing touches, your Mercedes will have a sleek and modern look, with added functionality and protection for your vehicle.
Before beginning the installation process of running boards on your Mercedes, it is crucial to ensure the safety of your vehicle. One of the essential steps is checking for any loose bolts or screws on the car’s undercarriage. Loose bolts and screws can damage the running boards and may lead to accidents while driving. Therefore, it is recommended to inspect and tighten any loose bolts or screws using the appropriate tools before proceeding with the installation. This simple yet critical step will ensure the running boards are securely and safely attached to your Mercedes, providing a seamless and hassle-free driving experience.
After attaching the running boards to your Mercedes, it’s essential to ensure that they are correctly leveled and aligned. Doublechecking this step will ensure that the running boards function correctly and look aesthetically pleasing. Using a spirit level, check the running boards’ horizontal level, and adjust accordingly by tightening or loosening the mounting bolts. Additionally, verify that the running boards are aligned parallel to the ground and the vehicle’s body, ensuring that they don’t protrude or extend beyond the Mercedes’s exterior. Properly aligned running boards not only improve the vehicle’s appearance but also provide functional benefits, such as a safe and stable platform for entry and exit.
Cleaning and polishing the running boards is an essential step in achieving a sleek finish for your Mercedes. After installing the running boards, it is crucial to remove any dirt, grime, or debris that may have accumulated during the installation process. Using a high-quality cleaning solution and a microfiber cloth will ensure that you effectively remove any unwanted stains or marks. Once the running boards are clean, it’s time to polish them to give them a glossy finish. A polishing compound can be applied with a soft cloth, and then buffed to a shine. This will not only enhance the appearance of your running boards, but it will also protect them from everyday wear and tear. A well-polished set of running boards will give your Mercedes a luxurious and polished look that will turn heads on the road.
Proper installation is critical when it comes to installing running boards on your Mercedes. It ensures that the running boards are securely attached to the vehicle, preventing any mishaps or accidents while getting in and out of the car. With a proper installation, the running boards will also remain stable and sturdy, allowing for prolonged use without any issues. In addition, a well-installed running board adds to the aesthetics of the Mercedes, complementing its overall appearance. Therefore, it is essential to take the time to follow the steps carefully to ensure that the installation is done correctly.
Having running boards installed on your Mercedes comes with a plethora of benefits. Firstly, they provide an additional step to assist in getting in and out of your vehicle, especially for those with shorter legs or mobility issues. Secondly, running boards protect the side of your car from scratches, dings, and other potential damage caused by rocks, debris, and other hazards on the road. Thirdly, they add an aesthetically pleasing touch to your vehicle, enhancing its overall appearance and making it look more robust and sleek. Lastly, running boards can increase the resale value of your car, as they are seen as a desirable feature by many potential buyers. With all these benefits in mind, it’s no wonder why running boards are a popular addition to many Mercedes vehicles.
Congratulations on installing your new running boards! You have taken a great step towards enhancing the aesthetic appeal of your Mercedes and improving its functionality. You can now easily step in and out of your car, and your passengers can do the same without any hassle. The running boards not only add to the visual appeal of your car but also provide added protection against dirt and debris. So, don’t be afraid to show them off and enjoy the convenience that they offer. Whether you’re heading out for a family road trip or simply running errands, your new running boards will make every journey a little bit easier and more stylish.
Conclusion
In conclusion, installing running boards on your Mercedes can be a daunting task for some, but with the right tools and guidance, it can be a simple DIY project. The comprehensive guide outlined in this article provides a step-by-step approach that is easy to follow, making the installation process less overwhelming. By installing running boards on your Mercedes, you not only enhance its aesthetics but also improve its functionality and accessibility. It is essential to ensure that you follow the instructions carefully and use appropriate tools to get the best results. With this guide, you can add a touch of style and practicality to your Mercedes without breaking the bank or hiring a professional.

