Effortlessly Remove Power Running Boards from Your Explorer: Expert Tips and Tricks
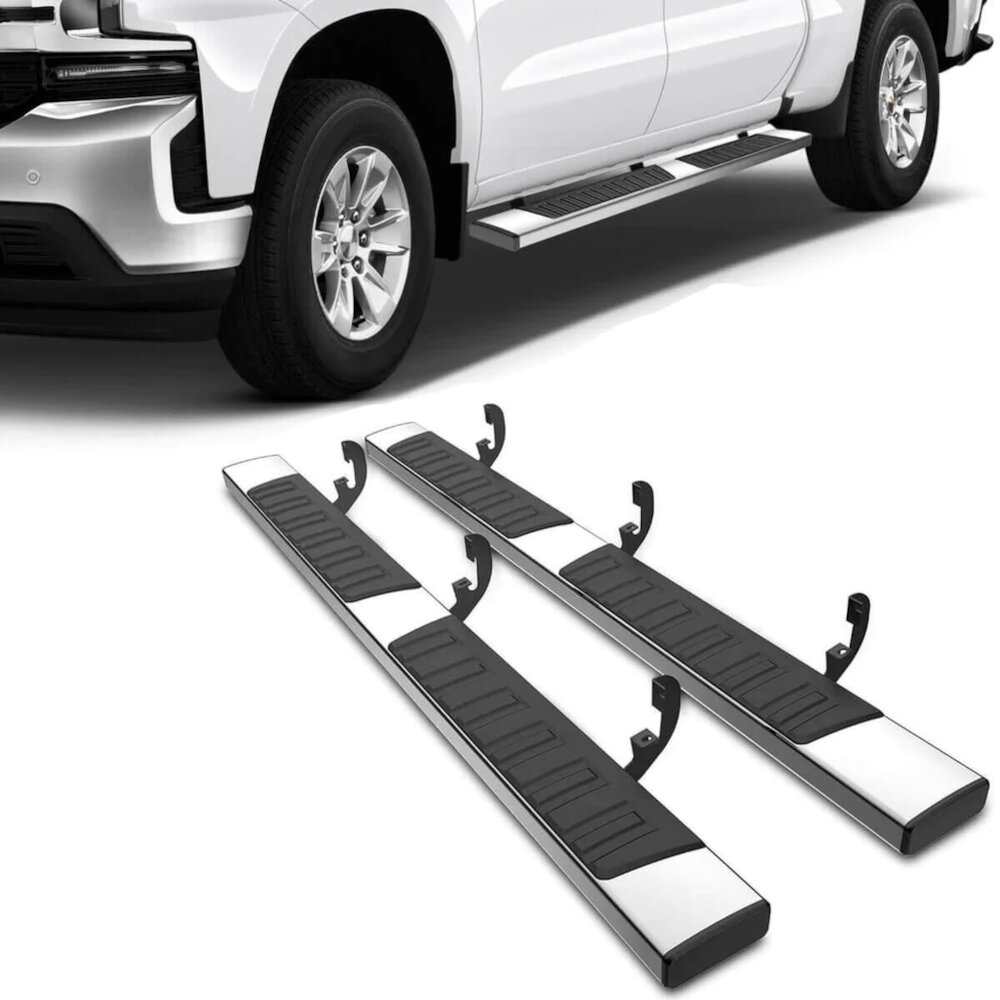
If you own a Ford Explorer with power running boards, you may encounter a situation where you need to remove them. It could be because you want to replace them with new ones, or you simply want to clean or maintain them. Whatever the reason may be, removing power running boards can be a daunting task, especially if you have no prior experience. However, with the right tools and expert tips, you can remove them effortlessly and safely. Removing power running boards from Ford Explorer requires a certain level of expertise and knowledge, as it involves working with electrical components and mechanical parts. Trying to remove them without the necessary precautions can be dangerous and can cause damage to your vehicle. Therefore, it is crucial to follow the right procedure and use the right tools to ensure that you remove the power running boards correctly. In this article, we will provide you with expert tips and tricks that will guide you through the process and help you remove the power running boards from your explorer without any hassle.
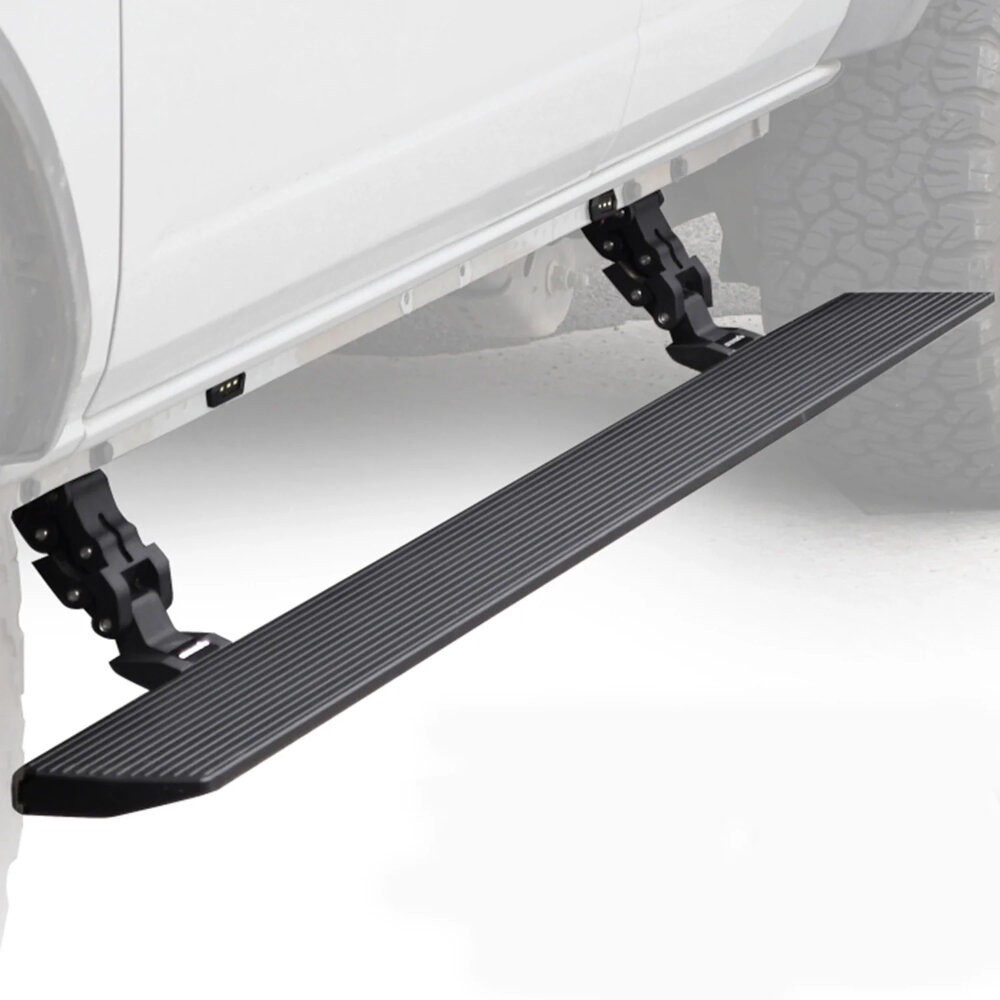
Power running boards are a highly functional automobile accessory that enhances the convenience and safety of entering and exiting the vehicle. These boards are installed on the side of the Explorer and retract when the door is closed, providing a sleek and streamlined appearance. The primary purpose of power running boards is to provide a stable and secure platform for passengers to step onto when entering and exiting the vehicle. They are particularly useful for families with children, elderly individuals or those with mobility issues. Additionally, power running boards offer an added layer of protection for the exterior of the vehicle, protecting it from scratches and dings caused by shoes, boots, and other debris. Overall, power running boards are an excellent investment for any Explorer owner looking to enhance the functionality, safety, and appearance of their vehicle.
Knowing how to remove power running boards from your Explorer effortlessly is crucial for a smooth and hassle-free maintenance process. These running boards can get damaged over time due to wear and tear, and their removal may be inevitable. Without the right knowledge, removal can be a challenging and time-consuming task that may cause damage to the vehicle. However, with the right tips and tricks, removing them can be effortless and safe. This knowledge saves you from the stress of seeking professional help or causing damage to your car, and it also allows you to replace them with new ones quickly. Therefore, it is essential to equip yourself with the necessary skills and knowledge to remove power running boards from your Explorer without any hassle.
Tools Needed
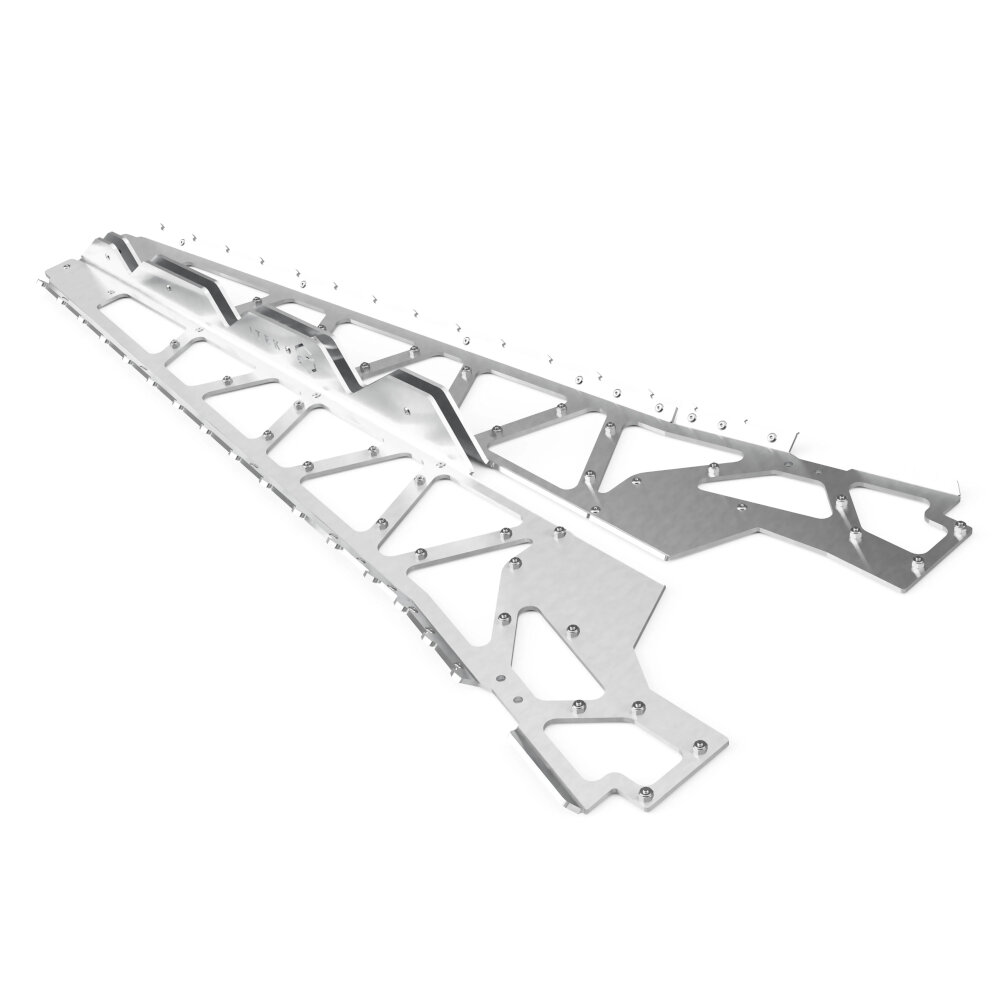
When it comes to removing power running boards from your Explorer, having the right tools is crucial. Firstly, you’ll need a socket wrench set with various sizes of sockets. This will help you to remove the bolts and nuts that secure the running boards to the vehicle’s frame. Additionally, you’ll need a pry bar or flathead screwdriver to remove any clips or fasteners that hold the wiring harness in place. A pair of pliers may also come in handy for removing any retaining clips or pins that hold the running boards in place. Finally, make sure you have a good set of gloves to protect your hands from any sharp edges or hot surfaces you may encounter during the removal process. In addition to these basic tools, there are a few other items you may need depending on your specific vehicle model and the condition of your running boards. For example, if your running boards are particularly stubborn or corroded, you may need to use a penetrating oil or rust dissolver to loosen the bolts and nuts. A wire brush or sandpaper may also be useful for cleaning any rust or debris from the mounting surfaces. Finally, you may need a replacement wiring harness or mounting hardware if any of these components are damaged or worn out during the removal process. By having these tools on hand and being prepared for any unexpected challenges, you can make the process of removing your power running boards as smooth and effortless as possible.
If you are planning to remove power running boards from your Explorer, you must have a list of necessary tools to get the job done effortlessly. Some of the essential tools that you will require include a socket set, drill driver, pliers, torque wrench, and a pry bar. You may also require a wire stripper, electrical tape, and a multimeter to disconnect the electrical connections safely. A creeper or a mat will be helpful to lie down under the vehicle comfortably. It is also recommended to have a pair of gloves, safety goggles, and a mask to protect yourself from any potential hazards during the process. Make sure to have all the necessary tools before you start the task to avoid any unnecessary delays or complications.
In order to effortlessly remove power running boards from your Explorer, there are several tools that you will need. First and foremost, you will need a socket wrench set, which will allow you to loosen and remove bolts quickly and easily. Additionally, you will need a drill and drill bits to remove any rivets that may be holding the running boards in place. A pry bar or crowbar will also come in handy for removing any stubborn clips or fasteners. Finally, a rubber mallet can be used to gently tap the running boards to loosen them from their mounting brackets. With these tools at your disposal, removing power running boards from your Explorer should be a breeze.
StepbyStep Guide
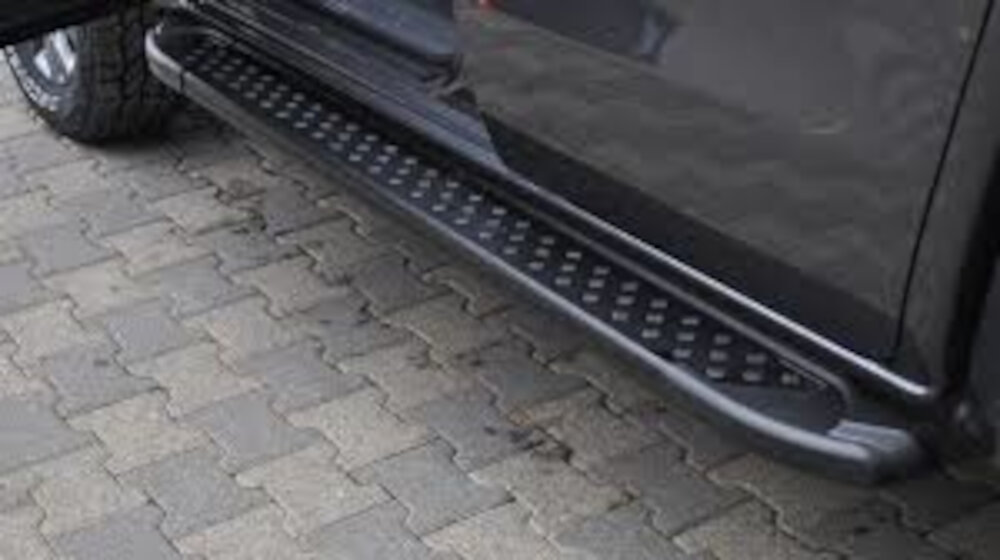
If you’re looking to remove the power running boards from your Explorer, fear not! With this step-by-step guide, you can effortlessly remove the running boards with ease. First, start by locating the control module for the running boards. This can be found underneath the driver’s side of the vehicle. Use a socket wrench to remove the bolts that are holding the module in place. Once the bolts are removed, carefully disconnect the wiring harness from the control module. Be sure to label the wires so that you know where they go when you reinstall the running boards. Next, move on to removing the actual running boards themselves. Start by locating the bolts that are holding the running boards in place. These bolts can be found underneath the vehicle, and they may be covered by plastic covers. Use a socket wrench to remove the bolts, and then carefully lift the running boards off of the vehicle. Be sure to have a friend or helper to assist you with this step, as the running boards can be heavy and difficult to maneuver. With these steps completed, you should now have successfully removed the power running boards from your Explorer.
If you’re looking to remove power running boards from your Explorer, it’s important to follow a few specific instructions to ensure a smooth process. First, locate the power running board motor and disconnect it from the wiring harness. Next, remove the bolts that secure the running board to the vehicle’s frame, making sure to support the board as you do so. Once the bolts are removed, carefully slide the running board away from the vehicle and disconnect any remaining wiring or hoses. Finally, remove the mounting brackets from the vehicle’s frame and clean any remaining debris from the area. With these steps, you’ll be able to effortlessly remove power running boards from your Explorer and get the job done right.
Illustrations or images can be incredibly helpful in aiding the process of removing power running boards from your Explorer. Not only do they provide a visual representation of the steps involved, but they also allow you to better understand the specific tools and techniques required for the job. With detailed illustrations or images, you can easily see where each component of the running board is located and how it should be detached. Additionally, visual aids can help you identify any potential obstacles or challenges that may arise during the process, allowing you to address them before they become major issues. By incorporating illustrations or images into your removal process, you can ensure that the job is completed efficiently and effectively.
Tips and Tricks
As an expert in the field, I have gathered numerous tips and tricks to help you effortlessly remove power running boards from your Explorer. Firstly, before you start the process of removing the power running boards, make sure that you have all the necessary tools required for the job. These tools may include a wrench, a screwdriver, and a socket set. You should also wear protective gear such as gloves and safety glasses to avoid any potential injuries. Secondly, it is essential to have a clear understanding of the process of removing the power running boards. You can achieve this by referring to the owner’s manual or watching tutorials from reliable sources online. It is also advisable to seek the help of a professional mechanic if you encounter any difficulties during the process. Additionally, you should take your time and avoid rushing the process to ensure that you do not damage any parts of the vehicle. By following these tips and tricks, you can effortlessly remove power running boards from your Explorer.
Removing power running boards from your Explorer can be a daunting task, but with some expert advice, the process can become easier and more efficient. Firstly, it is important to have the proper tools and equipment, such as a socket wrench, pliers, and a trim removal tool. Additionally, disconnecting the power source and removing any electrical connections should be done carefully to prevent damage to the vehicle. Ensuring that the vehicle is properly supported and stabilized during the removal process is also crucial. Taking the time to follow these expert tips and tricks can save you time and frustration during the power running board removal process, resulting in a more efficient and effortless experience.
When removing power running boards from your Explorer, there are several common mistakes to avoid. First, it’s important to disconnect the battery before beginning any work on the electrical components to prevent any potential accidents. Secondly, make sure to properly support the boards and have a helping hand to prevent any damage or injury. Additionally, avoid rushing the process and take your time to properly remove the necessary bolts and wiring connections. Finally, be sure to follow the manufacturer’s instructions and guidelines for your specific vehicle model to ensure a safe and successful removal process. By avoiding these common mistakes, you can effortlessly remove your power running boards and maintain the safety and functionality of your Explorer.
When it comes to removing power running boards from your Explorer, it’s important to take safety precautions to prevent any accidents or injuries. First and foremost, ensure that the vehicle is parked on a level surface and the engine is turned off. Use a jack stand to support the weight of the vehicle and wear protective gear such as gloves and safety glasses. Additionally, make sure to follow the manufacturer’s instructions carefully and take note of any warnings or cautions. Lastly, never attempt to remove the running boards alone; always have a friend or family member assist you to ensure a safe and successful removal. By taking these safety precautions, you can avoid any potential dangers and smoothly remove the power running boards from your Explorer.
Removing power running boards from your Explorer can seem like a daunting task, but it’s an essential skill to have. Whether you’re performing maintenance on your vehicle, upgrading your running boards, or simply troubleshooting an issue, knowing how to remove them will save you time, money, and frustration. Power running boards are designed to make getting in and out of your vehicle easier, but they can become damaged or malfunction over time. Being able to remove them yourself means you can inspect and repair them without having to take your vehicle to a mechanic, saving you both time and money. So, learn this skill and keep yourself prepared for any situation that may arise with your power running boards.
Before starting the process of removing the power running boards from your Explorer, it is important to have all the necessary tools at hand. These include a wrench, a socket set, pliers, and a trim removal tool. Once you have gathered all the tools, the first step is to disconnect the negative battery cable to avoid any electrical shock. Then, remove the screws and bolts that hold the running boards in place, using the socket set and wrench. Once the screws and bolts are removed, use the trim removal tool to gently pry the running board away from the vehicle. Finally, disconnect the wiring harness and remove the running board completely. By following these steps and using the appropriate tools, you can easily remove power running boards from your Explorer without any hassle.
Removing power running boards from your Explorer may seem like a daunting task, but with the right guidance, you can do it with confidence. Don’t be intimidated by the thought of getting your hands dirty or working with electrical components. You have the power to tackle any challenge that comes your way. With the expert tips and tricks provided, you can effortlessly remove the power running boards from your Explorer and feel a great sense of accomplishment. So go ahead, take that leap of faith and try the task on your own. Trust yourself and your abilities, and you’ll be amazed at what you can achieve.
Conclusion
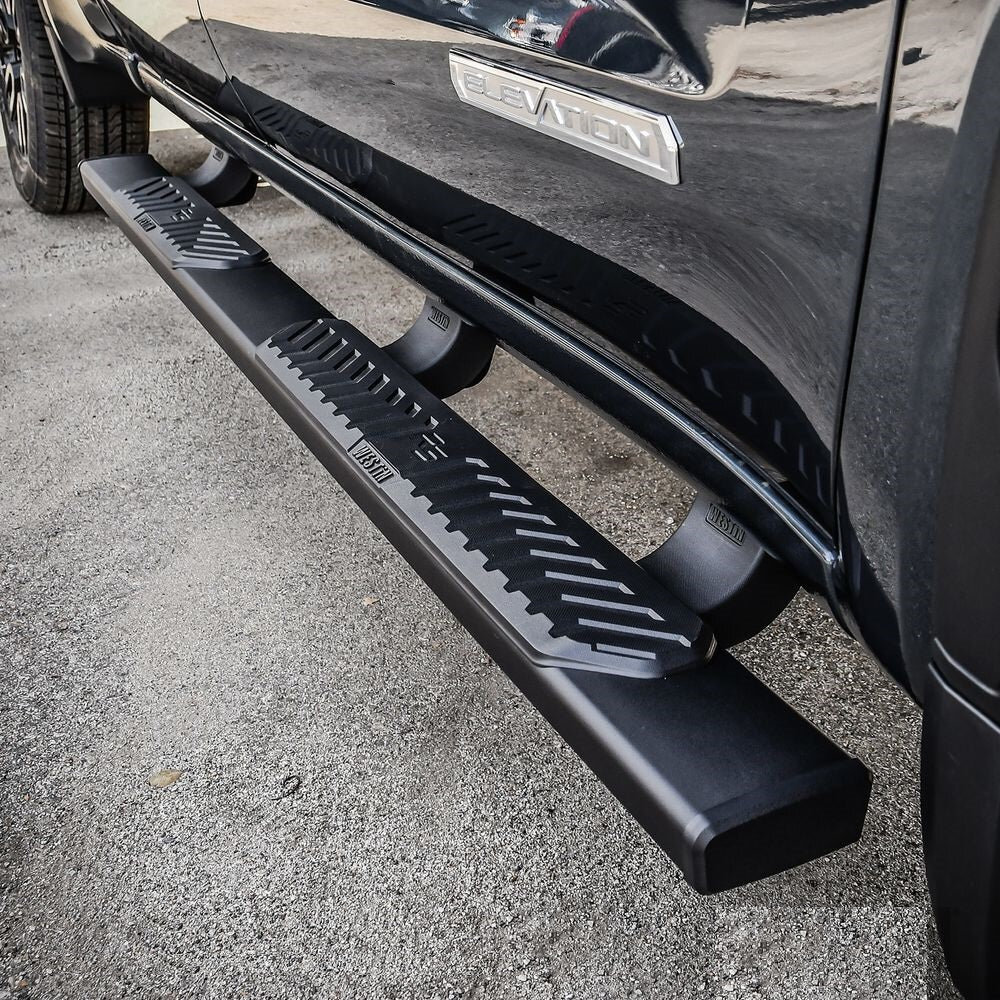
In conclusion, removing power running boards from your Explorer can seem daunting, but with the right tools and tips, it can be a straightforward and effortless process. It’s important to prioritize safety and follow the manufacturer’s instructions carefully to avoid any damage or injury during the removal process. Utilizing expert tips and tricks, such as disconnecting the battery and labeling wires, can also make the process less intimidating. By taking the time to properly remove your power running boards, you can ensure the longevity and functionality of your Explorer’s system.


